Celestron StarSense AutoAlign for Sky-Watcher Information
Look | Look with Telescope Tubes | First Remarks | Preliminary Conclusions | Links | Appendix: Data
Archive
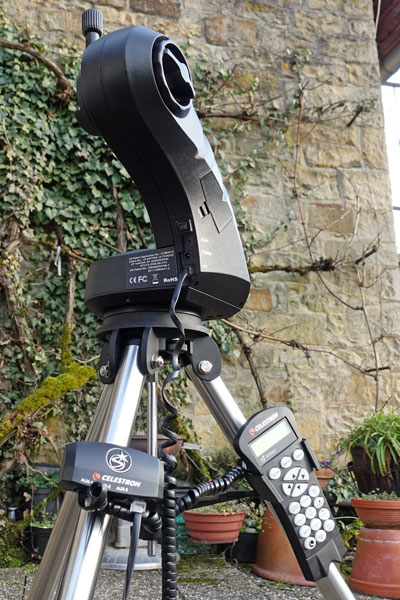
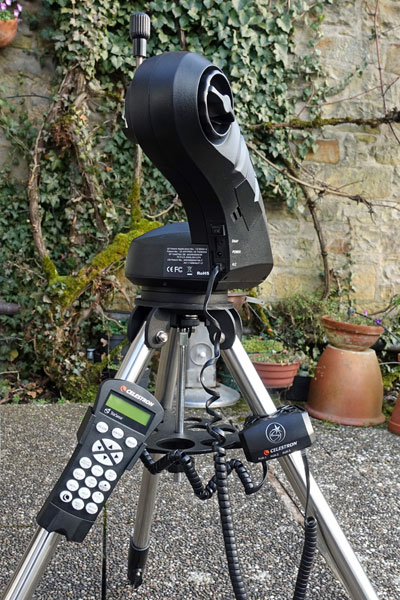
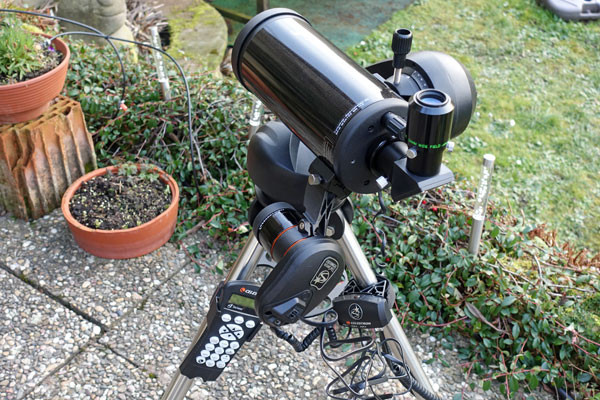
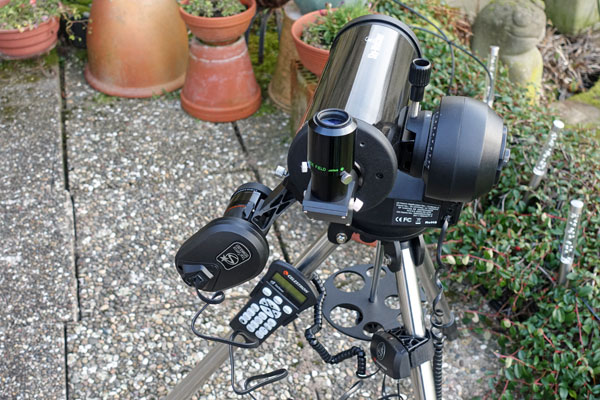
On this page, I provide some information about my Celestron StarSense AutoAlign for Sky-Watcher module*, which I will call "StarSense module" for short in the following. After the acquisition of a GoTo controller, this module is the final step towards "complete astronomical incompetence." I think that I will have to live with that now (more on this under First Remarks)...
*) Ordered on February 1, from Teleskop-Spezialisten, arrived on February 7, 2018, sold in mid-November 2022.
See the appendix for the data.
| Note: In mid-November 2022, I sold my Celestron StarSense AutoAlign for Sky-Watcher module. I therefore can no longer report any experiences with the StarSense module here. |
See also:
- Celestron StarSense AutoAlign for Sky-Watcher Information Archiv
- Celestron StarSense AutoAlign for Sky-Watcher - First Experiences Archiv
- Celestron StarSense AutoAlign for Sky-Watcher - Further Experiences Archiv
- Celestron StarSense AutoAlign for Sky-Watcher - Connecting to a Mac (USB) Archiv
- Celestron StarSense AutoAlign for Sky-Watcher - Using it with a Celestron C8 Archiv
- Sky-Watcher AZ GoTo Mounts (Star Discovery, AZ-GTi) - Instructions Archiv
- Ikarus StellarMate Plus - Information Archiv
Look
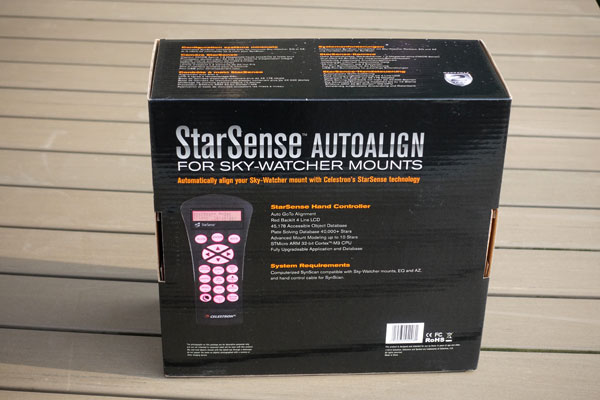
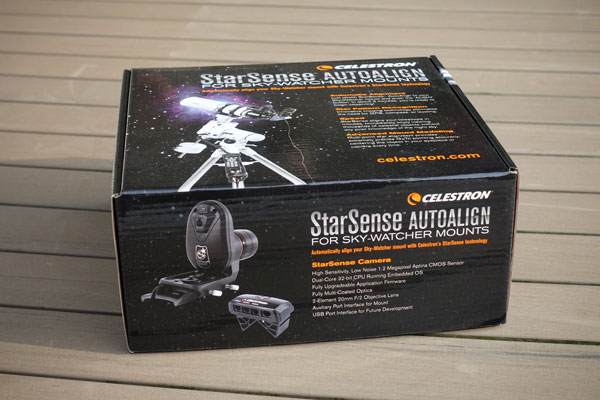
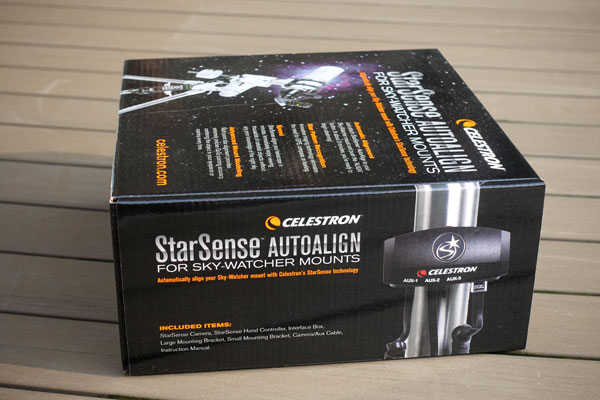
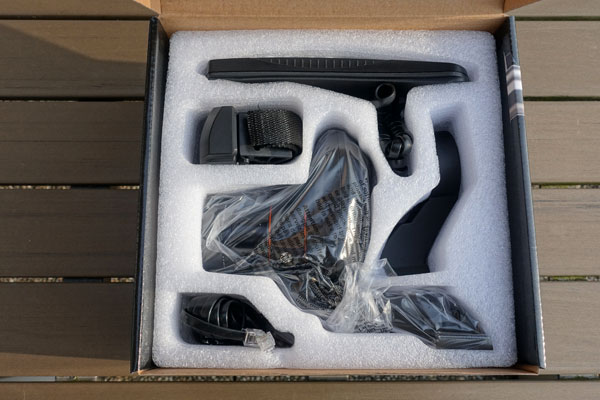
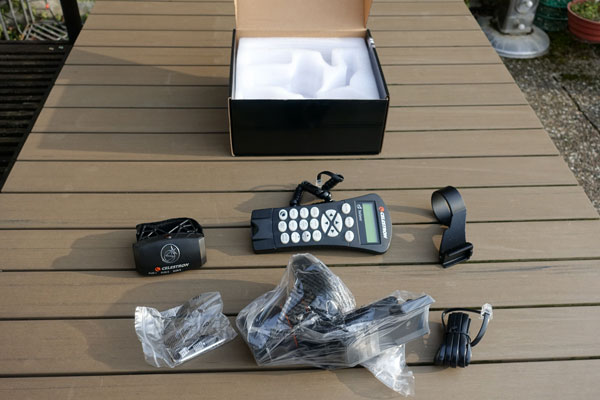
Unpacking
|
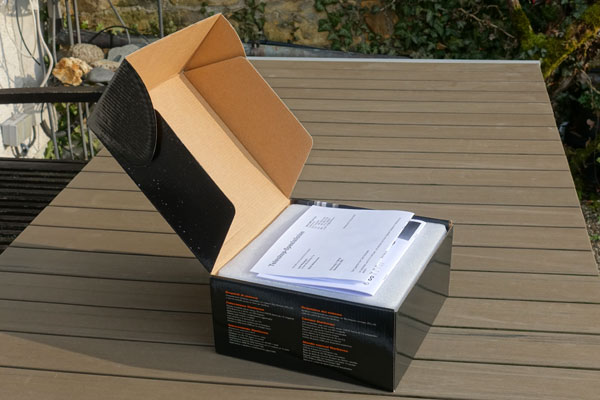
Box opened |
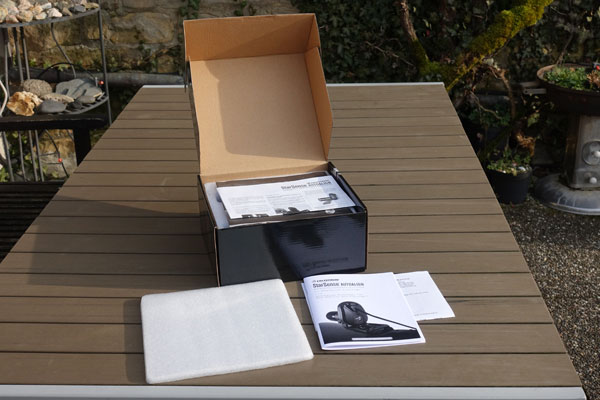
Ditto, upper layer removed |
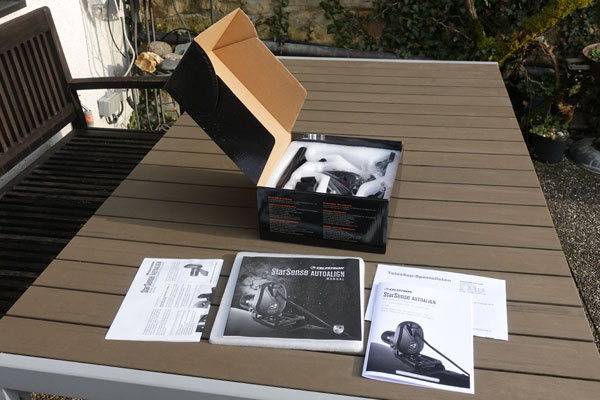
Ditto, box content visible |
|
Box content |
Box content removed |
Box content, closer view |
|
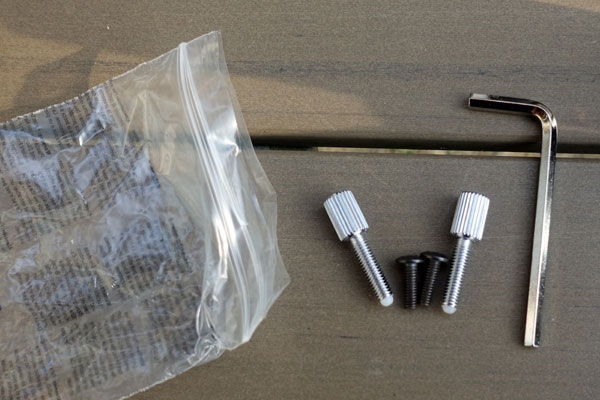
Allen wrench and screws visible... |
... and viewed closer |
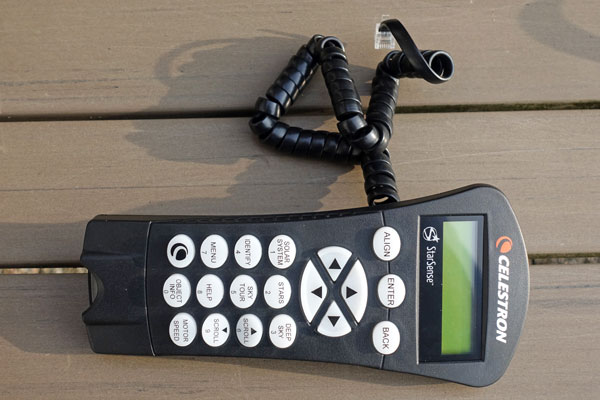
Handbox |
|
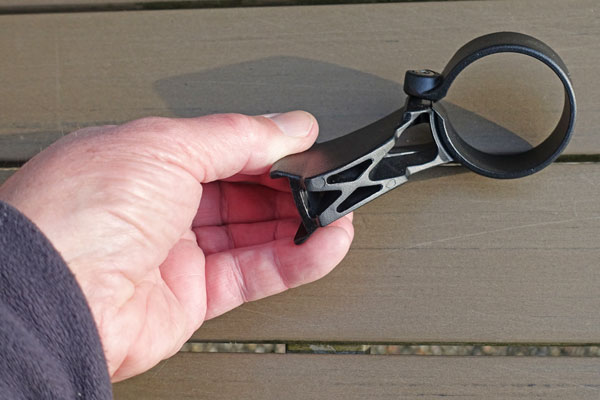
Small bracket |
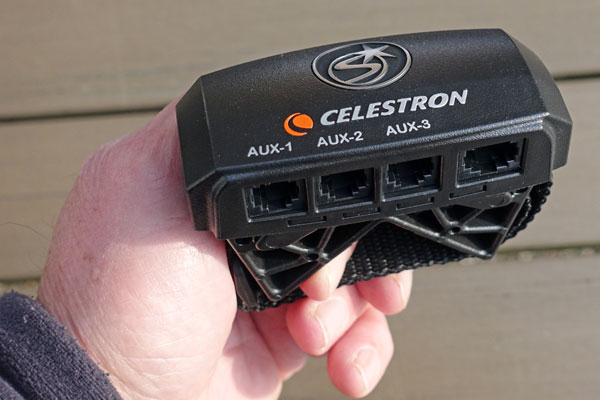
Interface box |
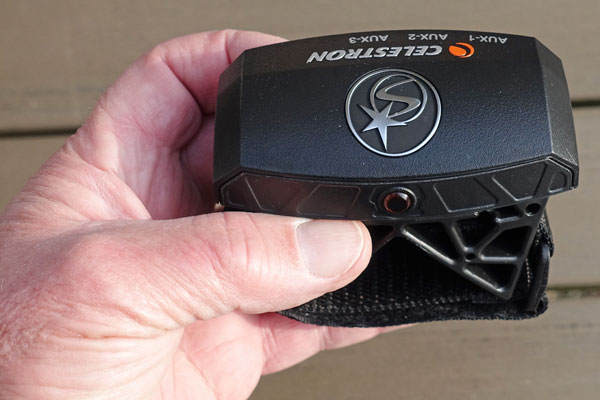
Ditto |
|
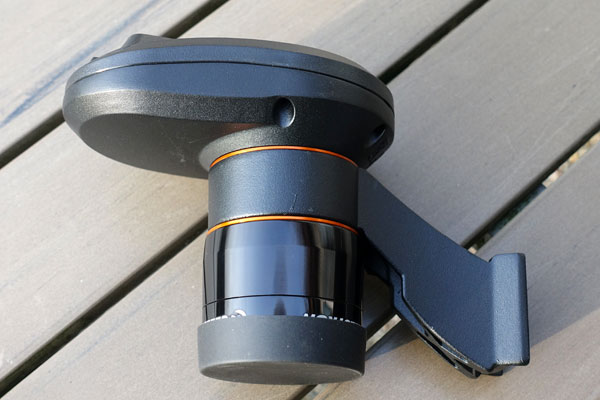
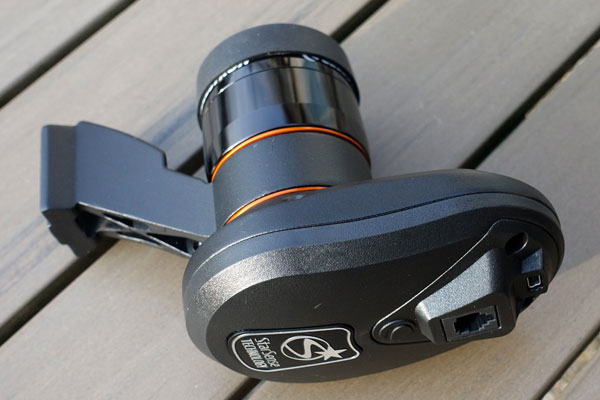
StarSense module, rear view |
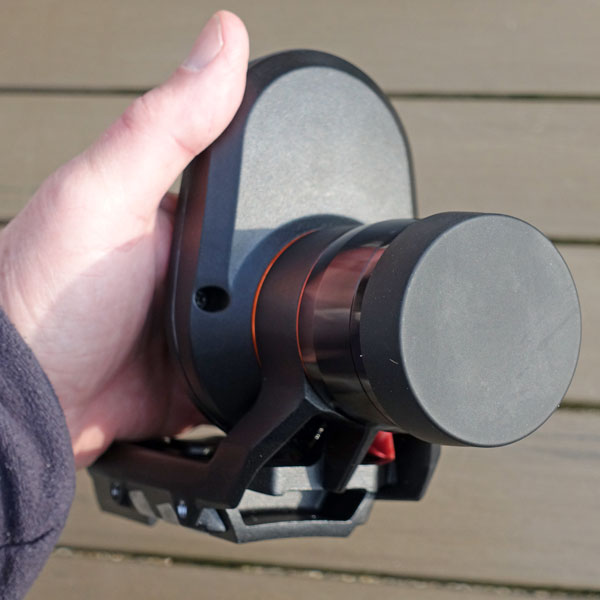
StarSense module, front view with cap on camera |
StarSense module, front view, cap removed |
Mounting the Small Camera Bracket to the Module
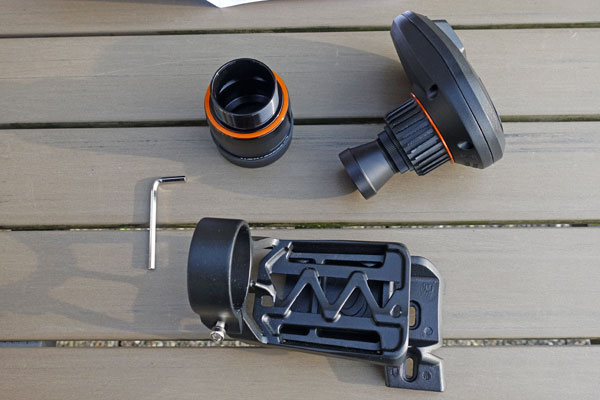
My telescopes have a Vixen/Sky-Watcher dovetail base that fits the small camera bracket. I therefore needed to remove the pre-installed large camera bracket on the StarSense module. This is shown in the following:
|
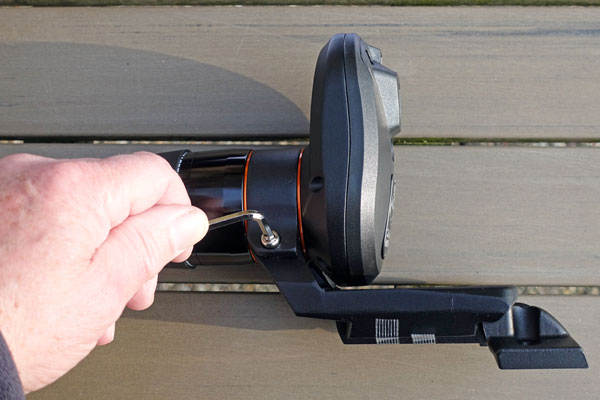
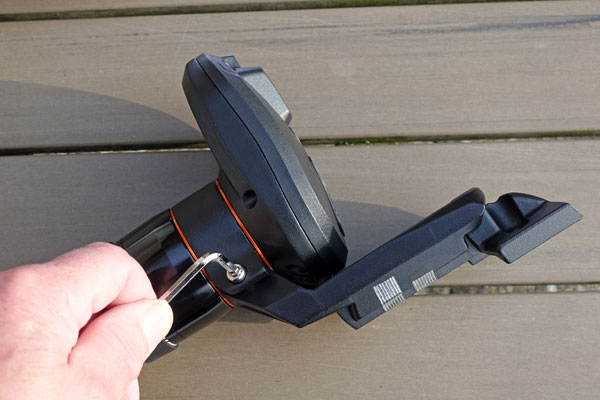
Slightly loosen the socket head screw using the included 4 mm Allen wrench... |
...but do not remove the screw entirely |
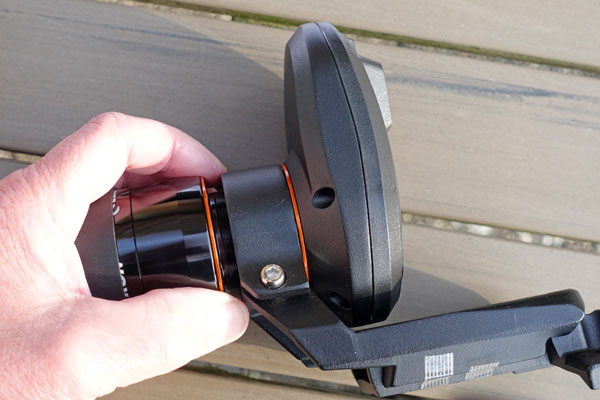
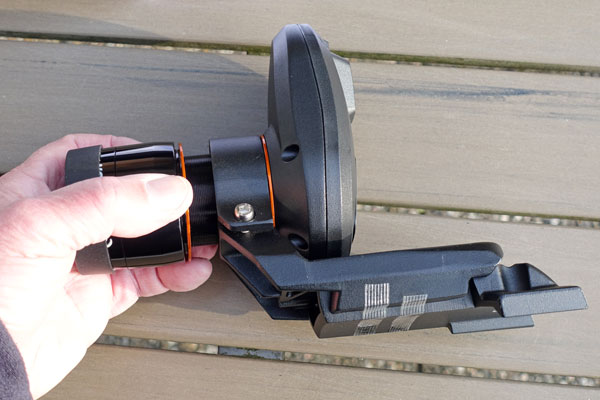
Remove the lens shroud... |
|
...by unscrewing it |
This takes some time... |
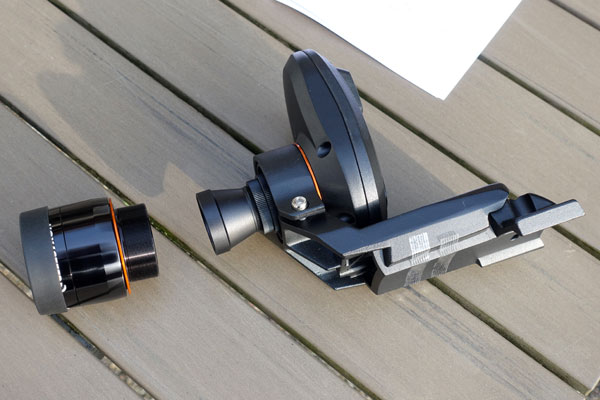
Lens shroud removed |
|
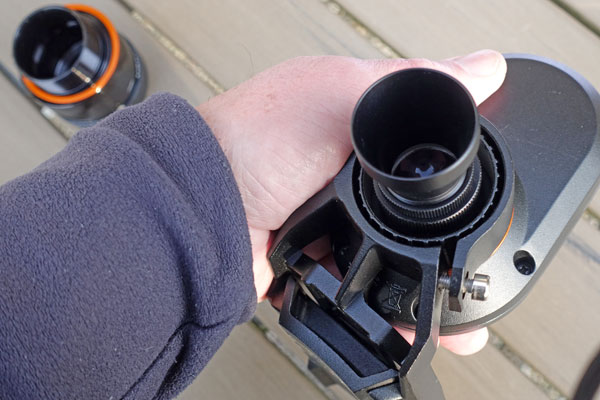
Camera seen from nearby |
Ditto |
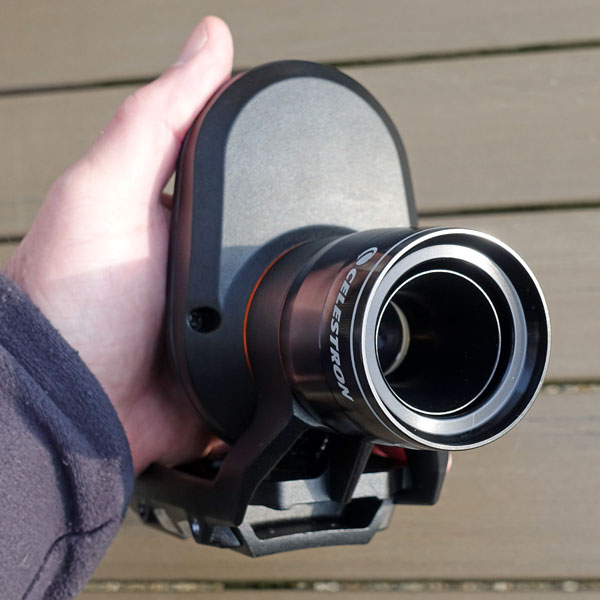
StarSense, lens shroud removed |
|
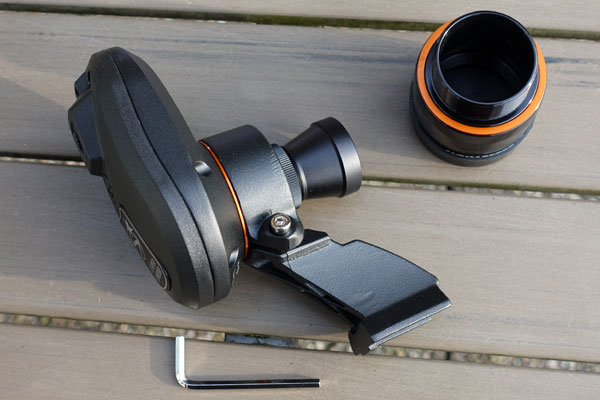
Large bracket removed (with some force). Do not lose the orange rings! |
Small bracket put in place |
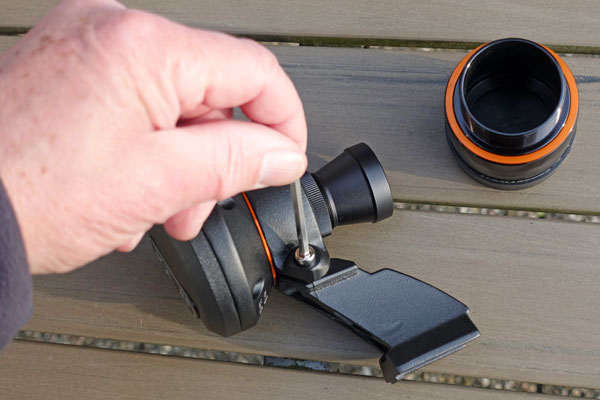
Fastening the socket head screw again |
|
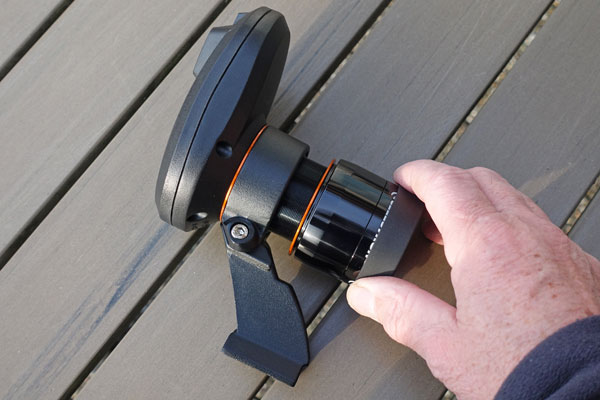
Lens shroud is being screwed on again. The orange rings function as washers |
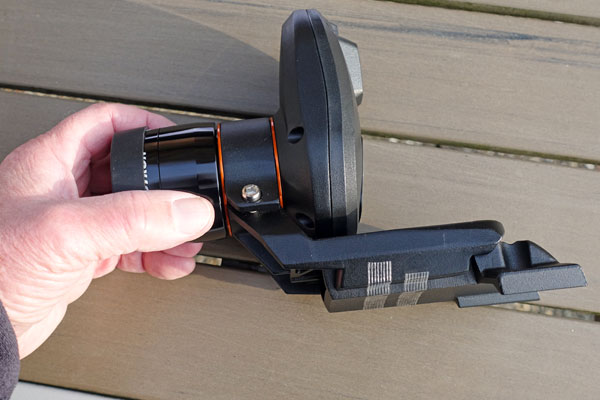
StarSense with small bracket |
Ditto, rear view |
Als noted that the two orange rings, are not lost and are returned to their original positions. They function as washers.
StarSense Connected to the Star Discovery Mount
Note that the 12 V power supply was not installed. See below for how the connection is being done.
|
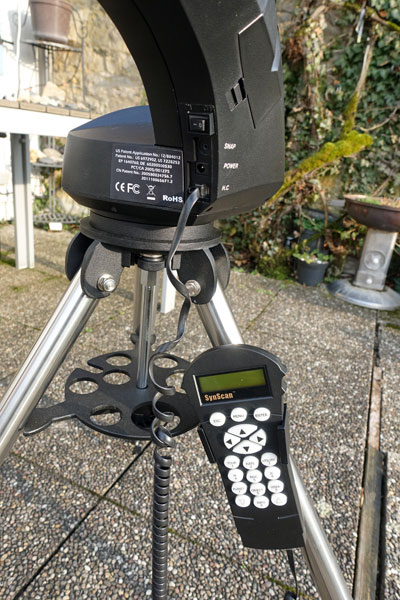
Star Discovery mount with original handbox |
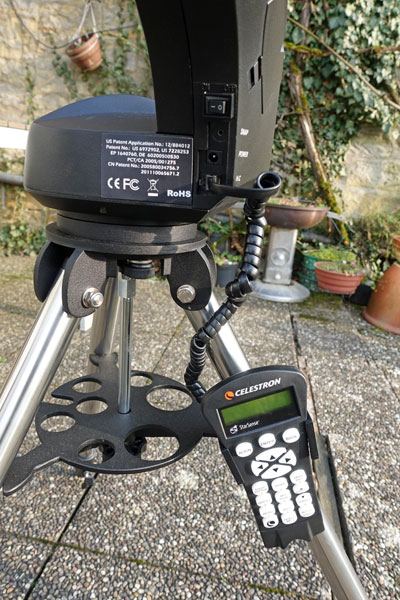
Star Discovery mount with Celestron handbox - wrongly connected! |
|
|
StarSense interface box |
StarSense interface box and handbox on mount |
Ditto |
|
StarSense interface box, viewed from below |
StarSense interface box and handbox on mount - positions exchanged for perhaps less cable clutter |
Ditto |
Connecting StarSense to the Star Discovery Mount
- Mount the interface box on a tripod.
- Connect the interface box (unlabelled wide plug) to the mount using a SynScan handbox cable* (8-pin RJ45 plug plugged into socket in the interface box, 6-pin RJ12 plug plugged into socket of the mount).
- Connect the StarSense camera to the interface box using the supplied flat 6-pin cable (any AUX plug).
- Connect the StarSense handbox to the interface box (any AUX plug).
- Turn on the mount as usual and operate the mount with the StarSense Handbox.
*) Obviously, only handboxes that were delivered with Sky-Watcher AZ mounts have such a cable with different connectors. At least, some Sky-Watcher EQ mounts have an 8-pin socket and are connected to the handbox with a pure RJ45 cable.
Look with Telescope Tubes
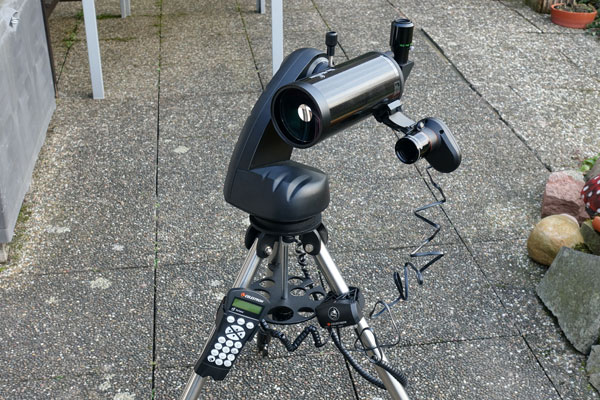
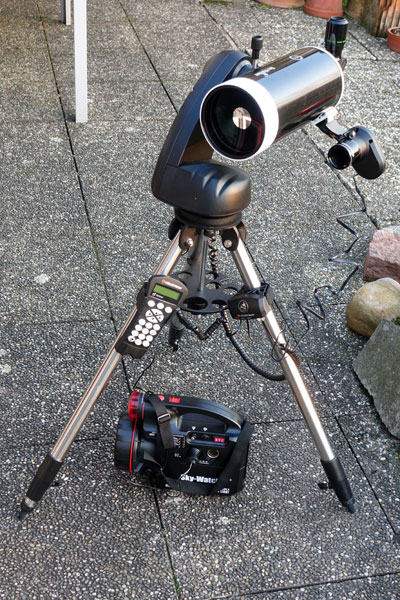
StarSense with Skymax-102 OTA on Star Discovery Mount
Note that the 12 V power supply was not installed.
|
Skymax-102 OTA with StarSense on mount |
Ditto, rear view |
Ditto, side view |
|
Ditto, side view |
Ditto, front view
|
Ditto |
|
Oblique rear view |
Ditto, front view |
|
As noted elsewhere, the finder
position is unfavorable - I will have to check whether this works at
all... |
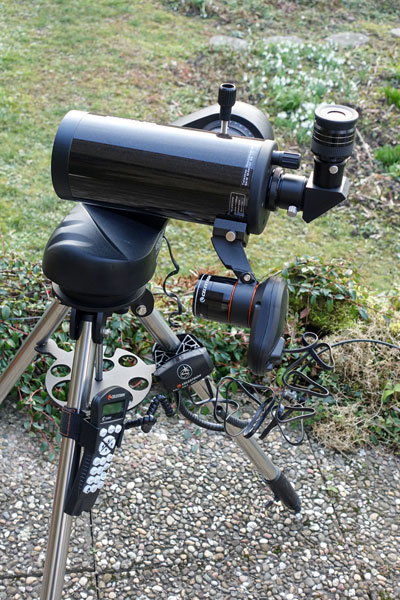
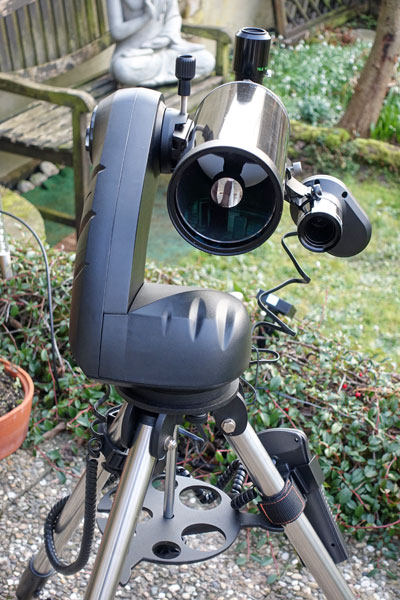
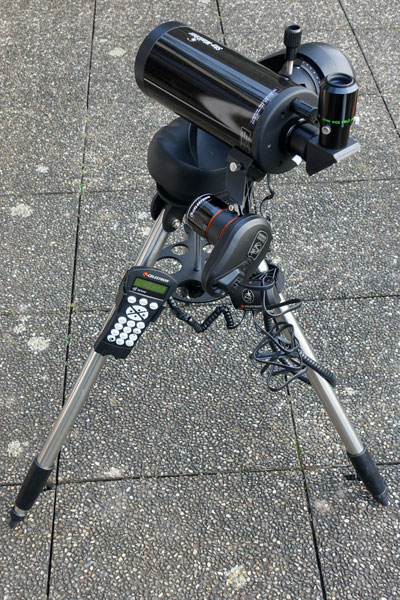
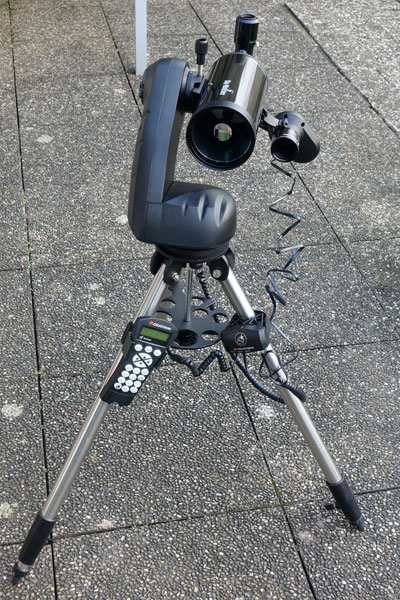
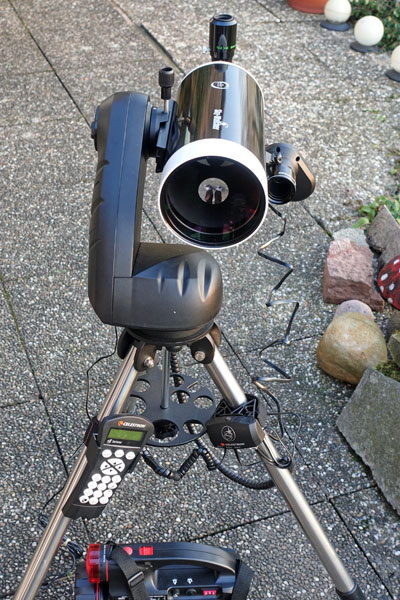
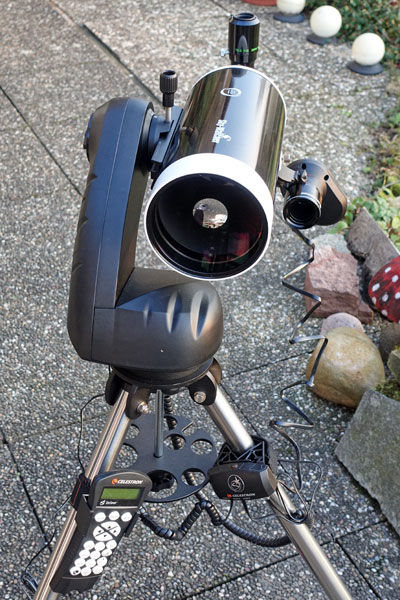
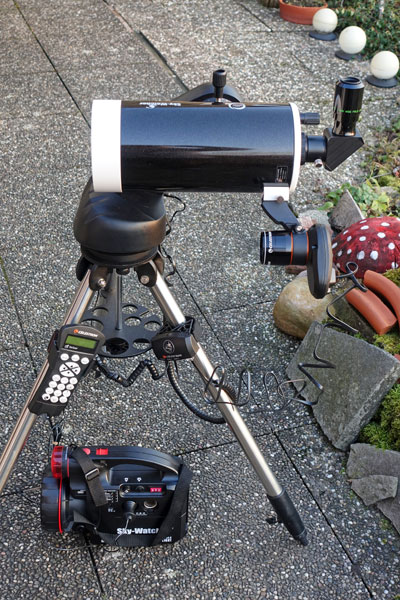
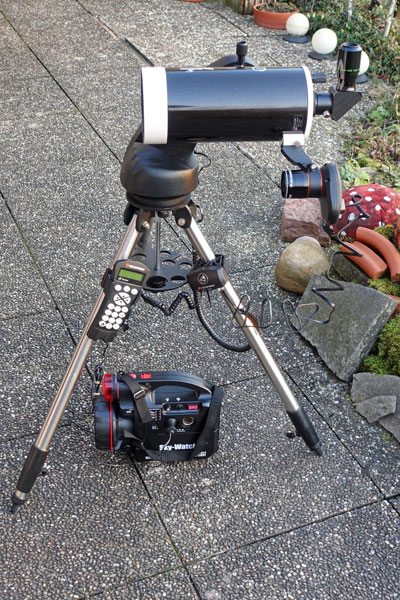
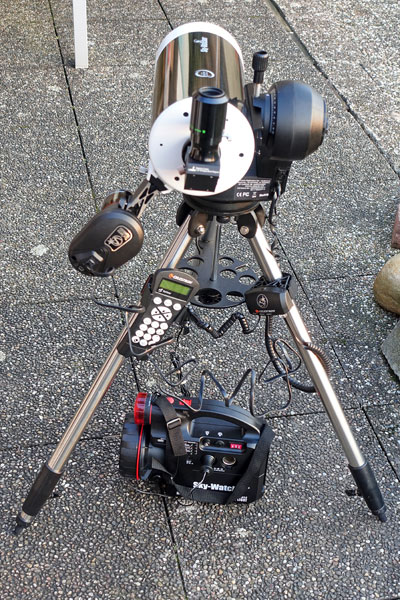
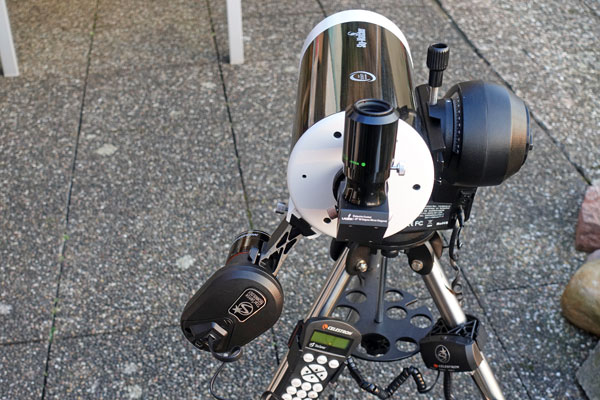
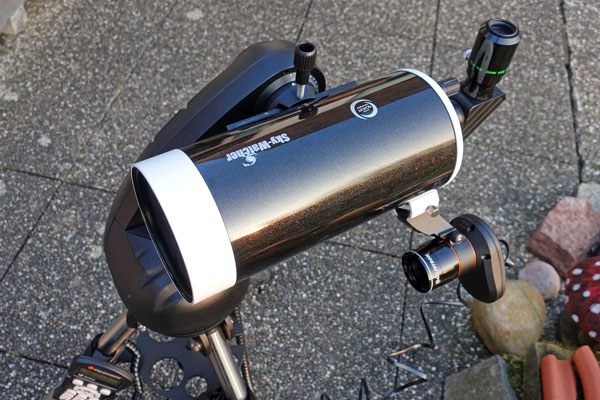
StarSense with Skymax-127 OTA on Star Discovery Mount
|
Skymax-127 OTA with StarSense on mount |
Dito |
Ditto |
|
Ditto, side view |
Ditto |
Ditto, rear view |
|
Ditto |
Ditto, oblique view from front |
|
As noted elsewhere, the finder
position is unfavorable - I will have to check whether this works at
all... |
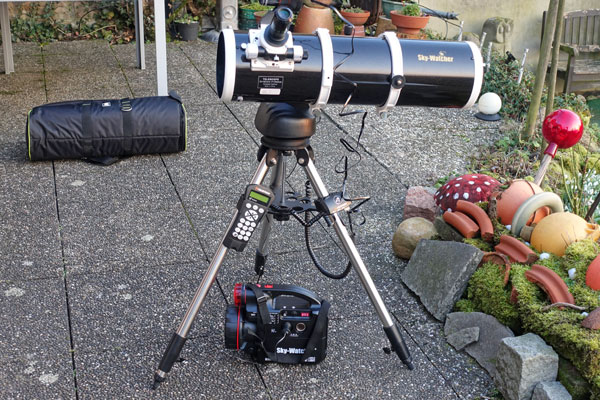
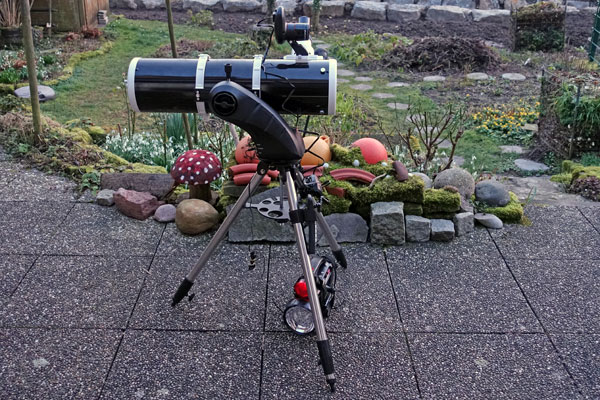
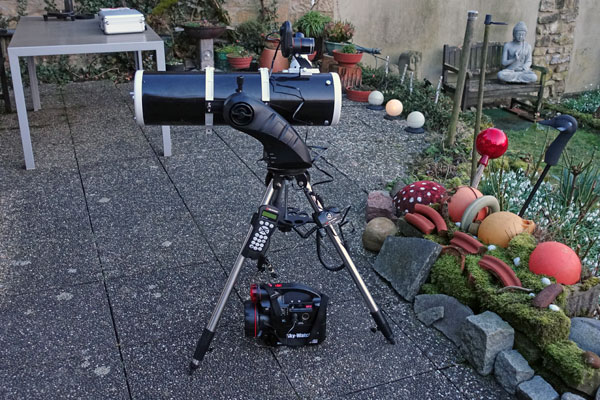
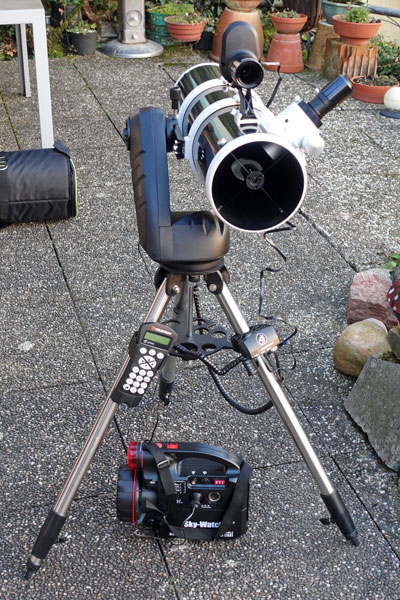
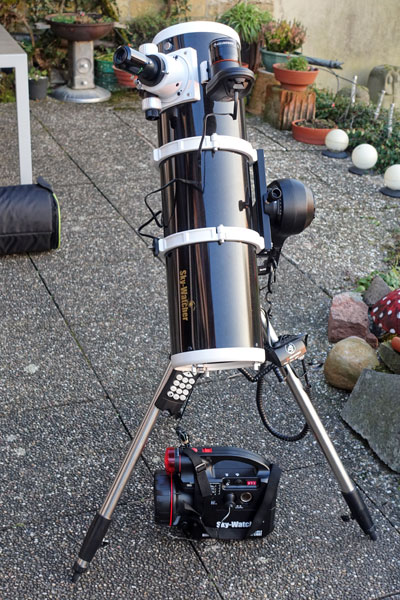
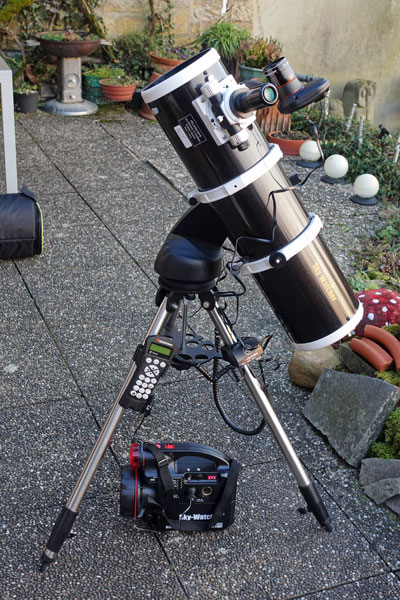
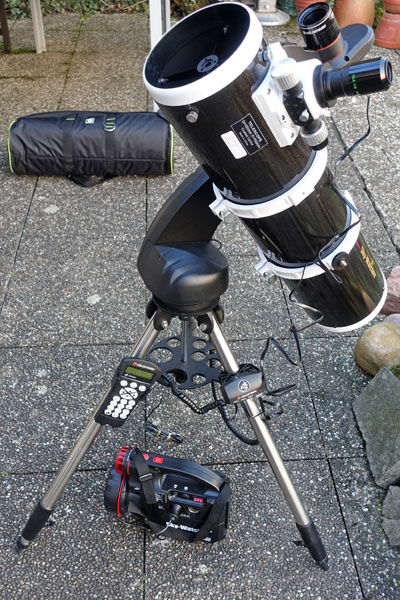
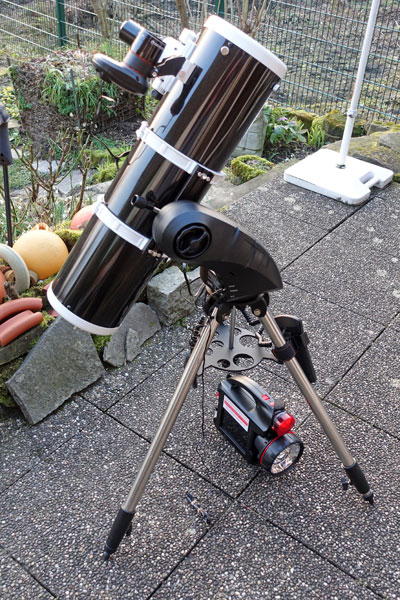
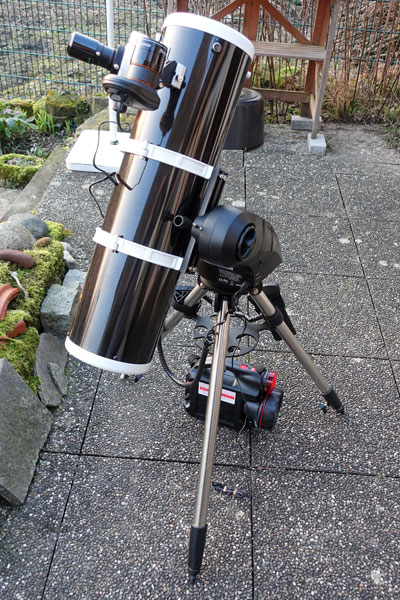
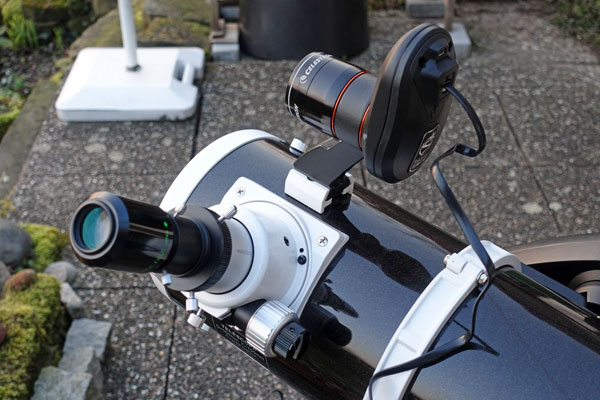
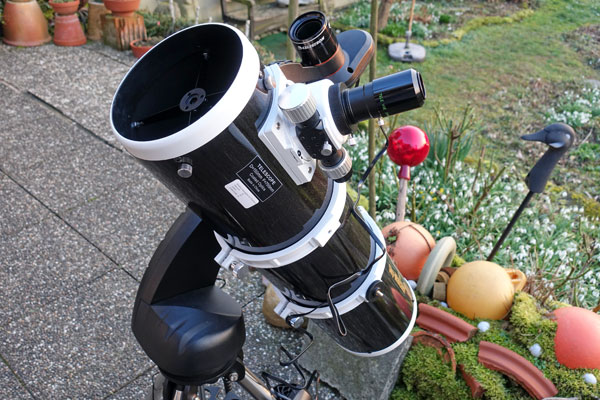
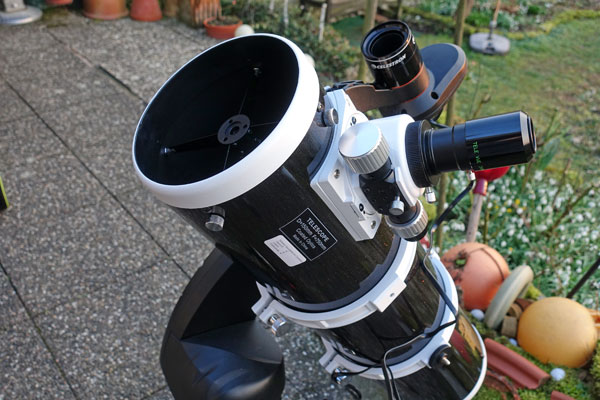
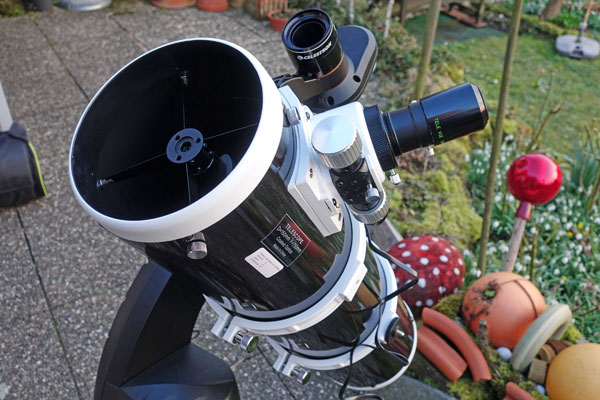
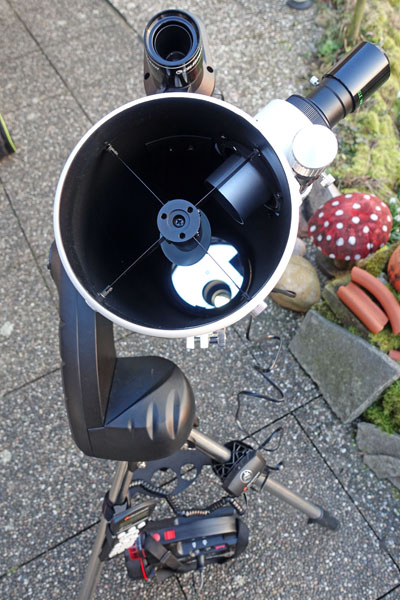
StarSense with Explorer 150PDS Newton Tube on Star Discovery Mount
|
Side view, camera cut off... |
Ditto |
|
|
Side view, tube pointing upwards |
Ditto |
Ditto |
|
Other side, tube pointing upwards |
Ditto |
|
|
First Remarks
My first experiences with the Celestron StarSense module can be found on page Celestron StarSense AutoAlign for Sky-Watcher - First Experiences. After an initial failure, I found, purely theoretically, a procedure to make the module work. On February 12, 2018 I had the opportunity to try out my approach, and it led to success. This can also be read on the above mentioned page. Now there are, of course, still "subtleties" missing, especially how the measures to increase the pointing accuracy will work...
I collect further experiences with and some information about the StarSense module on page Celestron StarSense AutoAlign for Sky-Watcher - Further Experiences. And on page Celestron StarSense AutoAlign for Sky-Watcher - Connecting to a Mac (USB), I investigate, how I can connect the StarSense-Modul with an Apple Maciontosh using an USB cable and how I can control the mount using the SkySafari planetarium software.
Note: On page Sky-Watcher Star Discovery AZ GoTo Mount - Instructions you will find instructions for using the StarSense module.
Preliminary Conclusions
My preliminary conclusion, after my initial problems, is that Celestron does neither the buyers nor itself a favor by delivering the StarSense module with an outdated and misleading (or also wrong...) manual. I probably would never have been able to get the module up and running without a lot of try-and-error and searching the Internet. What a pity! At least, Michael Swanson's book is also a helpful resource (see links).
There are also some other details that get on my nerves. So one almost forgets that the StarSense module seems to do its job well when it finally works properly, and you do not have excessive demands on positioning accuracy. But for being able to judge the latter, I need much more experience with the device anyway.
In the meantime (end of 2020), I sold my older telescopes and will have to calibrate the StarSense module on new telescopes, either the Celestron C8 or the TS-Optics TLAPO1027... >> In mid-August 2021, I calibrated the module for the C8.
Did the StarSense module already significantly increase my incompetence? Since I am just at the beginning, and I still had to know where the calibration stars were located, not much has been achieved in this direction so far. But this will surely change over time, when the alignment will only be done automatically...
Links
- Celestron Website, USA: www.celestron.com
- Product page: www.celestron.com/products/starsense-autoalign (for Celestron only) - https://www.celestron.com/products/starsense-autoalign-for-sky-watcher-mounts (for Sky-Watcher)
- Celestron, Germany (Baader-Planetarium): www.celestron-deutschland.de
Product page: www.celestron-deutschland.de/product.php?CatID=31&ProdID=1147 (for Celestron only) - www.celestron-deutschland.de/product.php?CatID=31&ProdID=1362 (for Sky-Watcher) - Pages from German distributors for the Celestron StarSense for Sky-Watcher:
- Teleskop-Spezialisten (here the module was bought): www.teleskop-spezialisten.de/shop/Montierung-Zubehoer/Nachfuehrung-und-GoTo/Celestron-StarSense-fuer-GoTo-Montierungen-automatische-Eichung-Alignement::1914.html (for Celestron only, in German) - www.teleskop-spezialisten.de/shop/Mounts-Accessories//::1914.html?language=en (for Celestron only, in English) // www.teleskop-spezialisten.de/shop/Montierung-Zubehoer/Nachfuehrung-und-GoTo/Celestron-StarSense-AutoAlign-fuer-Skywatcher-Montierungen::2096.html?language=de (for Sky-Watcher, in German) - www.teleskop-spezialisten.de/shop/Mounts-Accessories//::2096.html (for Sky-Watcher, in English)
- Teleskop-Service/Express: www.teleskop-express.de/shop/product_info.php/language/en/info/p6040_Celestron-StarSense-fuer-GoTo-Montierungen---vollautomatische-Eichung.html (for Celestron ony, in English) - www.teleskop-express.de/shop/product_info.php/info/p9016_Celestron-StarSense-AutoAlign-for-Skywatcher-mounts.html (for Sky-Watcher, in English)
- Astroshop: www.astroshop.eu/controls-with-goto/celestron-starsense-module-including-hand-controller/p,32954 (for Celestron only, in English) - www.astroshop.eu/controls-with-goto/celestron-starsense-autoalign-for-skywatcher-synscan-mounts/p,51606 (for Sky-Watcher, in English)
- Michael Swanson (2017). The NexStar User's Guide II. Springer.
- See also my page offering Astronomy Links.
Appendix: Data for the Celestron StarSense AutoAlign for Sky-Watcher Module
Package
- StarSense Camera with large and small camera bracket
- StarSense hand control
- Camera to Auxiliary port cable
- Interface box (for Sky-Watcher mounts)
- 4 mm Allen wrench and some screws
Camera Data
- Imaging Sensor: Aptina MT9M034 1.2 Megapixel CMOS
- Number of Pixels: 1280 x 960
- Pixel Size: 3.75 µm x 3.75 µm
- Objective Lens Diameter: 20 mm (2-element)
- Objectiv Lens Focal Length: 40 mm
- Objective Lens Focal Ratio/f-stop: f/2
- Control Board : 32-bit processor with embedded Linux Operating System
- USB Port: USB 2.0
- Auxiliary Port: Connects to Celestron telescopes (or to the interface box)
Handbox Data
- Objekt Data Base: 45,178 objects
- LCD: Red backlit 4 Line LCD
- CPU: STMicro ARM 32-bit Cortex-M3 CPU
- Software and Firmware: Fully upgradable
- RS-232 Port: PC connectable for software/firmware upgrades
| 14.01.2025 |

