ZWO ASI224 Color Camera - First Experiences
Introduction | First Experiences | Comparisons | First Results... | Preliminary Conclusions | Links
Archive
On this page, I present my first experiences (about the first month) with my ZWO ASI224MC color camera (borrowed from a starfriend at the beginning of April 2021, bought from him on April 25, 2021). This camera has the same Sony sensor as my eVscope (Sony IMX224/225), so I was interested in finding out how it would perform on my telescopes in comparison with my eVscope and my Atik Infinity camera.
So also pages:
- ZWO ASI224 Color Camera - Information Archive
- ZWO ASI224 Color Camera - First Experiences Archive
- ZWO ASI224 Color Camera - Further Experiences Archive
- ZWO ASI 224 versus eVscope - Photo Comparison Archive
- ZWO ASI224 - Photo Gallery Archive
| Note: I bought a ZWO ASI294MC camera in the beginning of April 2022 in order to get more resolution and field of view, and I thus sold my ZWO ASI224MC camera in mid-April 2022. I therefore can no longer report any further experiences with this camera here. |
Introduction
I borrowed the ZWO ASI224MC color camera from a starfriend at the beginning of April 2021 and bought it from him on April 25, 2021.
 |
 |
 |
 |
 |
 |
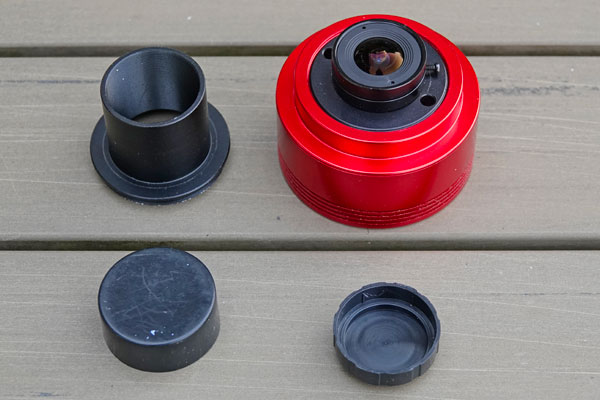
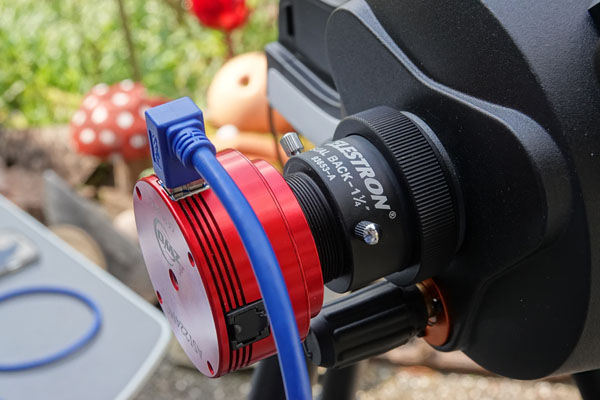
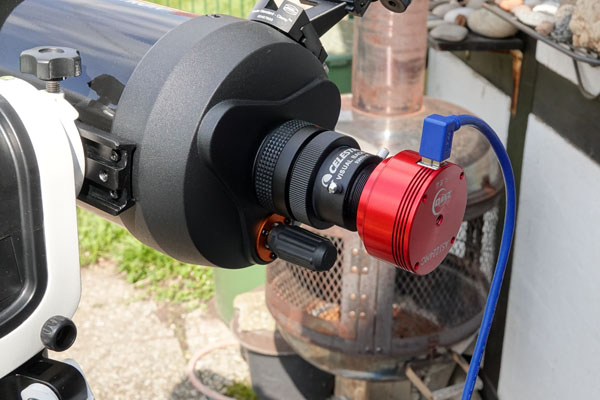
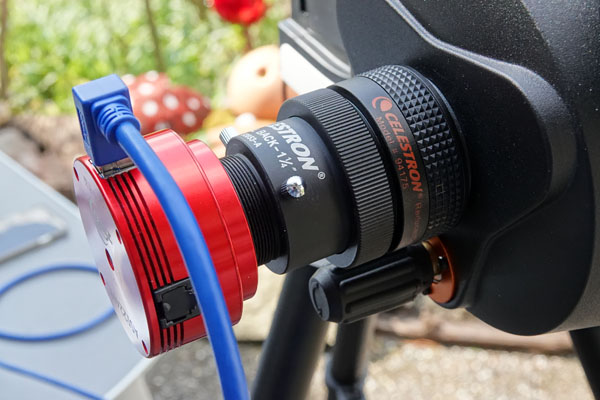
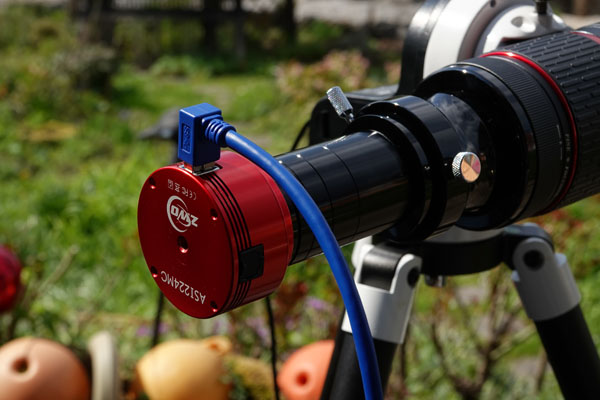
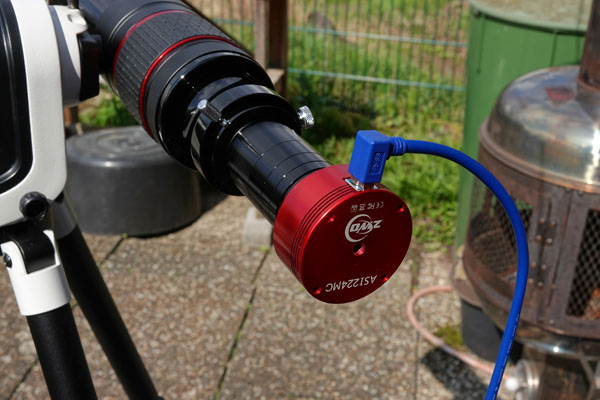
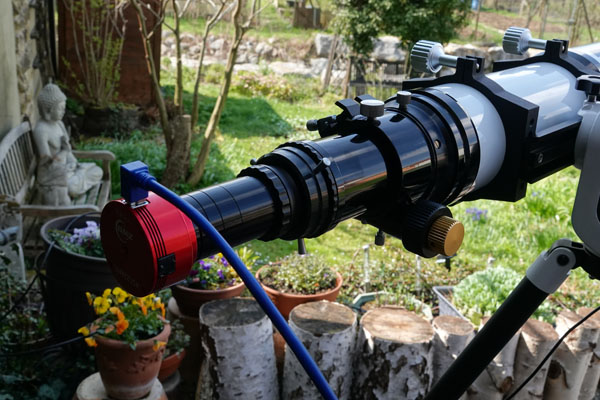
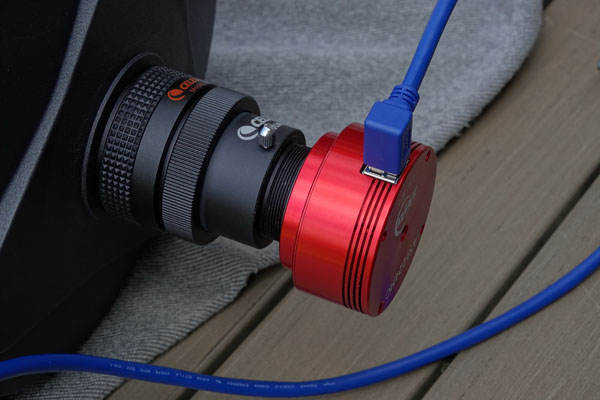
Just as a reminder how the ASI224MC camera looks like...
First Experiences
April 8, 2021: A Night Test with the PS 72/432
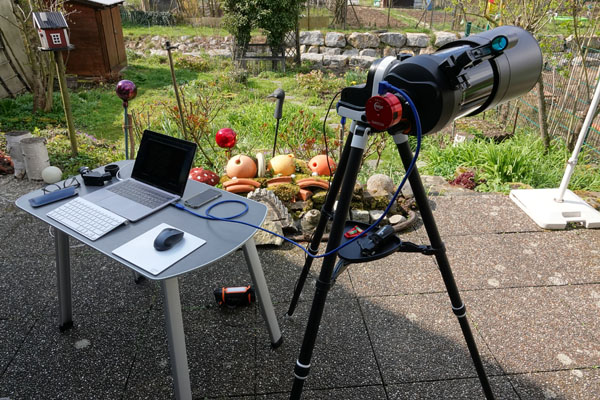
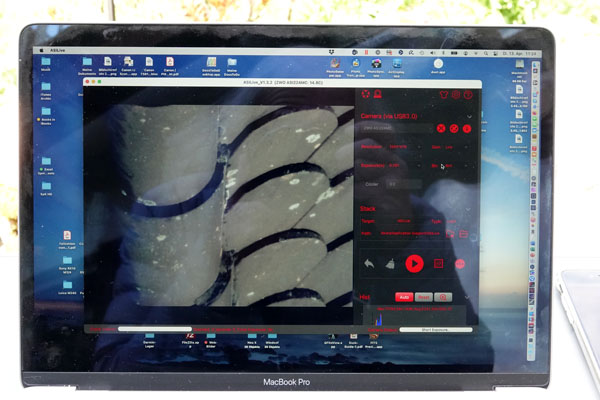
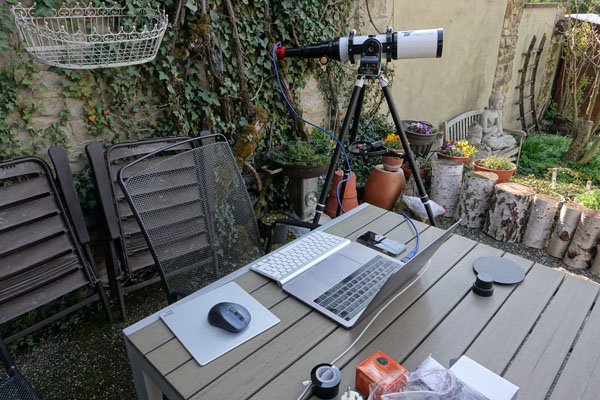
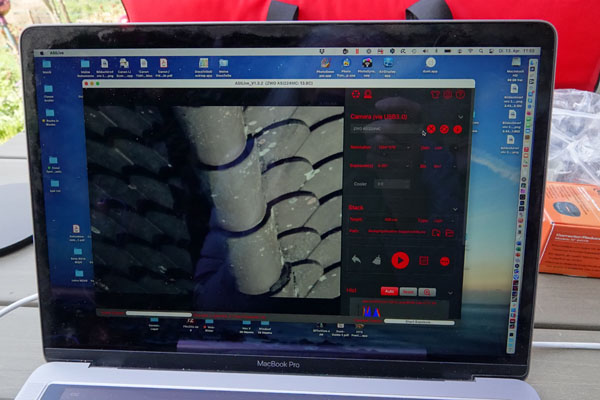
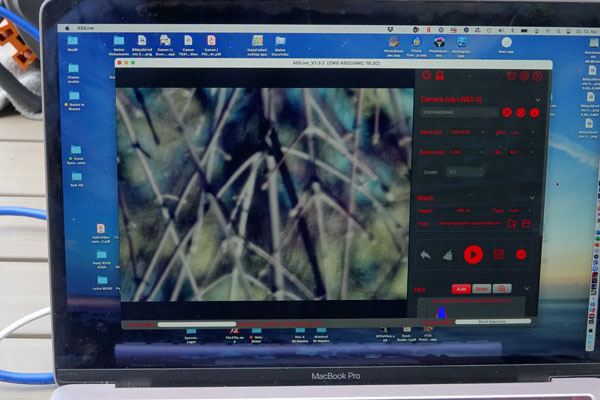
On April 8, 2021, I tried the ASI224MC camera for the first time at night. So the camera had its "first light", namely at my PS 72/432 refractor on the AZ-GTi mount (controlled via iPhone with the SynScan app). I used the camera software ASI Live, because this also runs on the Apple Macintosh under OS X and because it is easier to use than SharpCap. Moreover, the latter can only be operated under Windows (on the Mac using an emulator). I did not use dark frames, so hot pixels and amp glow were more or less visible.
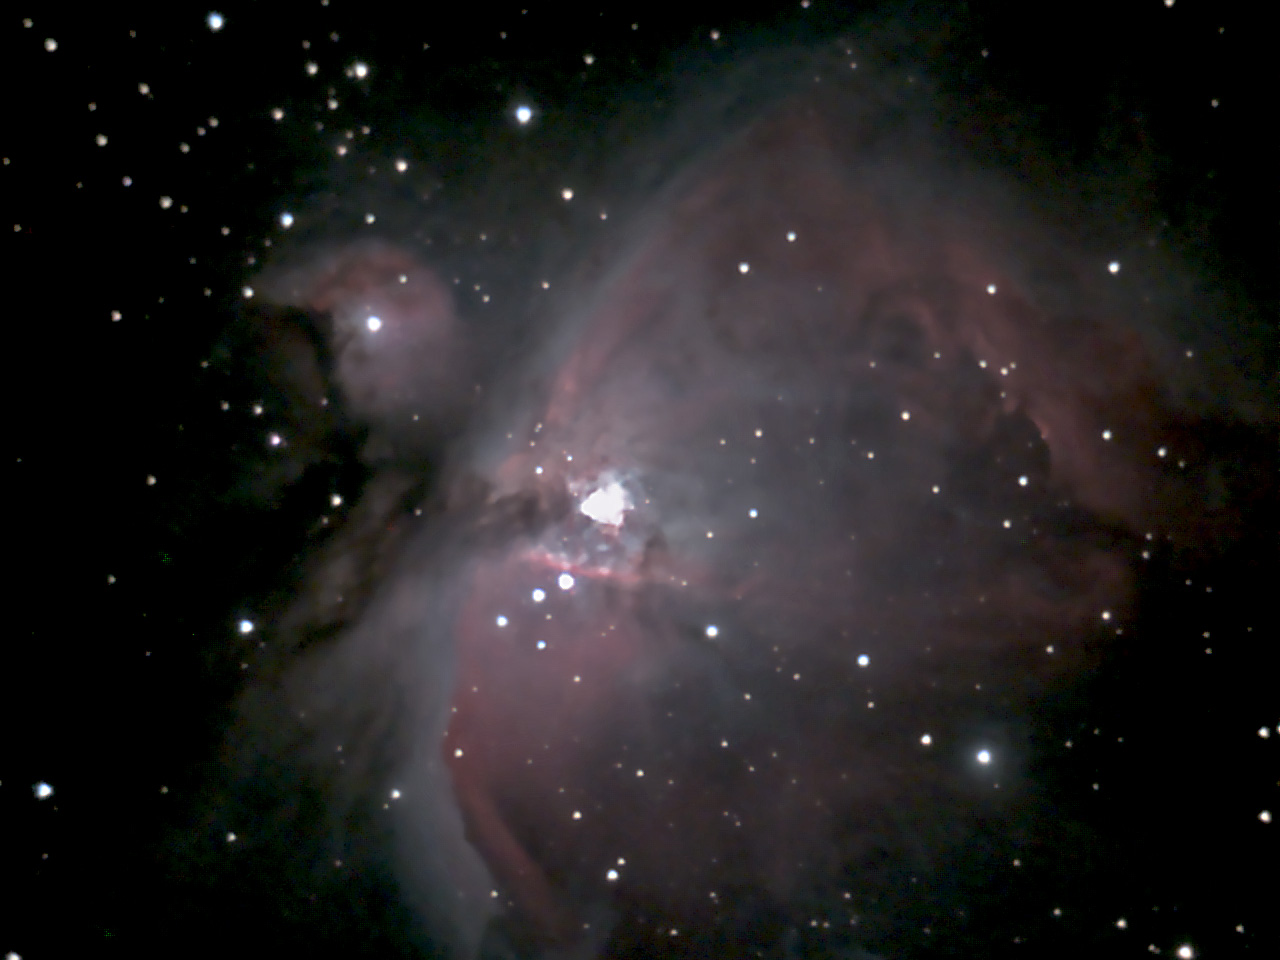
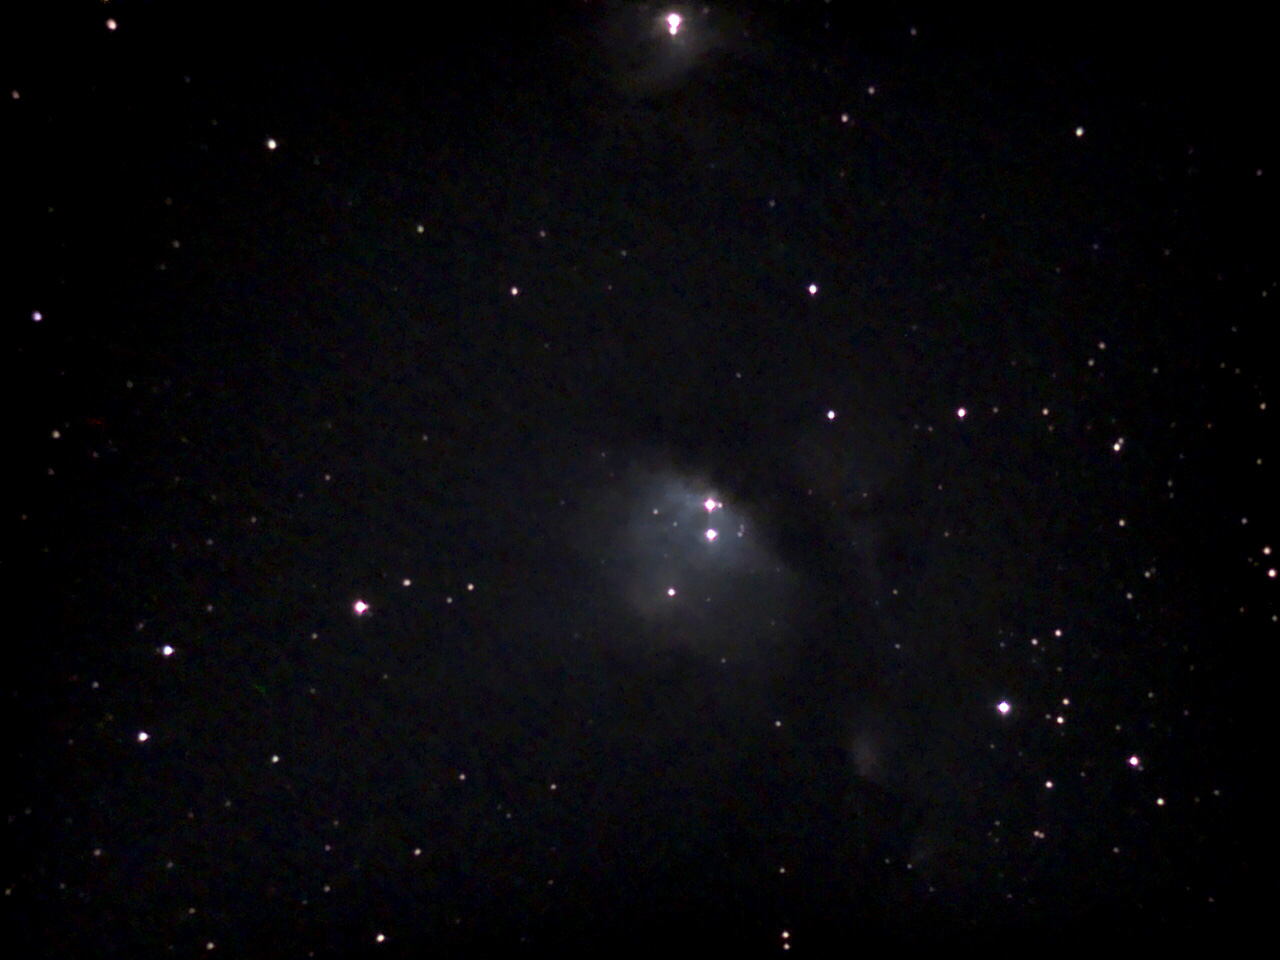
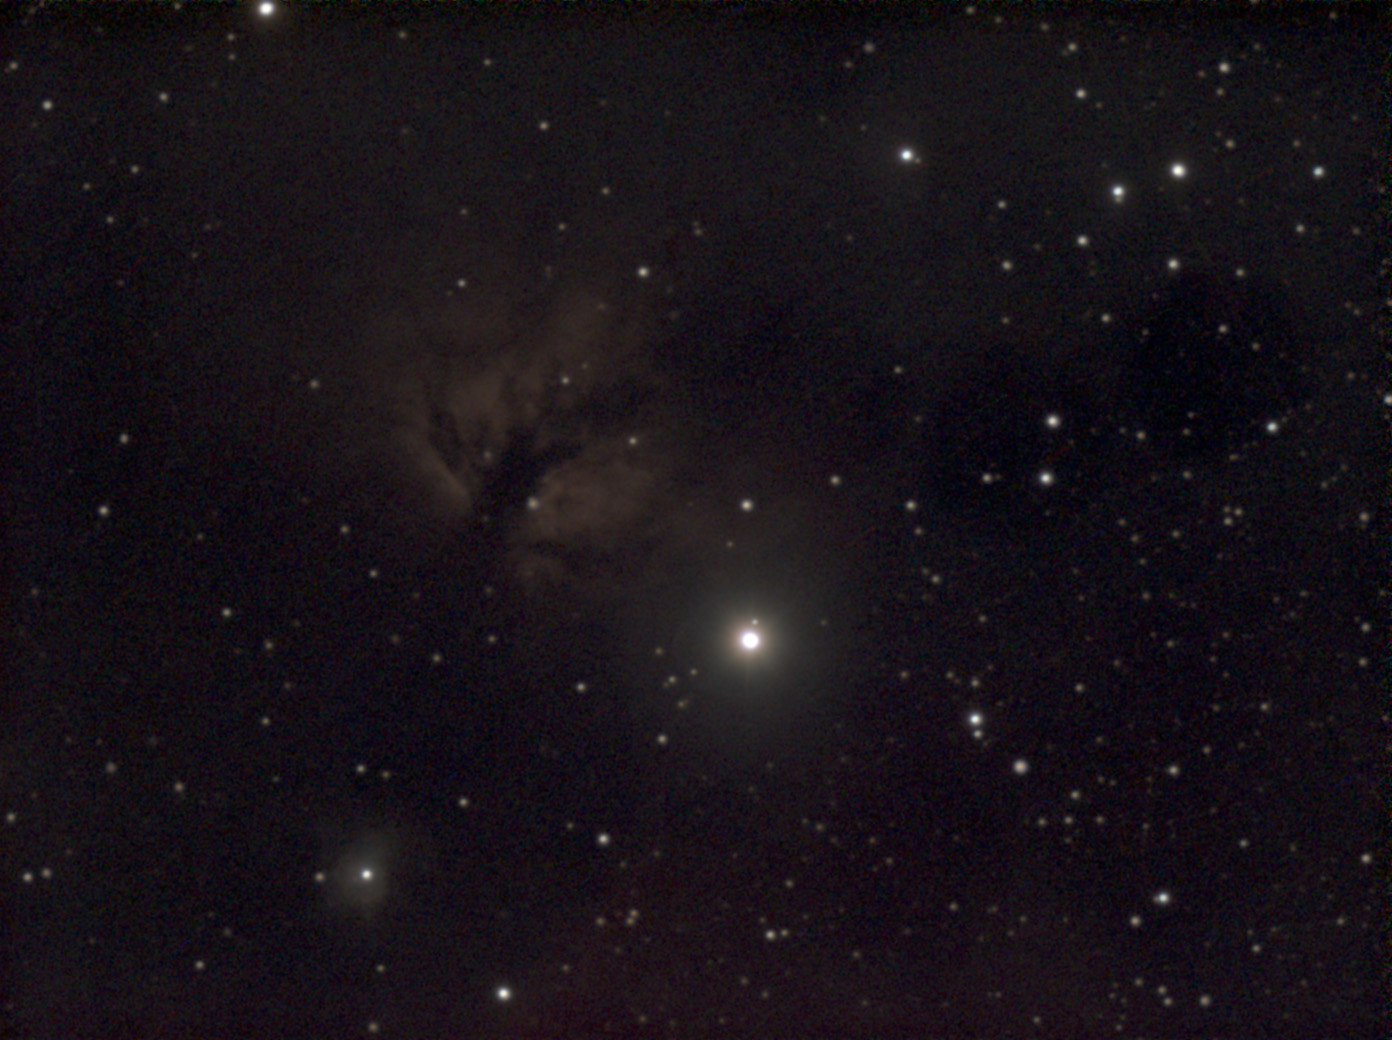
I started my session with the Orion Nebula M 42/43 before supper, tracked the nebula for about 20 minutes during supper (it was still in the eyepiece after that, but no longer at the center), and then continued with observing the Orion Nebula once more. Further targets were the Flame Nebula NGC 2024 (found via Alnitak), M 78, and finally M 96. I actually wanted to photograph M 105, missed it, and after some searching finally found M 96 - and stayed there to make things easier for me.

M 42/43 (16 frames, 10 s, gain 134) |

NGC 2024 (30 frames, 10 s, gain 300) |
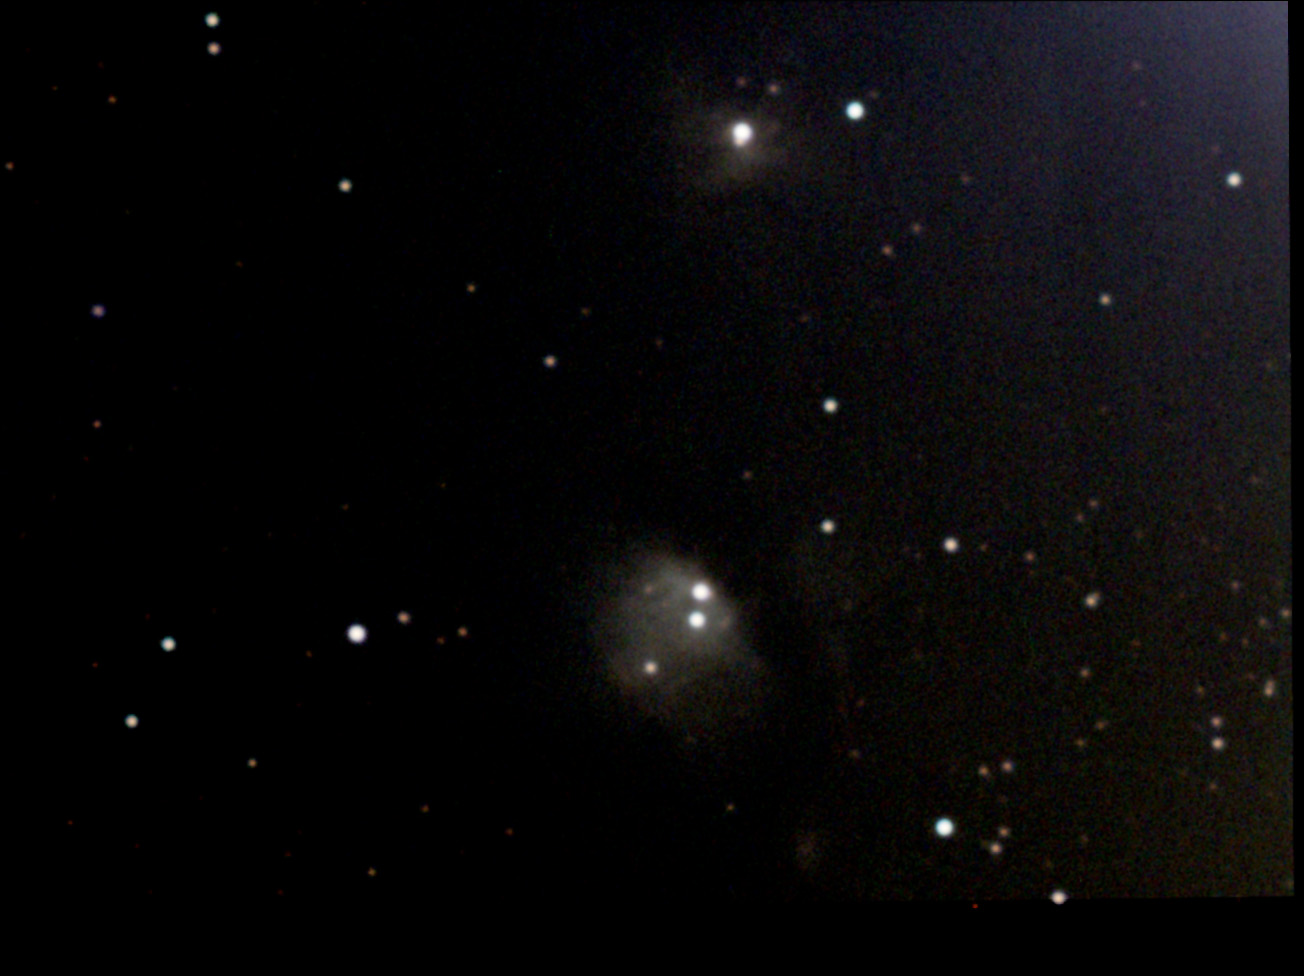 M 78 (30 frames, 10 s, gain 300) |
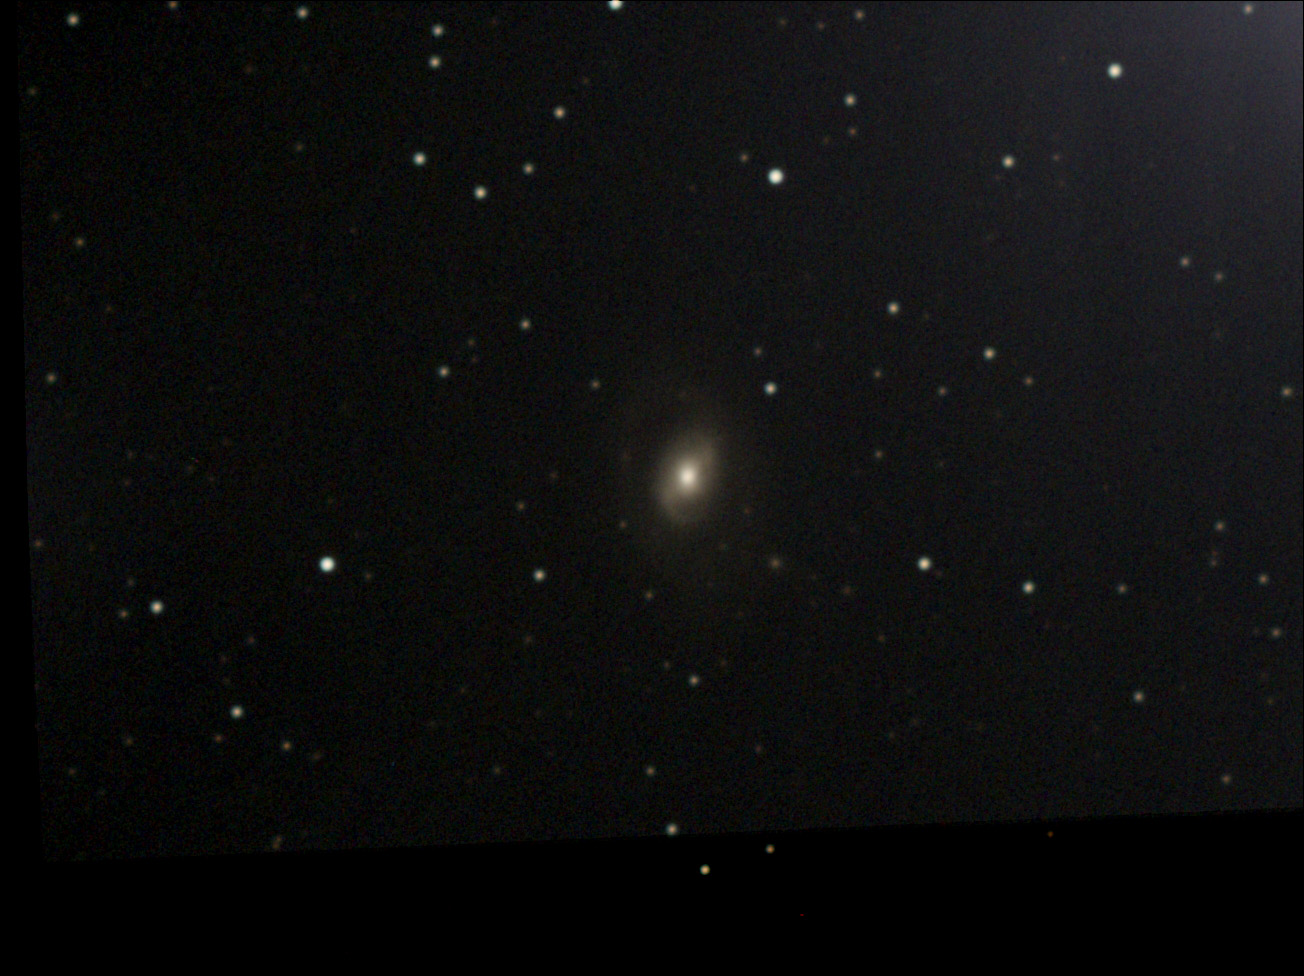
M 96 (30 frames, 10 s, gain 300) |
Overall, the results were not convincing, but I was glad to have found and photographed anything at all with the unfamiliar camera and camera software! In the end, I first had to learn how to control the camera with ASI Live. This involved setting the exposure time, the gain (amplification = ISO), handling the brightness control for the image, and last but not least, saving the photos. Not all questions have been answered so far!
When looking at the photos after the fact, I notice bloated stars and some blurring of the finer structures. This could be due to inaccurate focusing, but considering the later results, I rather guess that the lack of a UV/IR cut filter is the cause.
Addition (April 10, 2021)
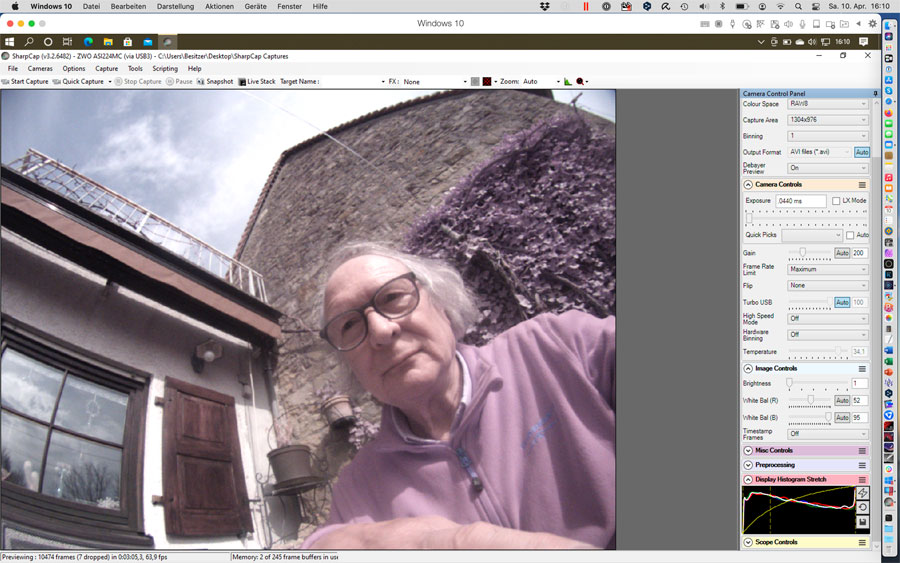
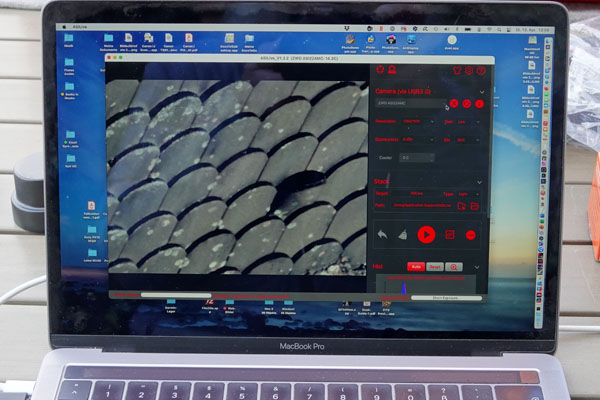
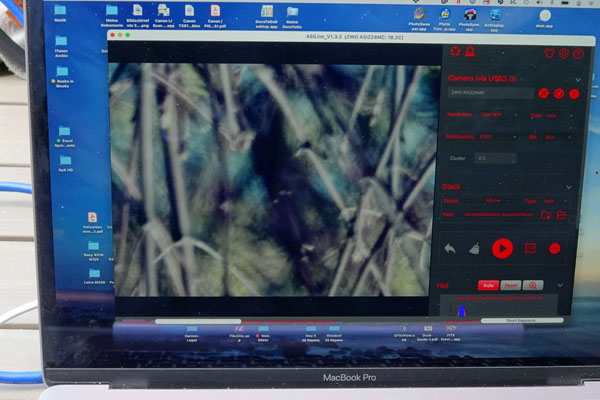
On April 10, 2021 I downloaded SharpCap, and after I had also installed the ASI driver, the ASI224MC appeared in SharpCap's camera menu. So I was able to take first pictures with the panorama lens during daytime and fiddle a little bit around with SharpCap.
April 12, 2021: A Night Test with the C5
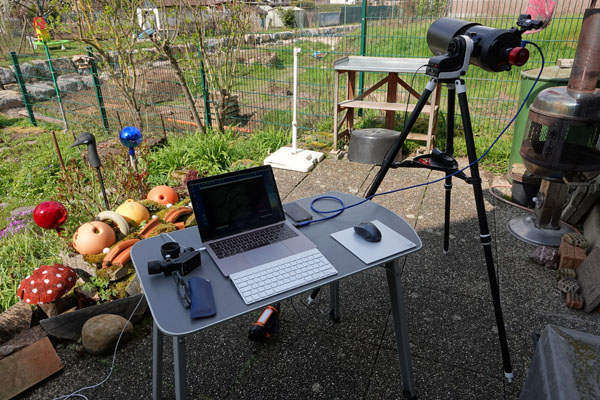
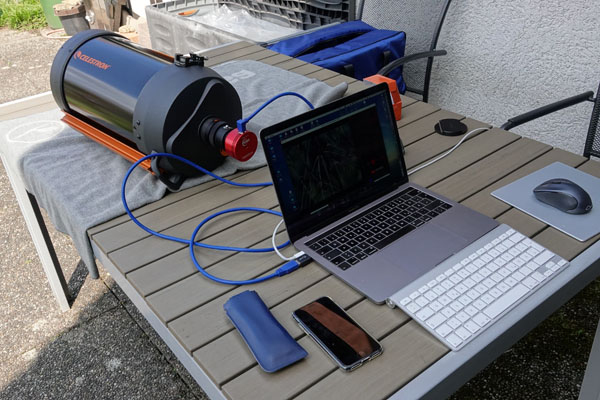
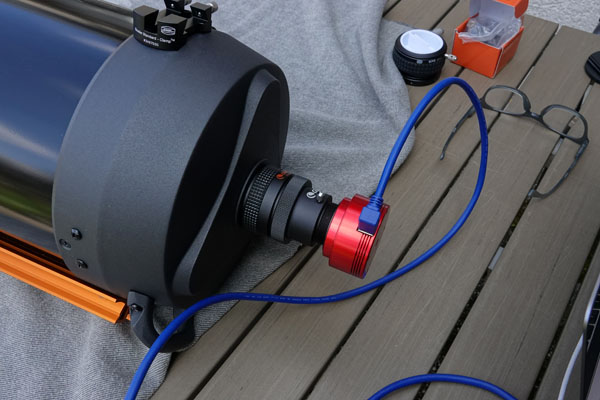
On April 12, 2021 I did another test with the ZWO ASI224MC, namely on the Celestron C5 with f/6.3 reducer/corrector on the AZ-GTi mount.
Unfortunately, I had start the observations late, so that the Orion Nebula M 42/43 was already hiding in the trees. The alignment worked reasonably well, but I had problems with the focusing at the beginning, which cost me some time. Only after focusing on a lighted window in the distance, I managed to get stars in focus. I then tried to photograph M 65 and later M 105, but was not able to take any photos, because the stacking did not work. Either the ASILive application detected too few stars, or it "was not able to form matching triangles," whatever that means. Thus, virtually all frames were rejected during stacking, so that I was not able to take any photos. The FWHM values were OK though, indicating adequate sharpness. Initially, I could not find any dew on the C5's Schmidt plate, but when I stopped my session in frustration after about an hour, it was partially covered with dew. Whether the dew or poor focusing was responsible for my failure, I cannot say in retrospect. In any case, the C5 magnifies much more than my small refractor, so that perhaps for this reason, too, fewer stars were in the image frame... By the way, it was new moon, so actually ideal conditions for astronomy photos!
April 13, 2021: "Dry Run" with 4 Telescope Tubes (6 Conditions)
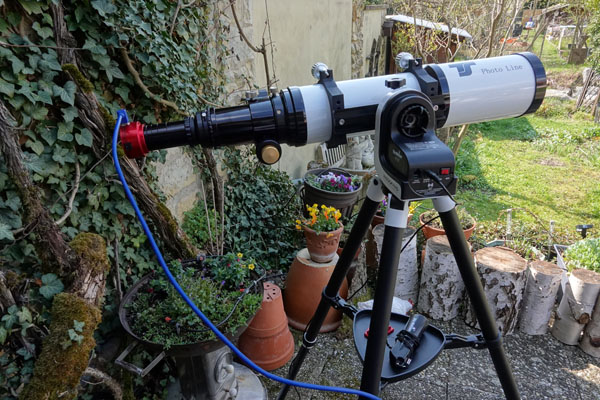
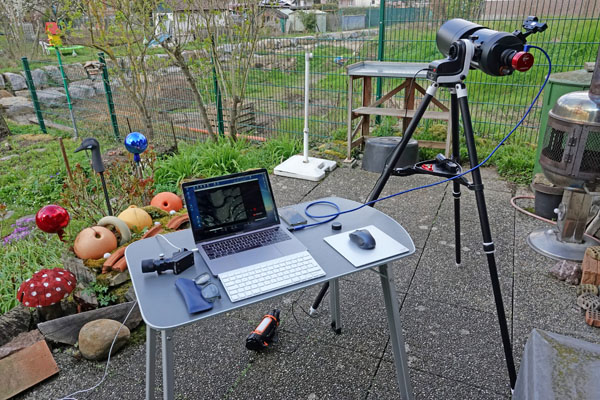
On April 13, 2021, that is, on the next day, I performed a "dry run " with the ASI224MC at all my telescope tubes to make sure that "in principle" they all come into focus; I tested the Celestron tubes with and without an f/6.3 reducer/corrector. This was indeed the case! So all my tubes should come into focus at night as well!
C5 |
C5 |
C5 |
C5 |
C5 with reducer/corrector |
C5 with reducer/corrector |
C5 with reducer/corrector |
C5 with reducer/corrector |
C5 with reducer/corrector |
PS 72/432 |
PS 72/432 |
PS 72/432 |
PS 72/432 |
PS 73/432 |
TLAPO1027 |
TLAPO1027 |
TLAPO1027 |
TLAPO1027 |
TLAPO1027 |
TLAPO1027 |
C8 with reducer/corrector |
C8 with reducer/corrector |
C8 with reducer/corrector |
C8 with reducer/corrector |
C8 |
C8 |
C8 |


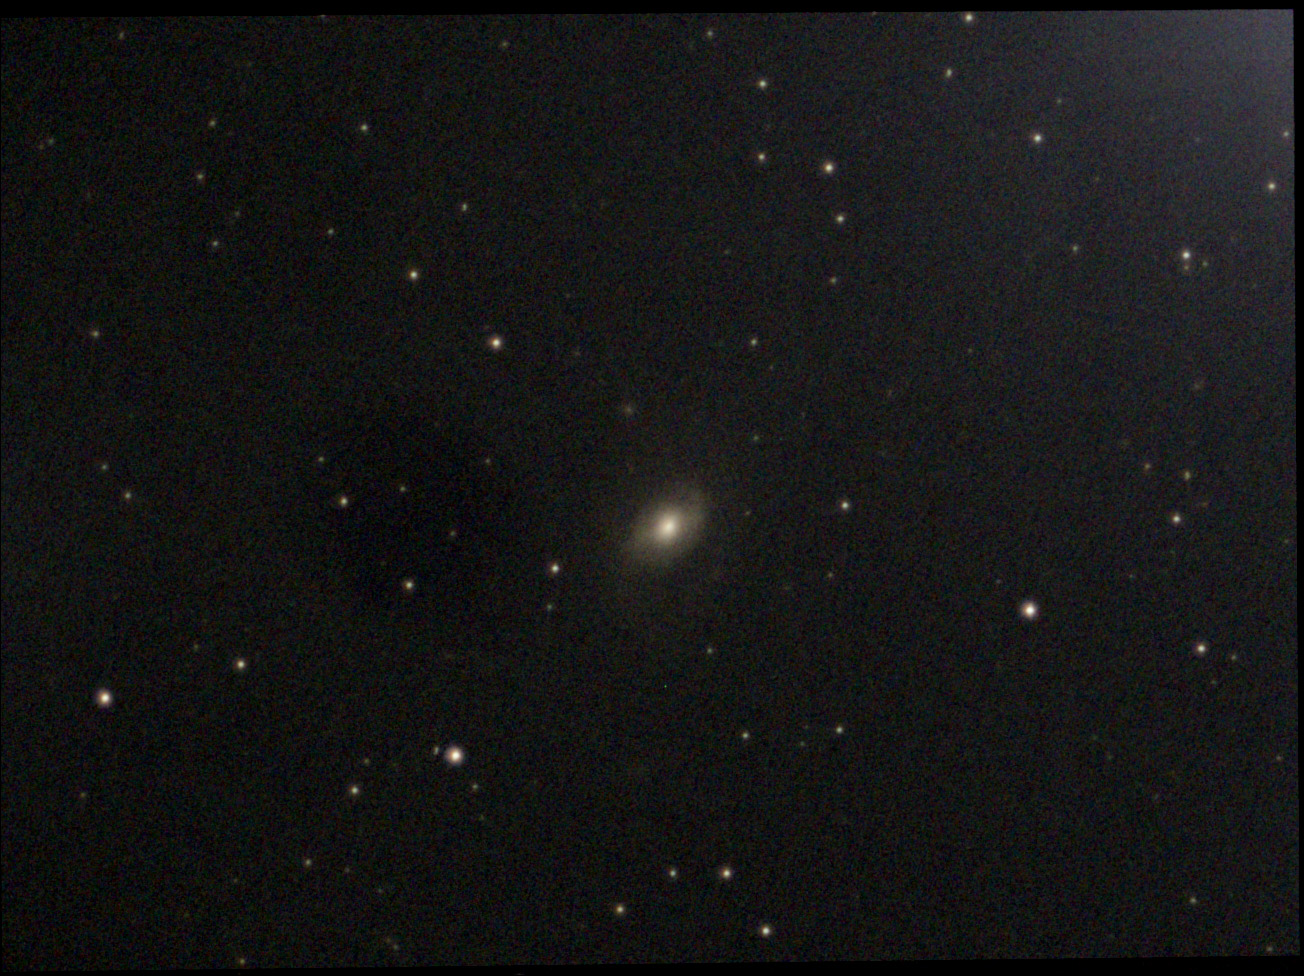
April 13, 2021: Another Re-Test with the C5 and the PS 72/432
On April 13, 2021, I tested the ASI224MC camera for the third time at night, at the C5 with f/6.3 reducer/corrector and at my PS 72/432 refractor, both on the AZ-GTi mount (controlled via iPhone with the SynScan app). Again, I used ASILive as my camera software. And once again, I did not use dark frames because I still did not know how to create them in ASILive.
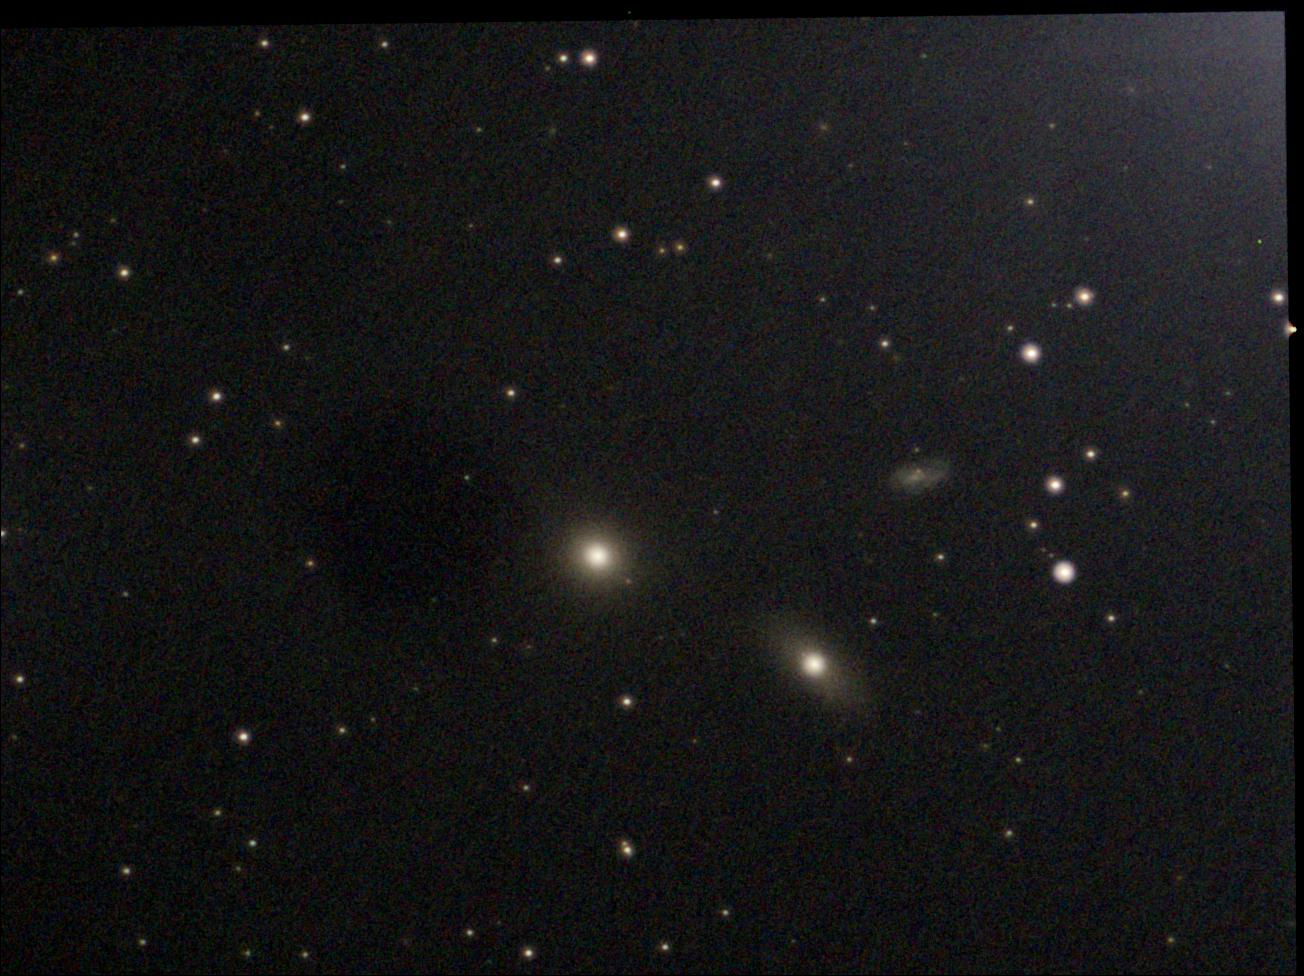
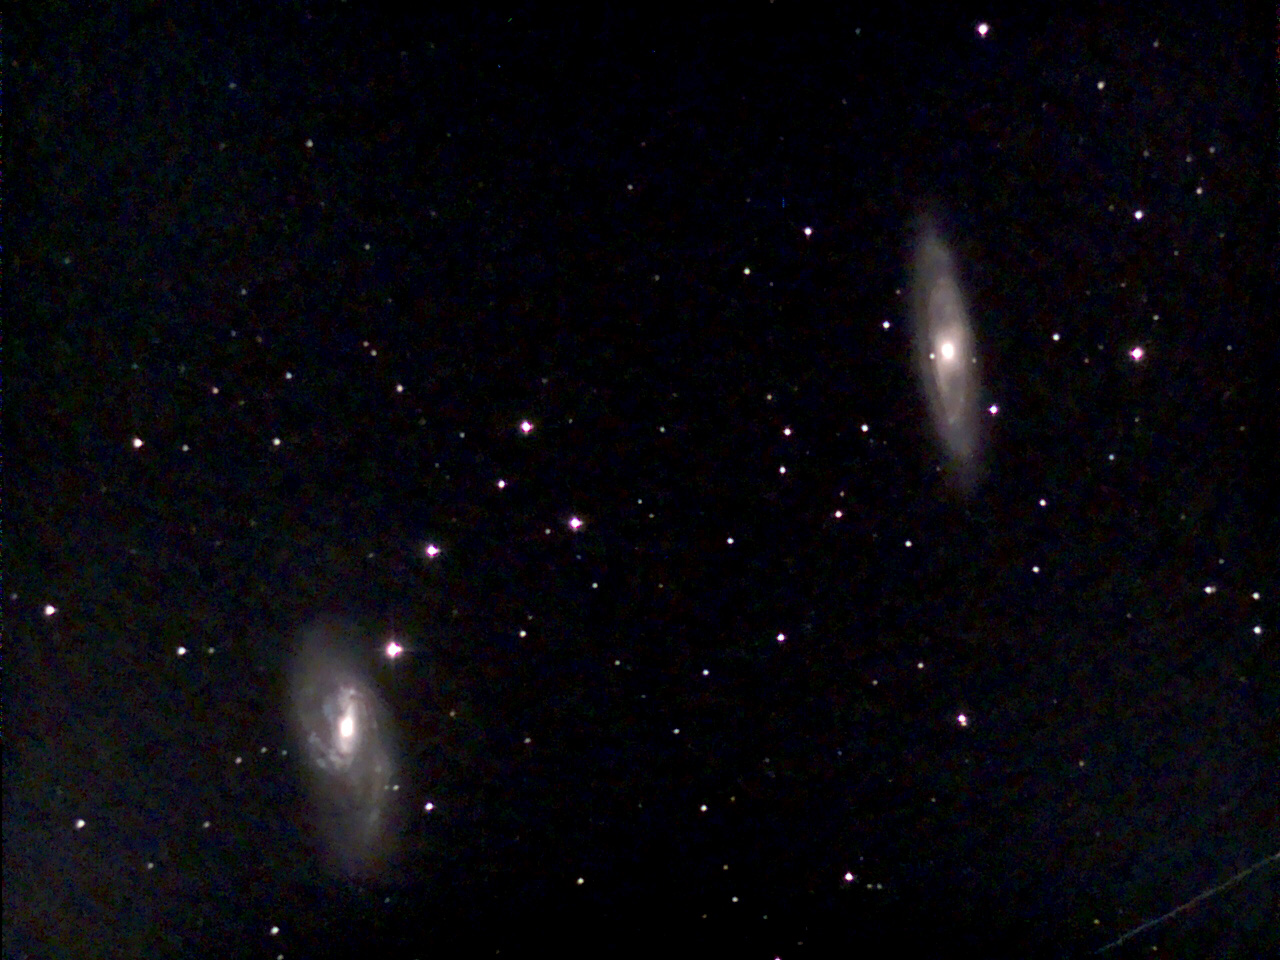
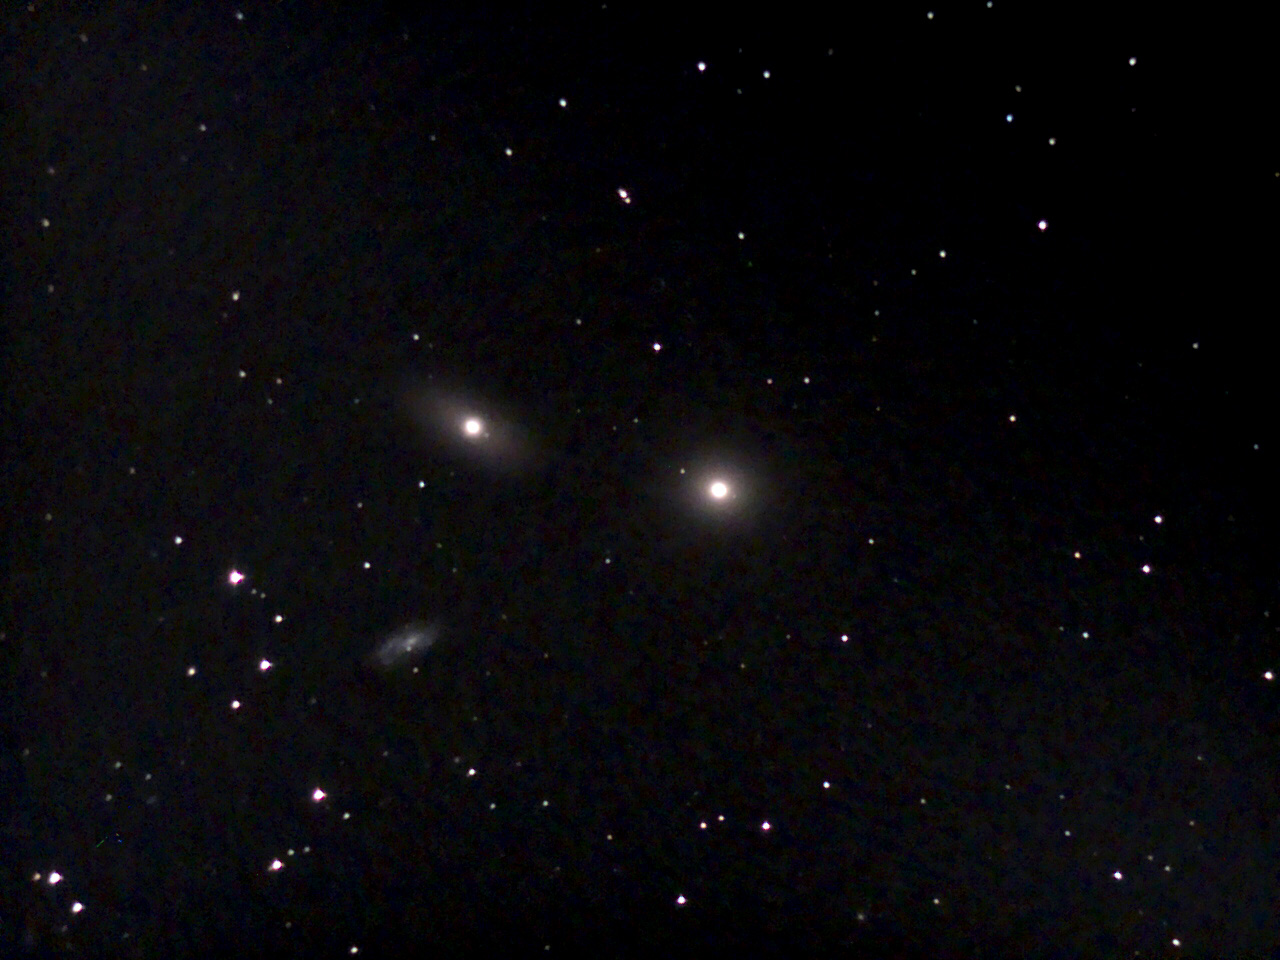
With the C5, I was not able to take usable photos (M 42/43, M 78) because the stacking aborted nearly immediately. With the PS 72/432, things went better, and I was able to observe and photograph the following sky objects, all of them being galaxies: M 65/66, NGC 3628, M 105, M 95, M 96, and M 51. The stars were once again a bit blown up...
M 51 (50 frames, 10 s, gain 134) |
M 51 (76 frames, 10 s, gain 300) |
M 65/66 (31 frames, 10 s, gain 0) |
M 95 (13 frames, 10 s, gain 300) |
M 96 (12 frames, 10 s, gain 300) |
M 105 (17 frames, 10 s, gain 300) |
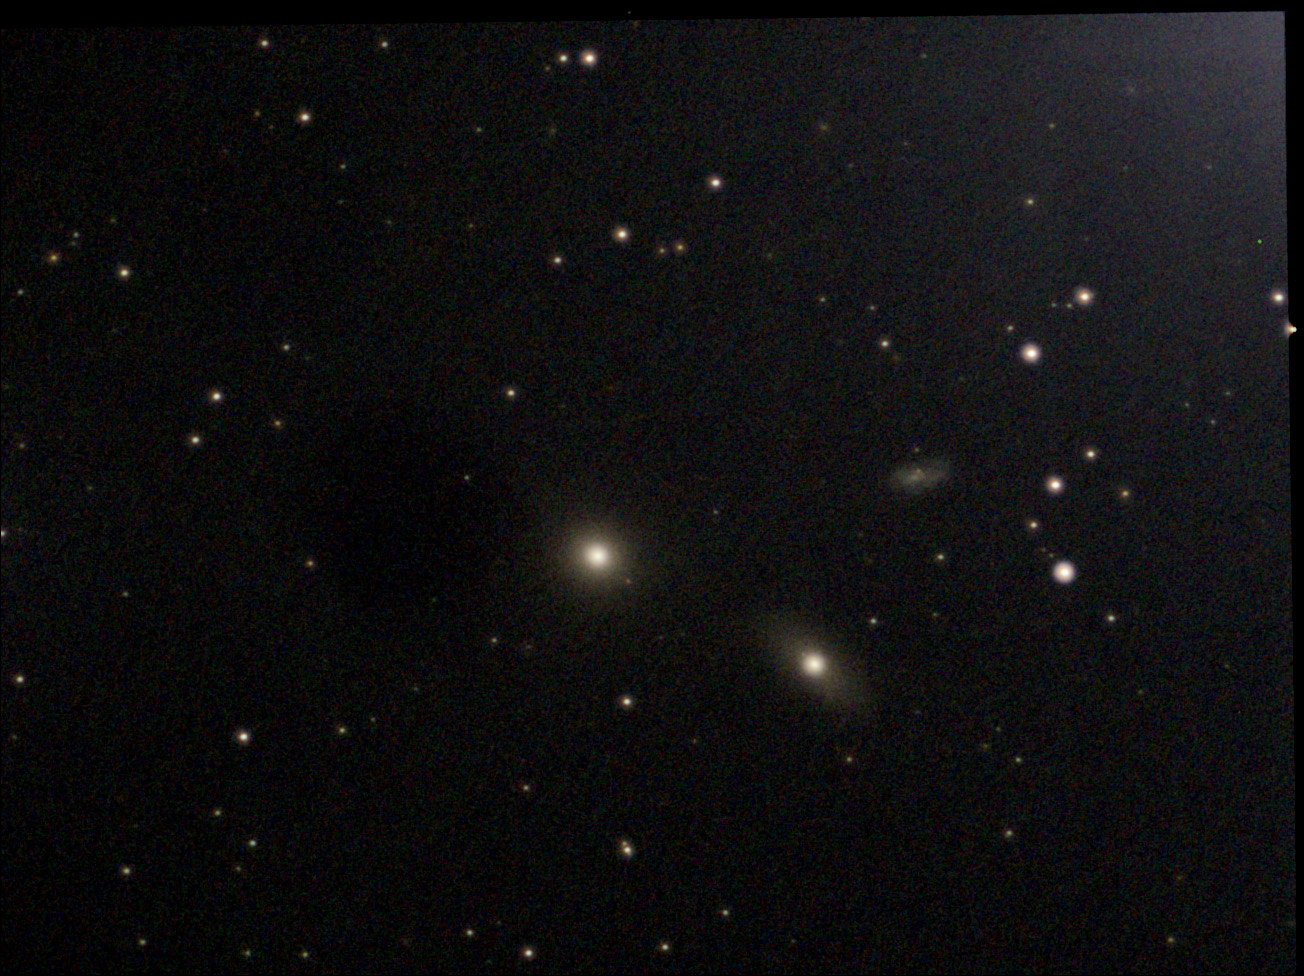
M 105 (17 frames, 10 s, gain 300) |
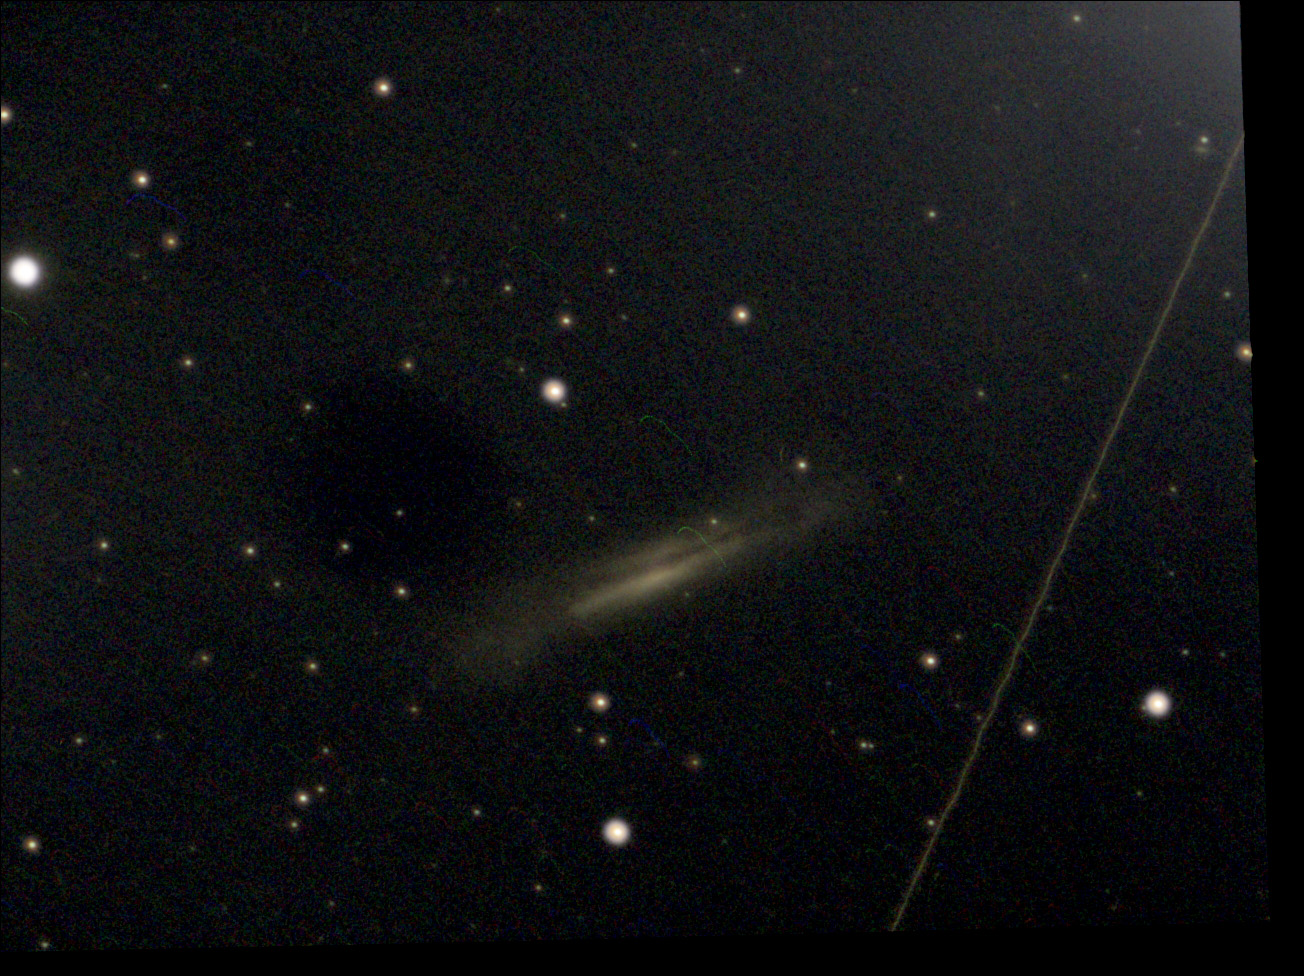
NGC 3628 (48 frames, 10 s, gain 134) |


The photos are in part JPG files and in part are based on FITS files. I adapted the latter in the ASI Fits viewer and processed them in Adobe PSE (like the JPG files). Sometimes, the JPG files are better, sometimes the ones that are based on the FITS files - I did not yet find a regularity for this...
When looking at the photos after the fact, I once gain notice bloated stars and some blurring of the finer structures. This could be due to inaccurate focusing, but considering the later results, I rather guess that the lack of a UV/IR cut filter is the cause.
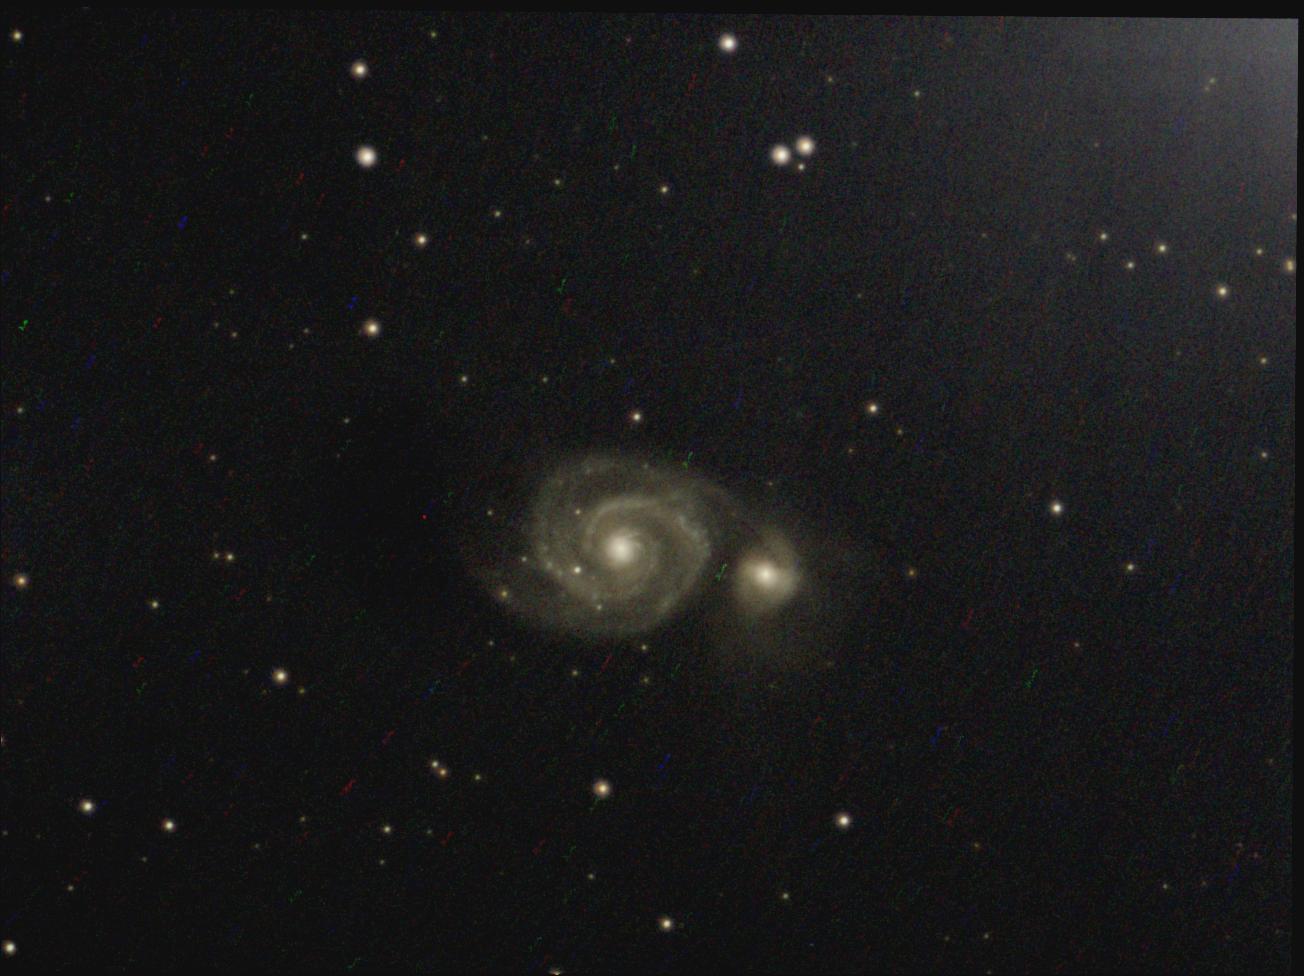
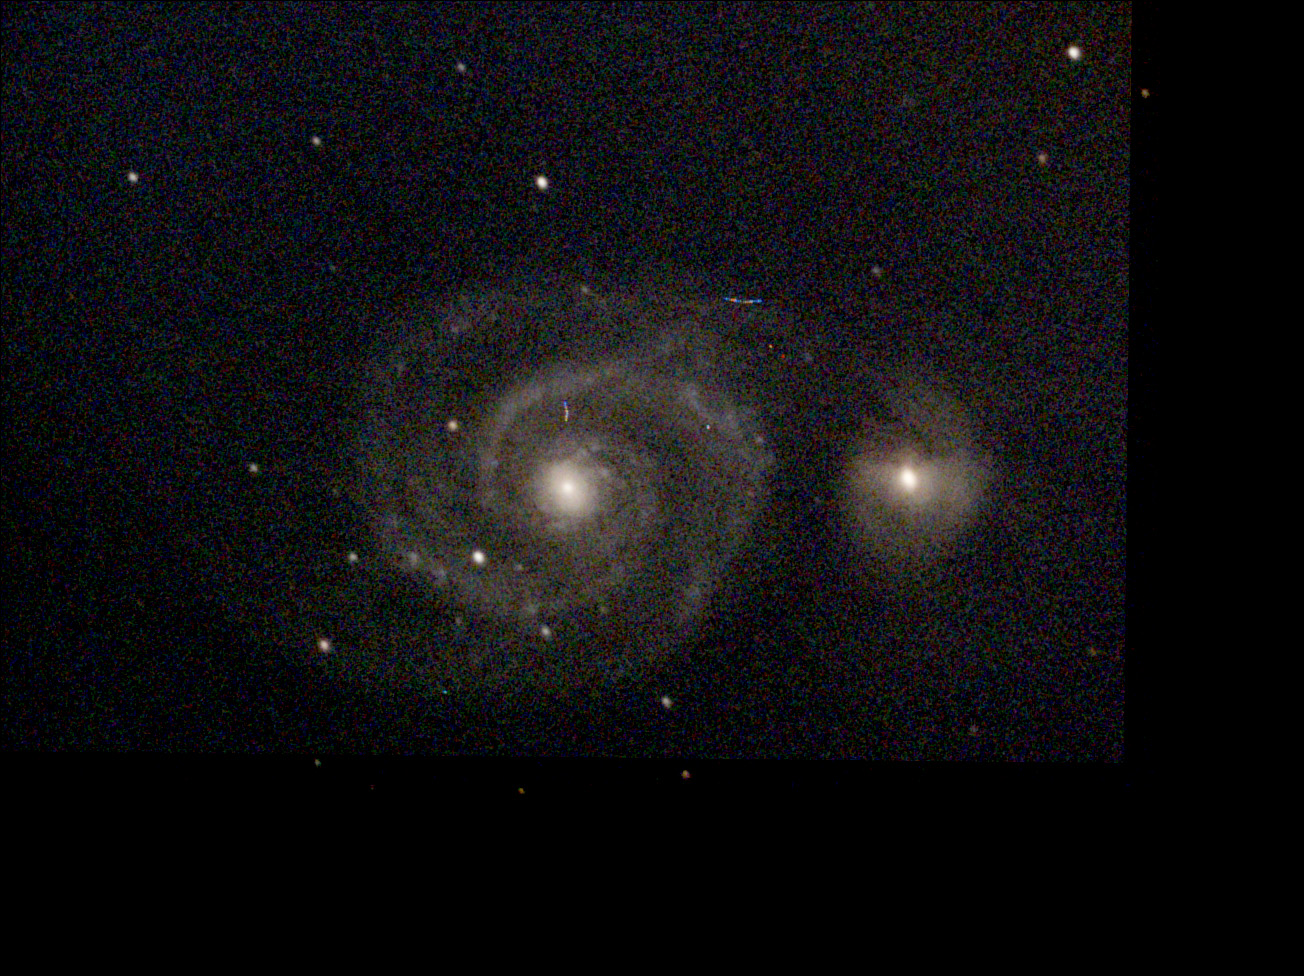
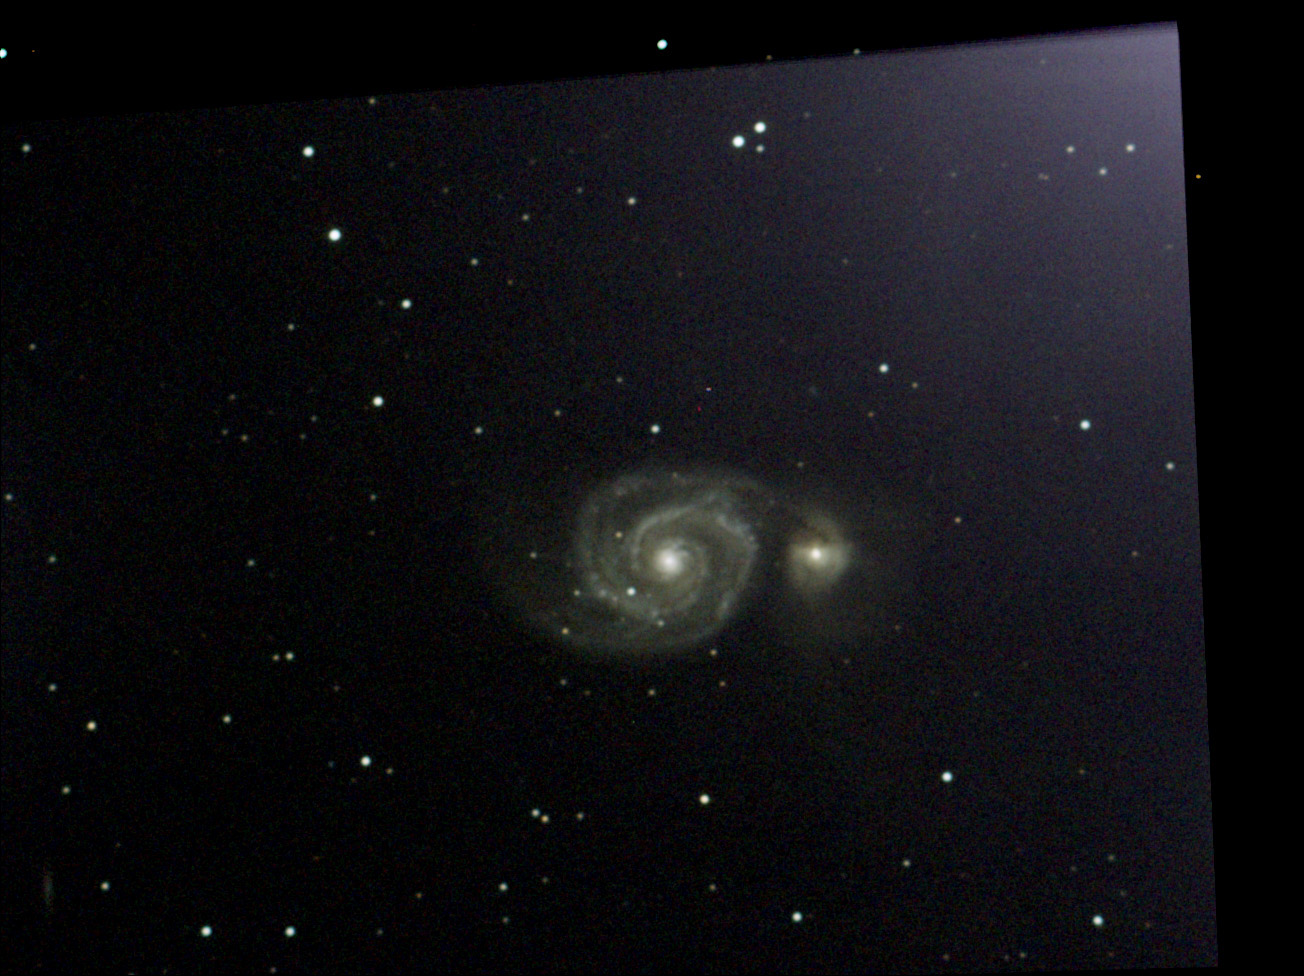
April 20, 2021: Night Test with PS 72/432 with and without UV/IR Cut Filter
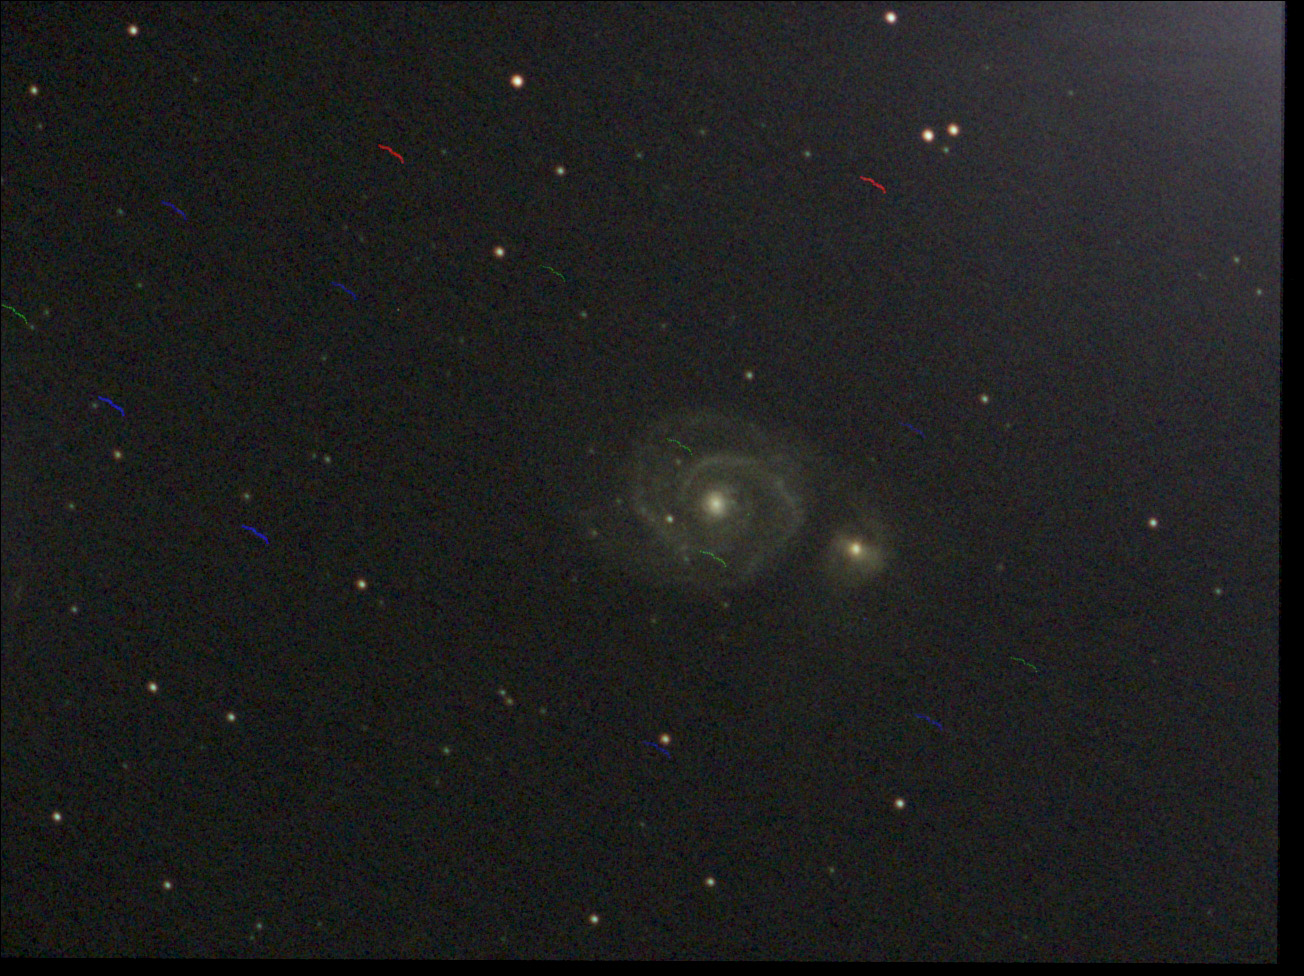
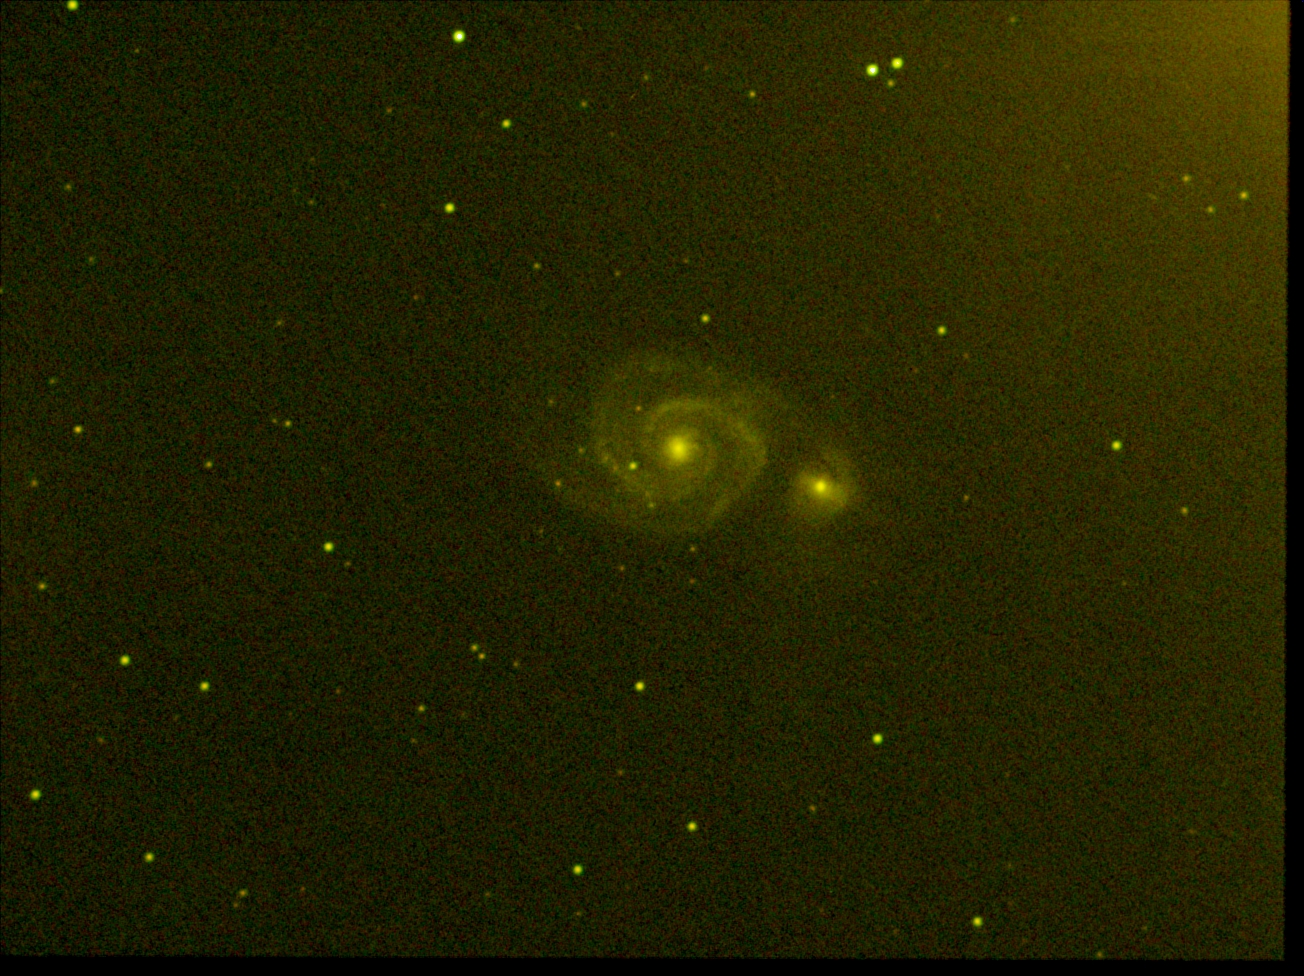
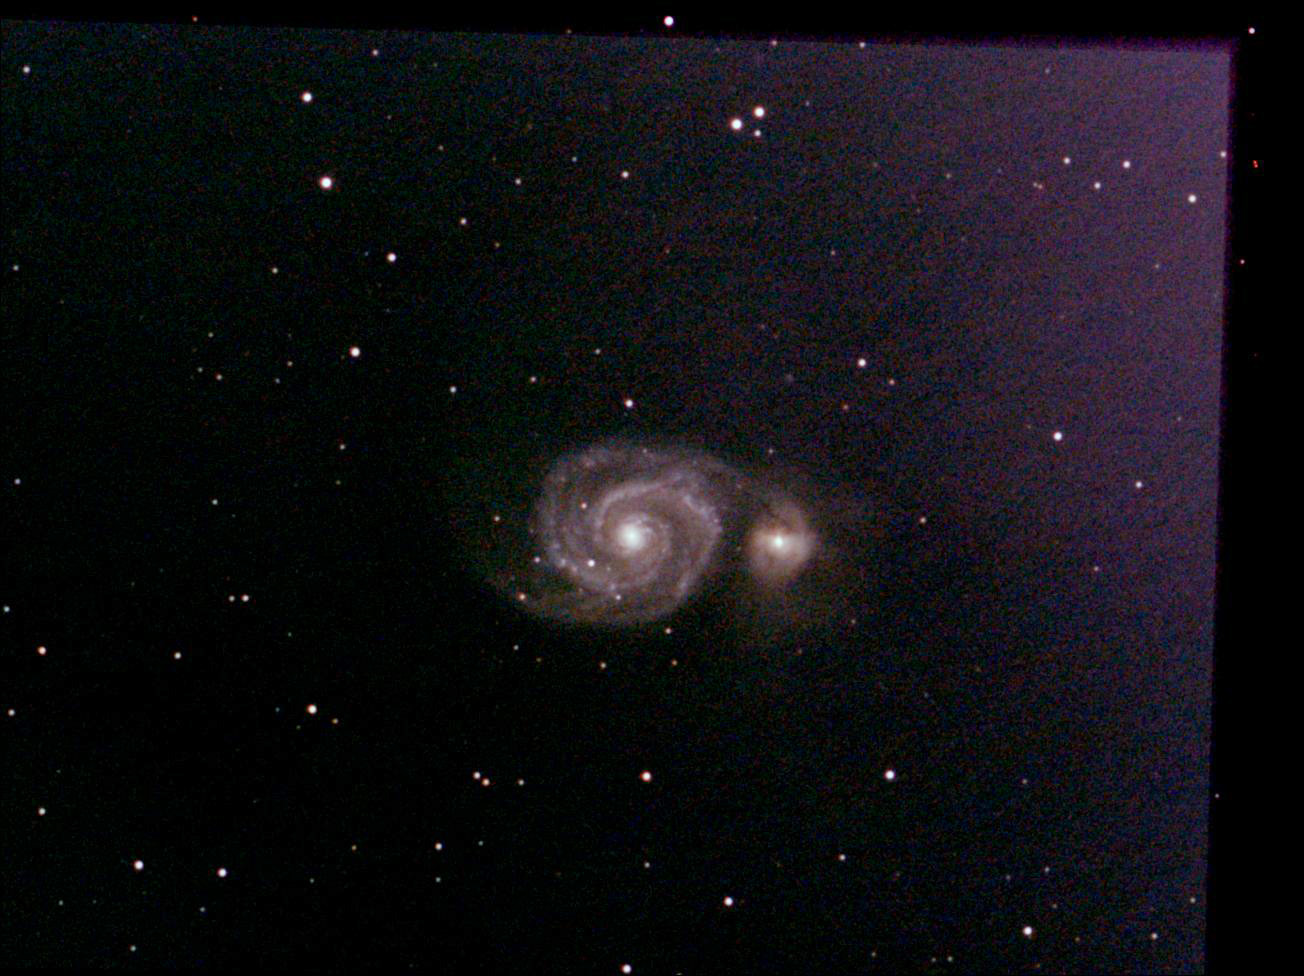
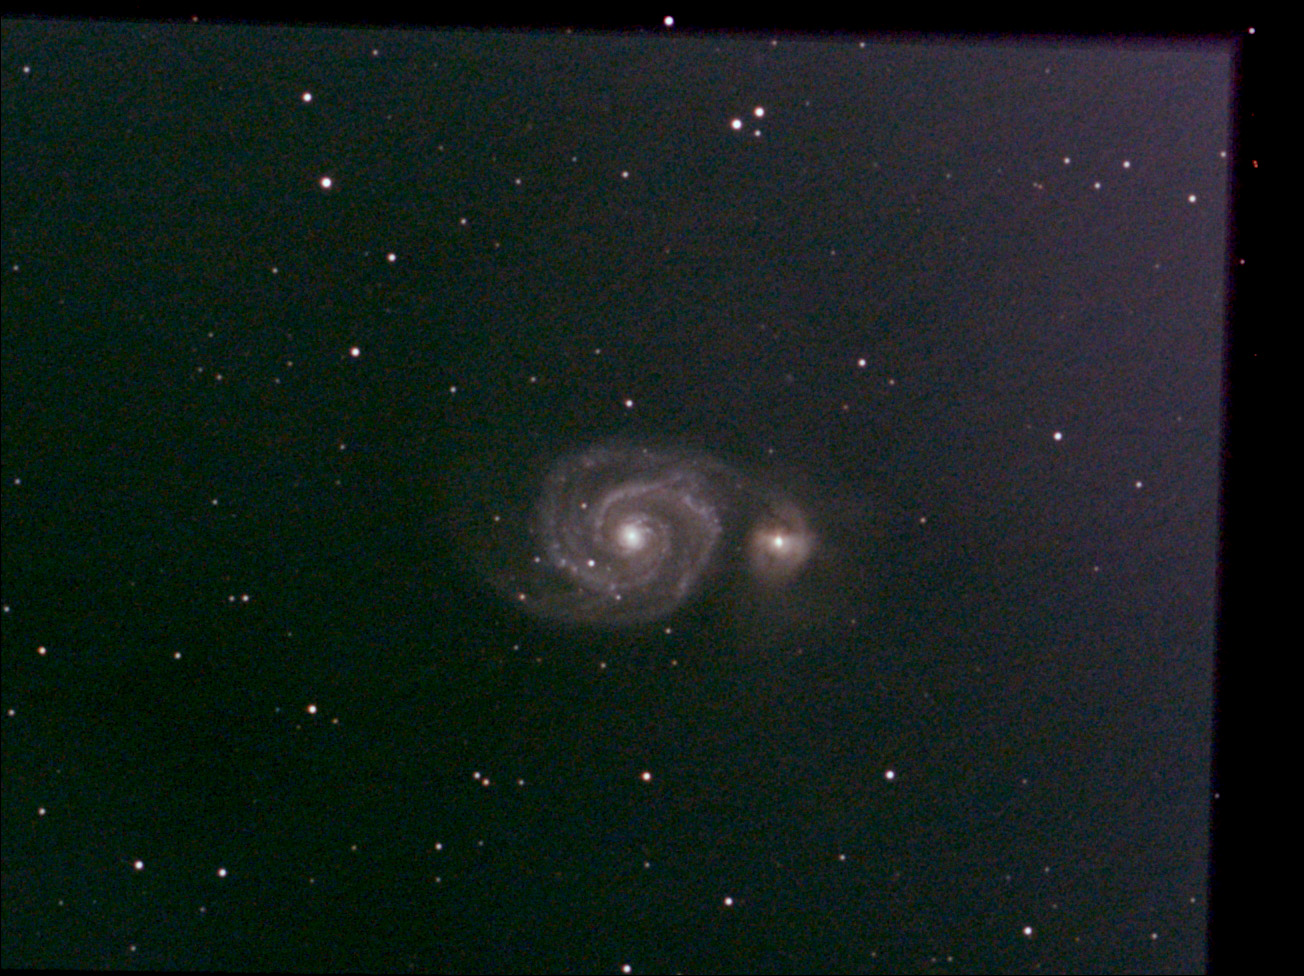
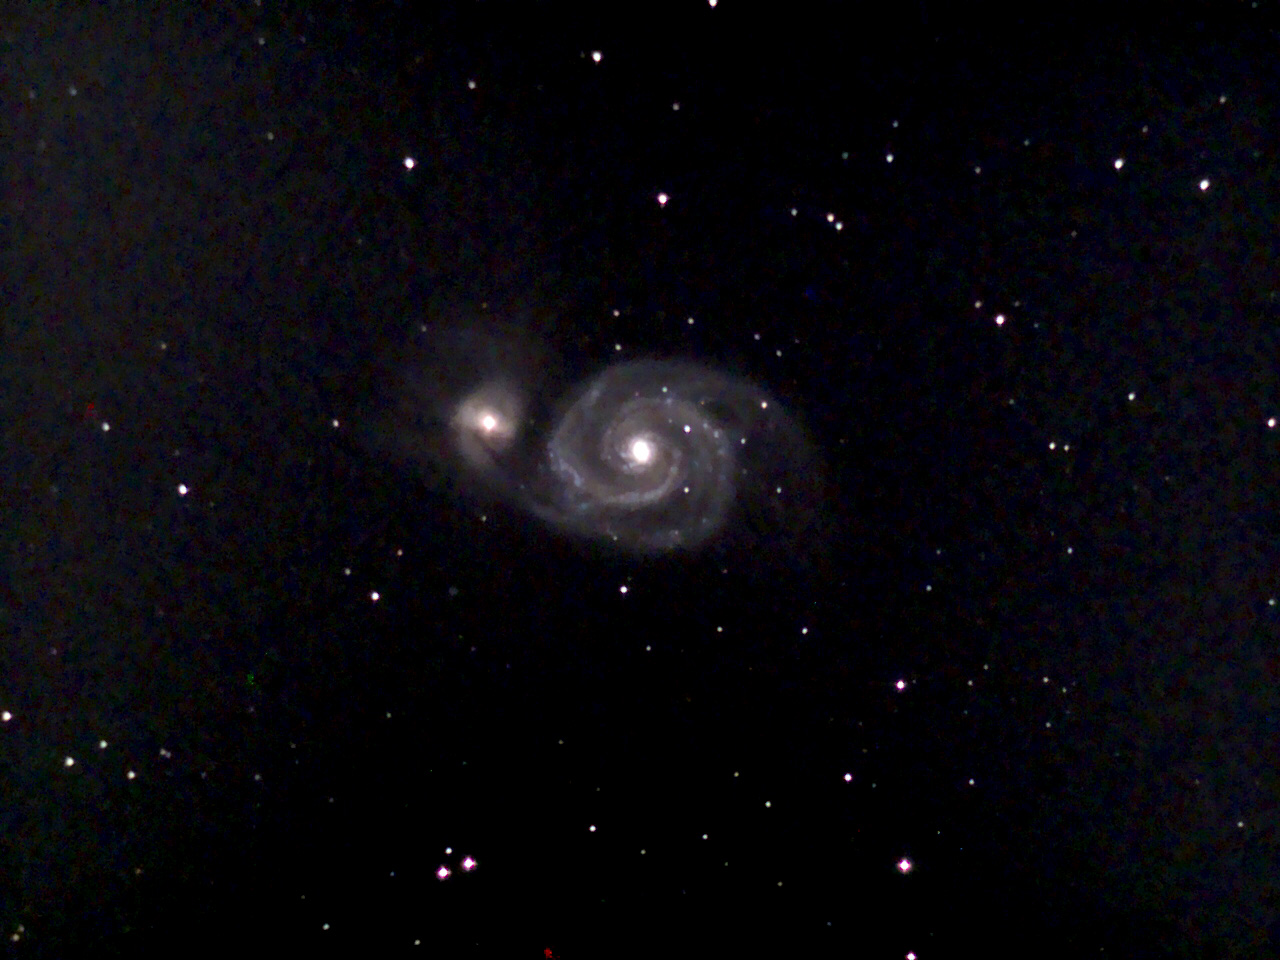
On April 20, 2021, I performed a test on the Whirlpool Galaxy M 51 in order to check whether a UV/IR cut filter (I had borrowed a corresponding Baader filter from a starfriend) can prevent or at least mitigate the "bloating" of stars that I had observed when using the PS 72/432 refractor (on AZ-GTi). I also wanted to test ASILive with darkframes - and maybe make first "real" attempts with SharpCap (also with darkframes that I had taken in the meantime). It turned out that this session became a disaster session!
First, the 1-star alignment of the AZ-GTi mount did not work! Despite having been in the "home position" when I switched the mount on, the tube always moved downward and did not turn to the south. Turning the tube over did not bring success either (turning over should be possible). Finally, I tried the Brightest Star alignment method (2 stars). This worked after I had moved the tripod so that Arcturus became visible to the telescope. After that, I approached M 51, and the mount tracked it quite well during the whole session (small corrections of the position were needed every now and then).
When using ASILive, I did not have the impression that the darkframes had any effect. I also had an error message that some unknown file would not exist - maybe that this was what the message was referring to... Anyway, as time went on, numerous hot pixels appeared, as well as amplifier glow. First I tested with an UV/IR cut filter, then without one. Without the filter, the stars seemed a bit more bloated, but that may have been due to poorer focusing (after removing the filter, I had to refocus). Considering the result of the previous evenings, however, I am fairly confident that the filter was indeed helpful.
M 51 (18 frames, 10 s, gain 300), ASILive, from FITS file and processed, with UV/IR cut filter |
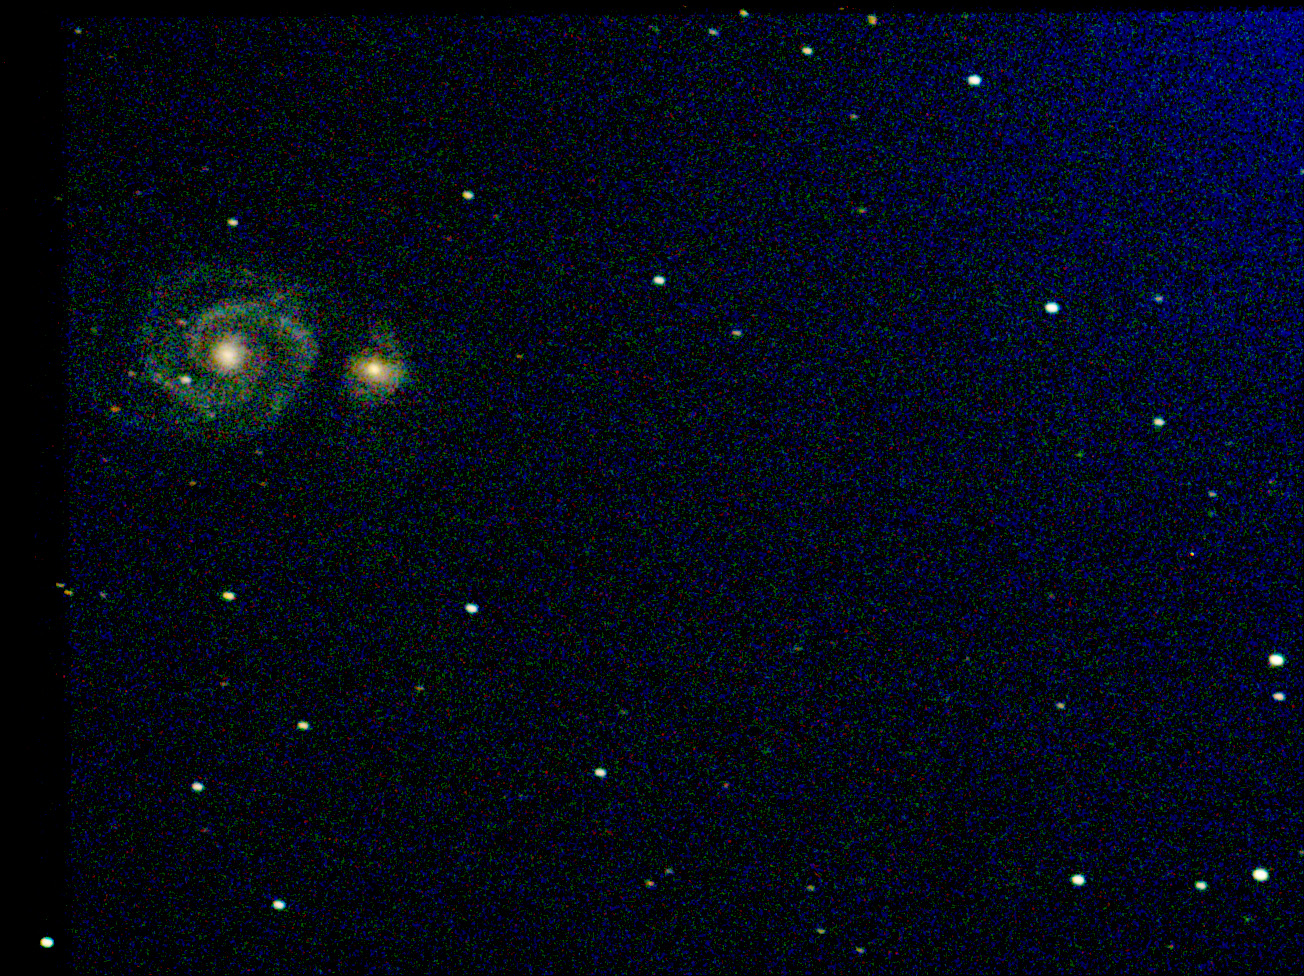
M 51 (18 frames, 10 s, gain 300), ASILive, from FITS file and processed, without UV/IR cut filter |

I then switched to SharpCap as camera control application and had massive problems with live stacking. Somewhat stable stacking was only possible with 12 seconds exposure time and gain 400 (10 seconds and gain 300 in ASILIve). Most annoying was, however, that the image appeared green, yellow, or reddish and could not be turned into a neutral hue using the color controls. Annoyed, I gave up! At least the darks worked somehow (but without much effect: no visible hotpixels, but amp glow). They seem to be selected automatically, which is very convenient.
Only afterwards, I noticed that SharpCap had saved many images in 32-bit Fits format (which the ASI FitsViewer cannot read...), probably because of the darkframes with higher bit depth that I had created in my second darkframe attempt... At least, I was able to create the following three sample photos from my 16-bit FITS files:
M 51 (16 frames, 12 s, gain 300), SharpCap, from FITS file, with UV/IR cut filter |
M 51 (21 frames, 12 s, gain 300), SharpCap, from FITS file, with UV/IR cut filter |
M 51 (17 frames, 12 s, gain 300), SharpCap, from FITS file, with UV/IR cut filter |
M 51 (16 frames, 12 s, gain 300), SharpCap, from FITS file, processed, with UV/IR cut filter |
M 51 (21 frames, 12 s, gain 300), SharpCap, from FITS file, processed, with UV/IR cut filter |
M 51 (17 frames, 12 s, gain 300), SharpCap, from FITS file, processed, with UV/IR cut filter |
On the basis of the star images I cannot recognize any effect of the UV/IR cut filter; I assume that the filter was installed all the time (regrettably, I did not take notes). The color change in the later images might be caused by the stronger influence of the moon. The subsequent ASILive images exhibit a color cast as well, but a violet cast instead of a yellow or green one as with SharpCap.
Finally, as already indicated, I had a second try with ASILive, where I activated "Remove Hotpixels". And indeed, hotpixels did no longer appear (or to a lesser degree only). So, the hotpixel removal in ASILive works without darkframes! But the amplifier glow appeared again, indicating that the darkframes seemed to be ineffective! But now, that is, about an hour later and with more moon light, the image had a purple color cast, which I was not able to fix in ASILive and in the ASI Fits Viewer.
Here again are the two photos from the first attempt with ASILive and one from the second one, this time exported from the ASI FITS viewer (with a histogram "stretch") and processed in Adobe PSE:
M 51 (18 frames, 10 s, gain 300), ASILive, from FITS file, with UV/IR cut filter |
M 51 (18 frames, 10 s, gain 300), ASILive, from FITS file, no UV/IR cut filter |
M 51 (37 frames, 10 s, gain 300), ASILive, from FITS file, with UV/IR cut filter |
M 51 (18 frames, 10 s, gain 300), ASILive, from FITS file, processed, with UV/IR cut filter |
M 51 (18 frames, 12 s, gain 300), SharpCap, from FITS file, processed, no UV/IR cut filter |
M 51 (37 frames, 10 s, gain 300), ASILive, from FITS file, processed, with UV/IR cut filter |

Since the histogram controls in ASIFitsView are a bit "fiddly", it is often a matter of luck what I "get out" of the FITS export... All in all, you should not take these examples too seriously, but keep in mind the hint that moonlight can "screw up" everything...
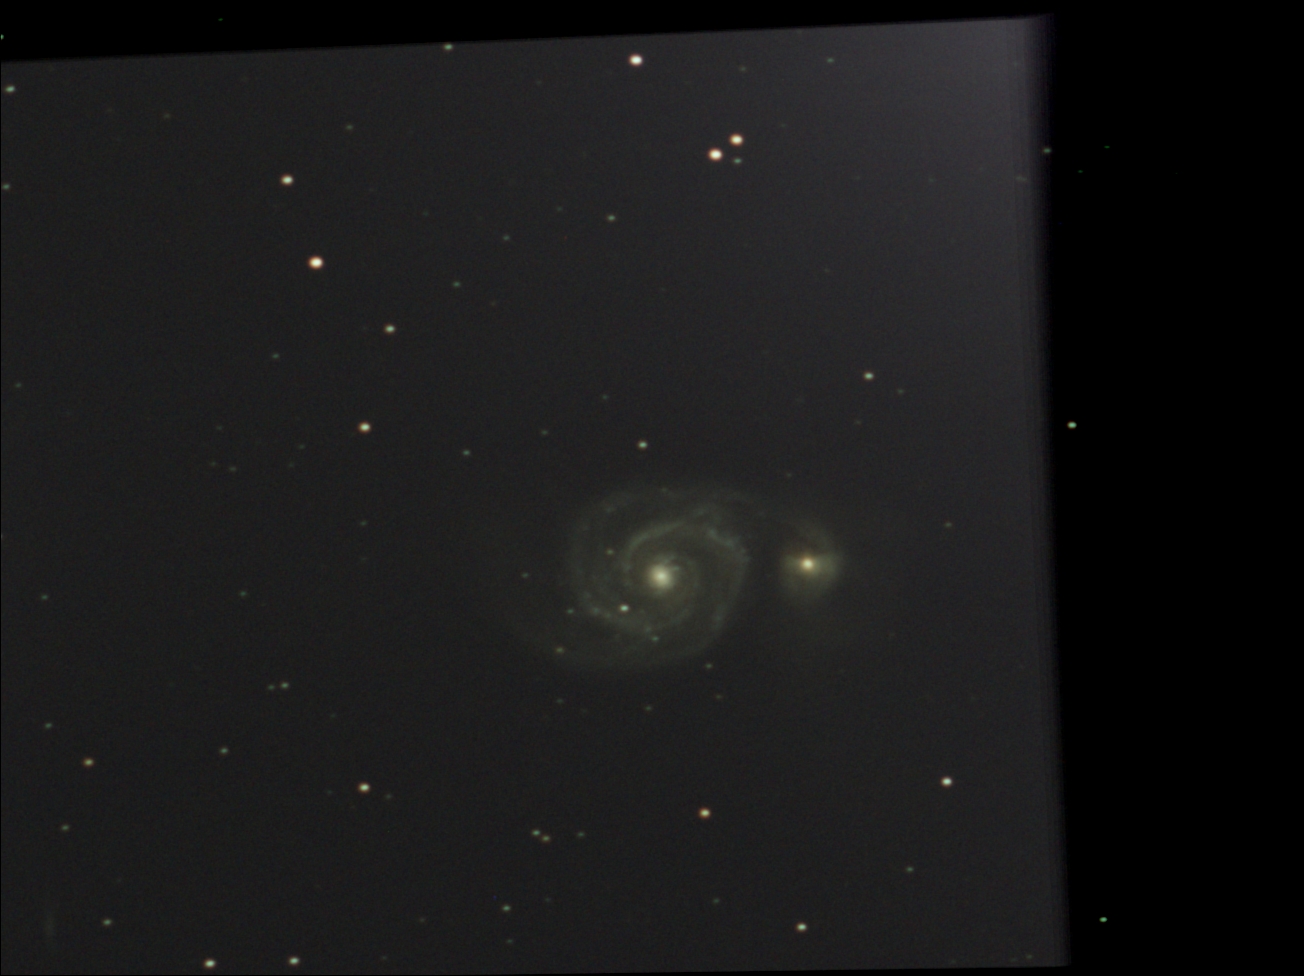
April 23, 2021: Night test with the PS 72/432 with and without UV/IR Cut Filter
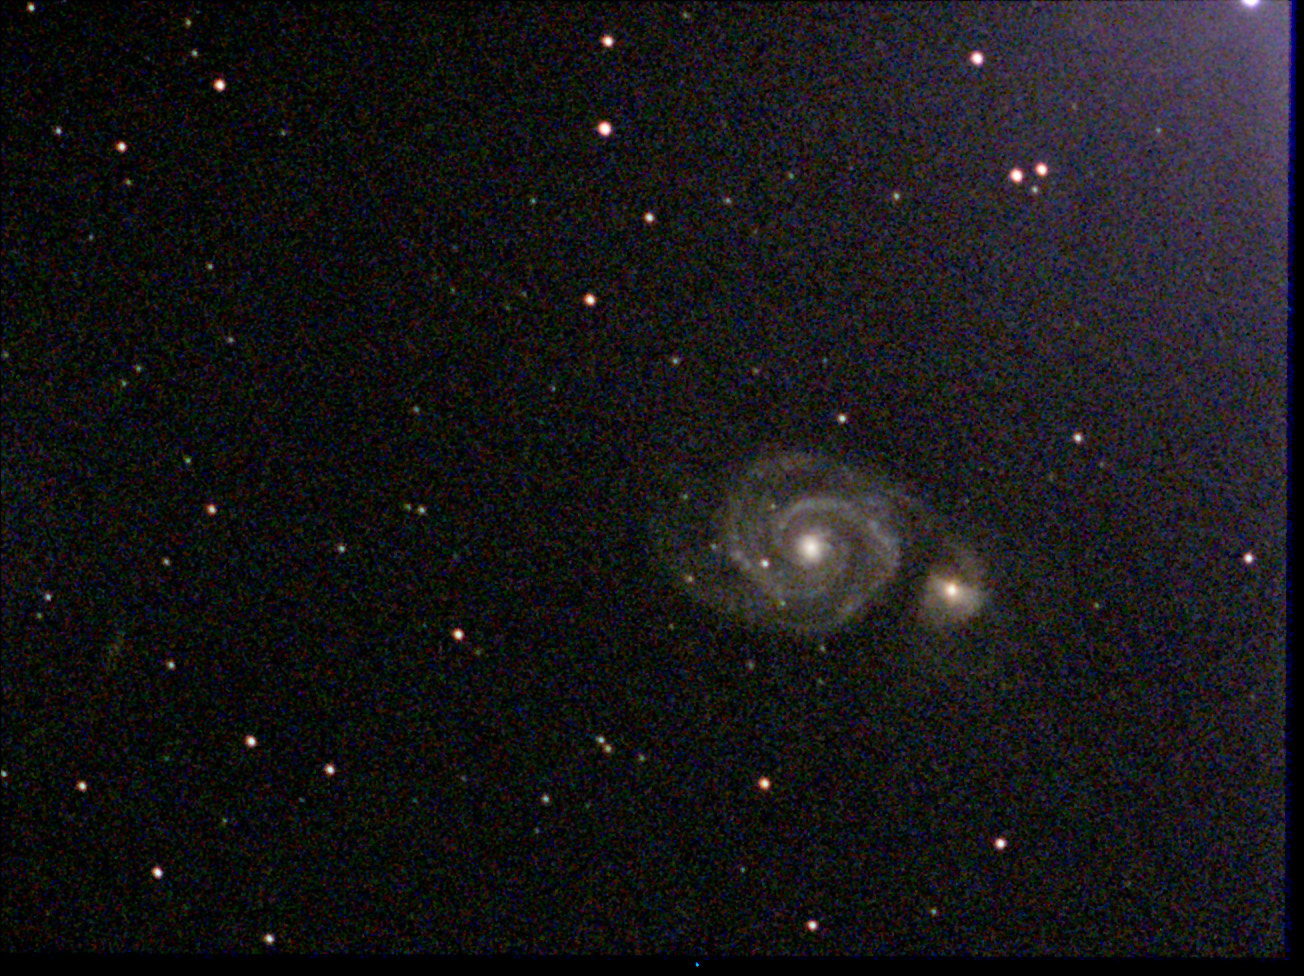
On April 23, 2021, I performed another test on the Whirlpool Galaxy M 51 to test once more the effect of the UV/IR cut filter with respect to the "bloating" of the stars observed by me with the PS 72/432 refractor (on AZ-GTi). This time, I checked beforehand how to mount the tube (the finder must point down); then I did a Brightest Star alignment (2 stars). The subsequent tracking was usable. I first used SharpCap as camera control software and made three "capture" attempts, the middle one not working. I used the filter on the third attempt, but not on the first. This time I felt that the filter limited the bloat somewhat, so it had some effect.
In the first attempt without the filter, I stacked up to 20 frames and present the same image "as on screen", ditto post-processed, and finally unprocessed and processed obtained from the FITS file (the processed versions are below the unprocessed ones); the FITS file rendered the best result, at least with respect to colors:
M 51 (13 frames, 12 s, gain 300), SharpCap, WithDisplayStretch, no UV/IR cut filter |
M 51 (20 frames, 12 s, gain 300), SharpCap, WithDisplayStretch, no UV/IR cut filter |
M 51 (13 frames, 12 s, gain 300), SharpCap, from FITS file, no UV/IR cut filter |
M 51 (13 frames, 12 s, gain 300), SharpCap, WithDisplayStretch, processed, no UV/IR cut filter |
M 51 (20 frames, 12 s, gain 300), SharpCap, WithDisplayStretch, processed, no UV/IR cut filter |
M 51 (13 frames, 12 s, gain 300), SharpCap, from FITS file, processed, no UV/IR cut filter |
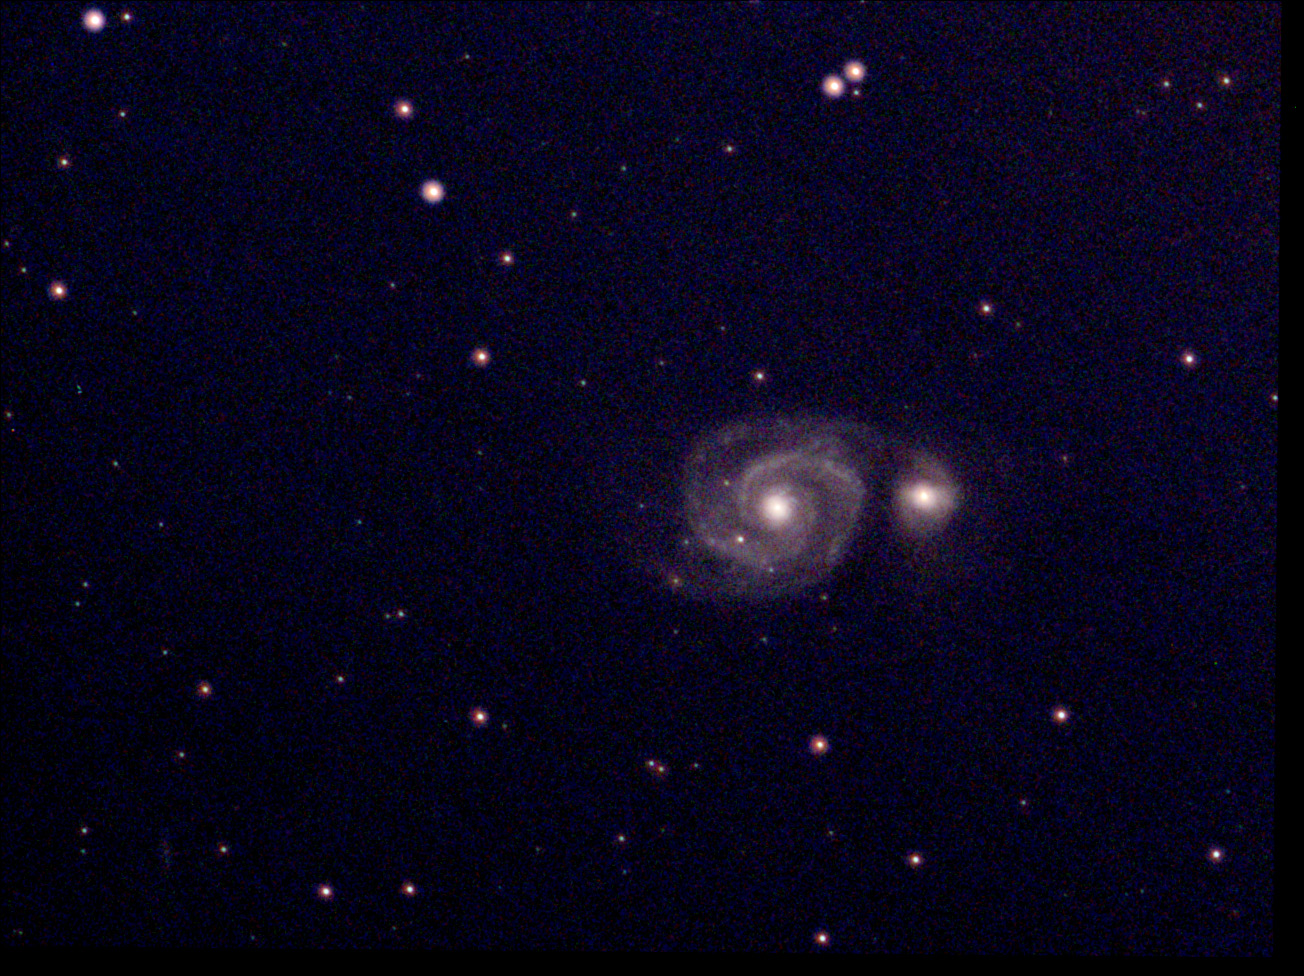
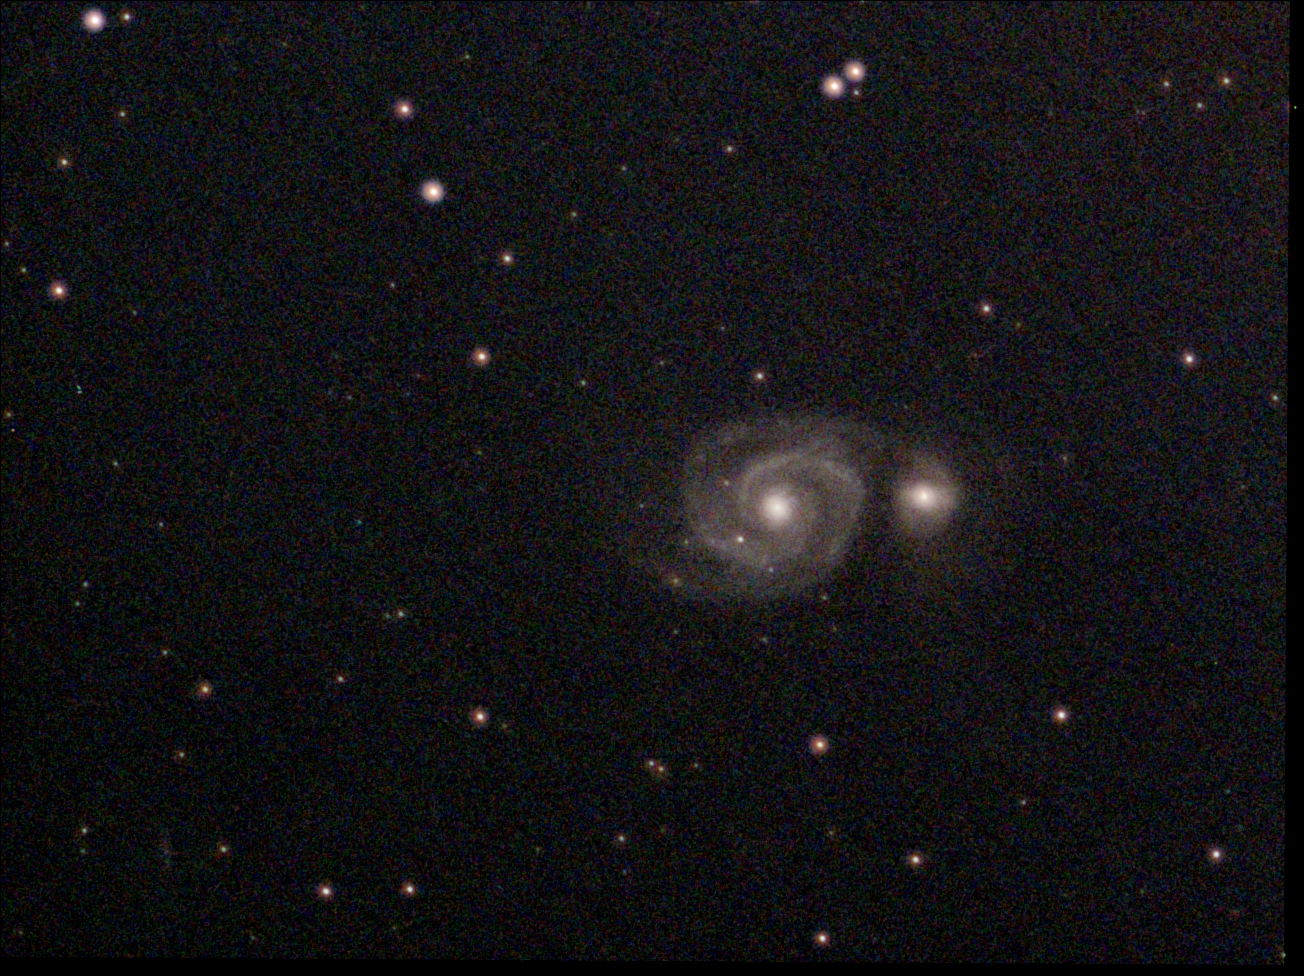

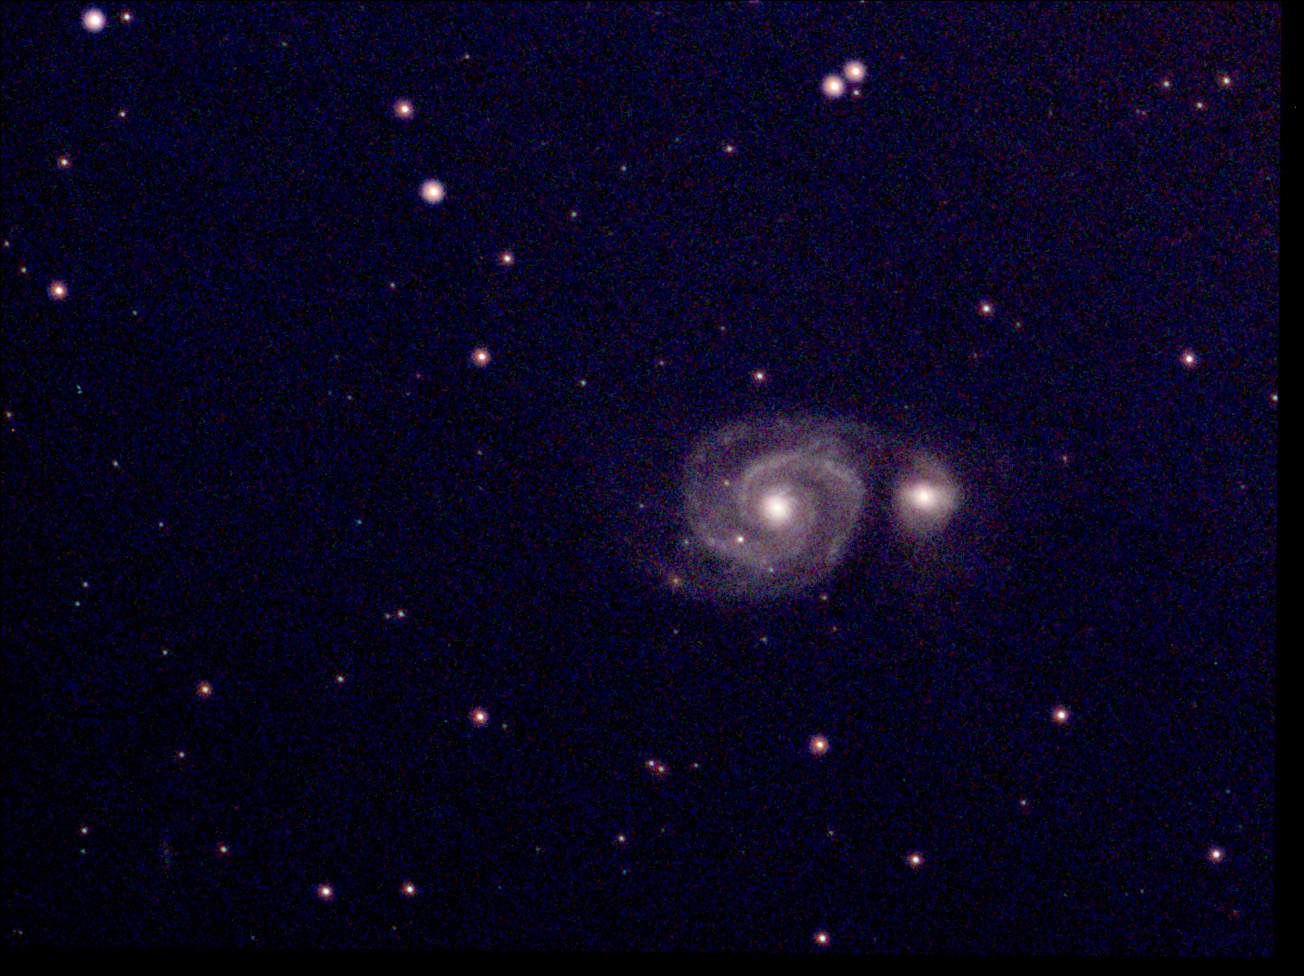
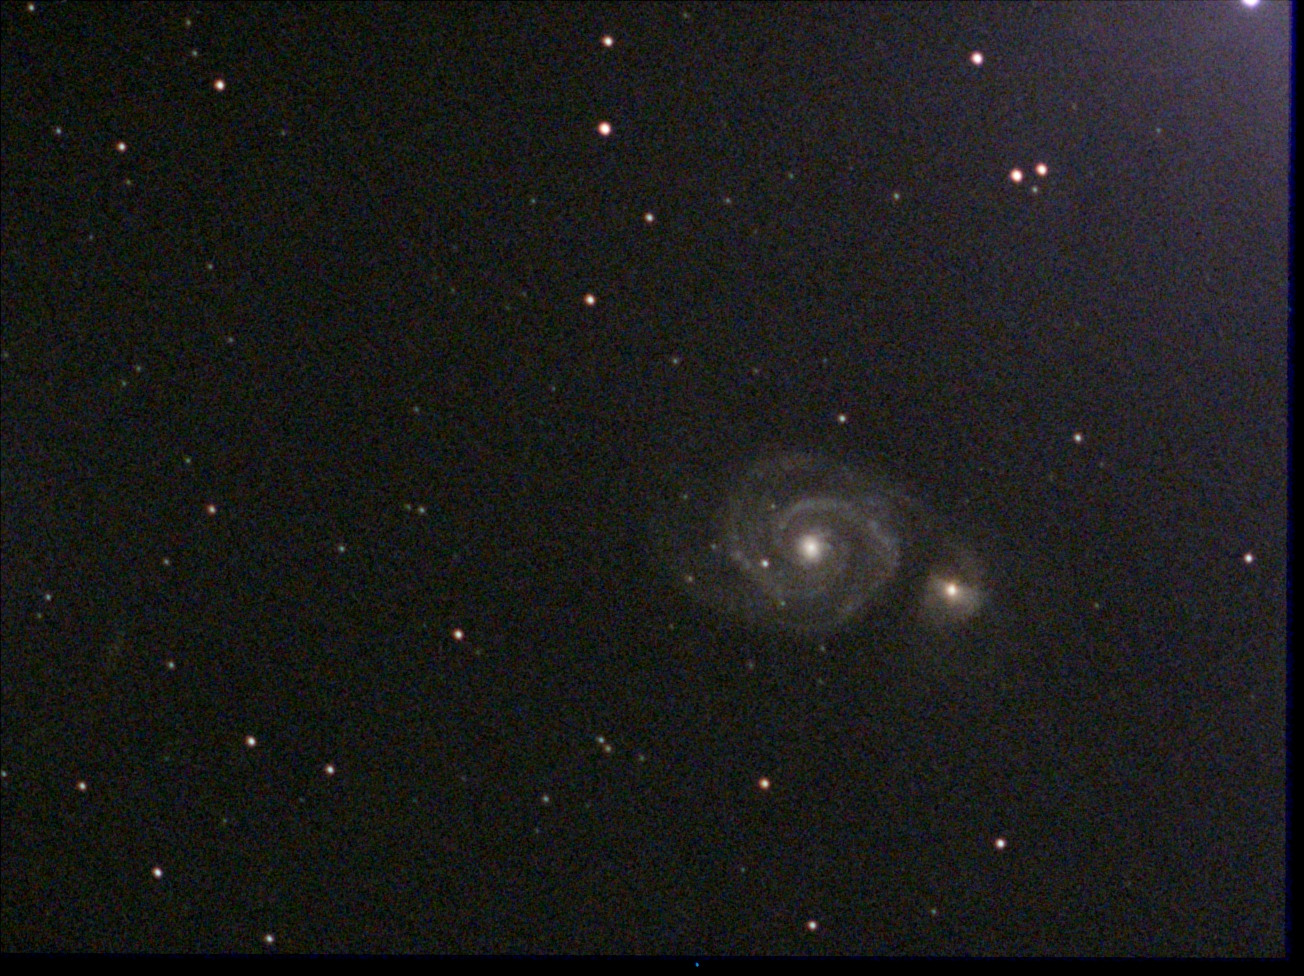
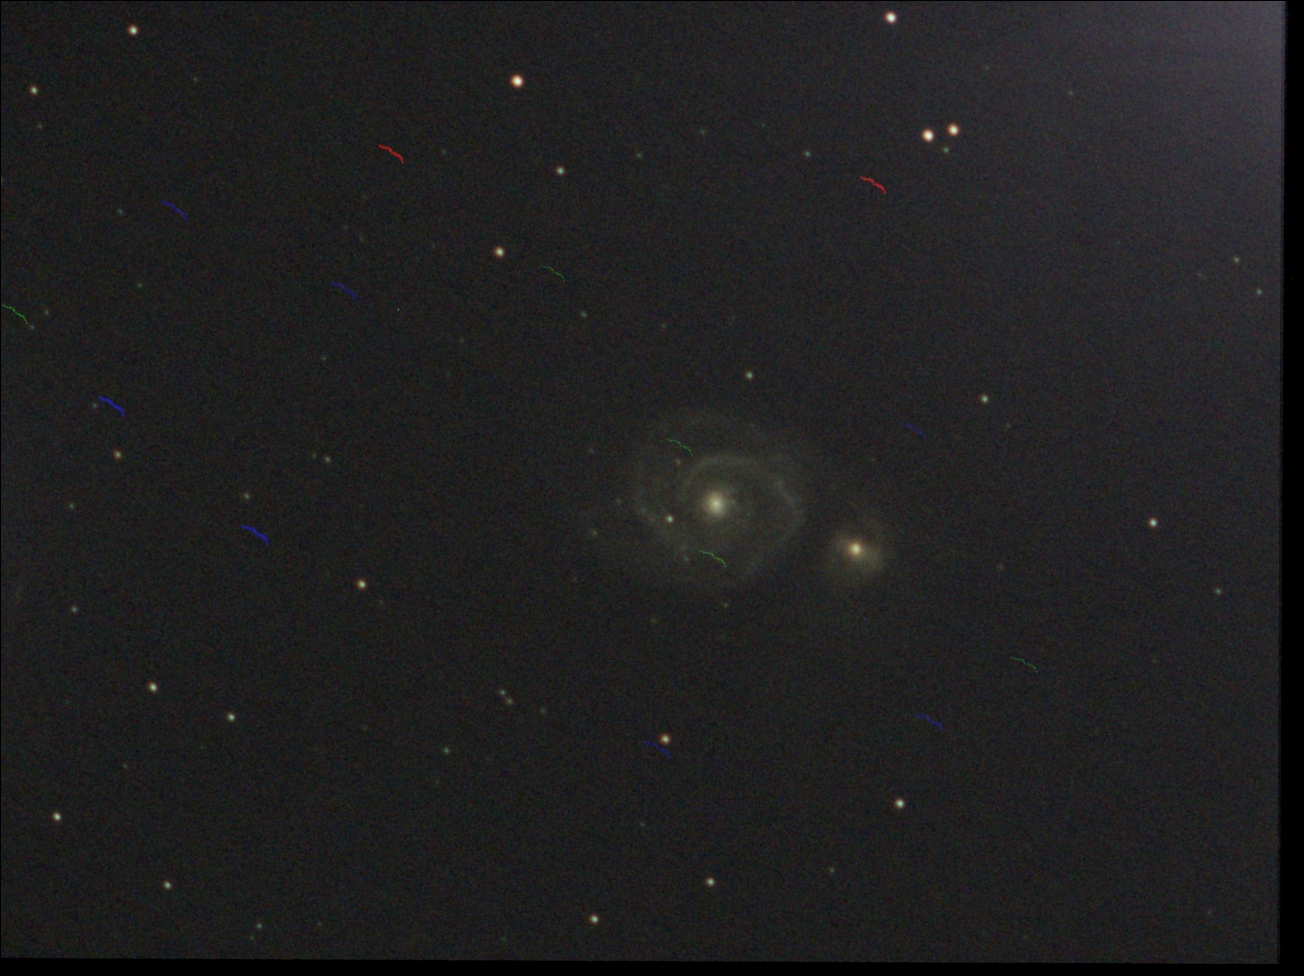
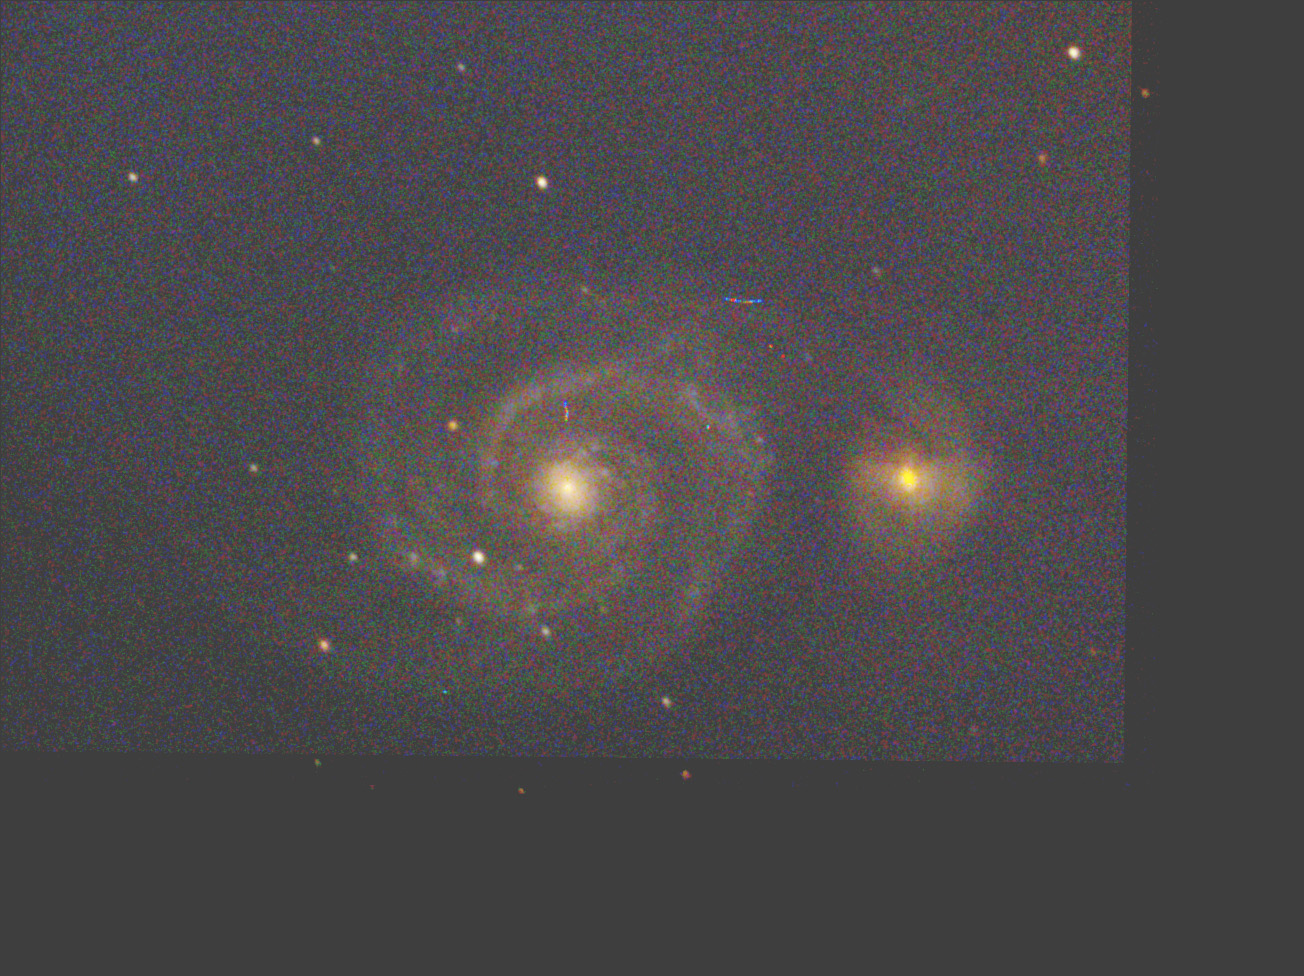
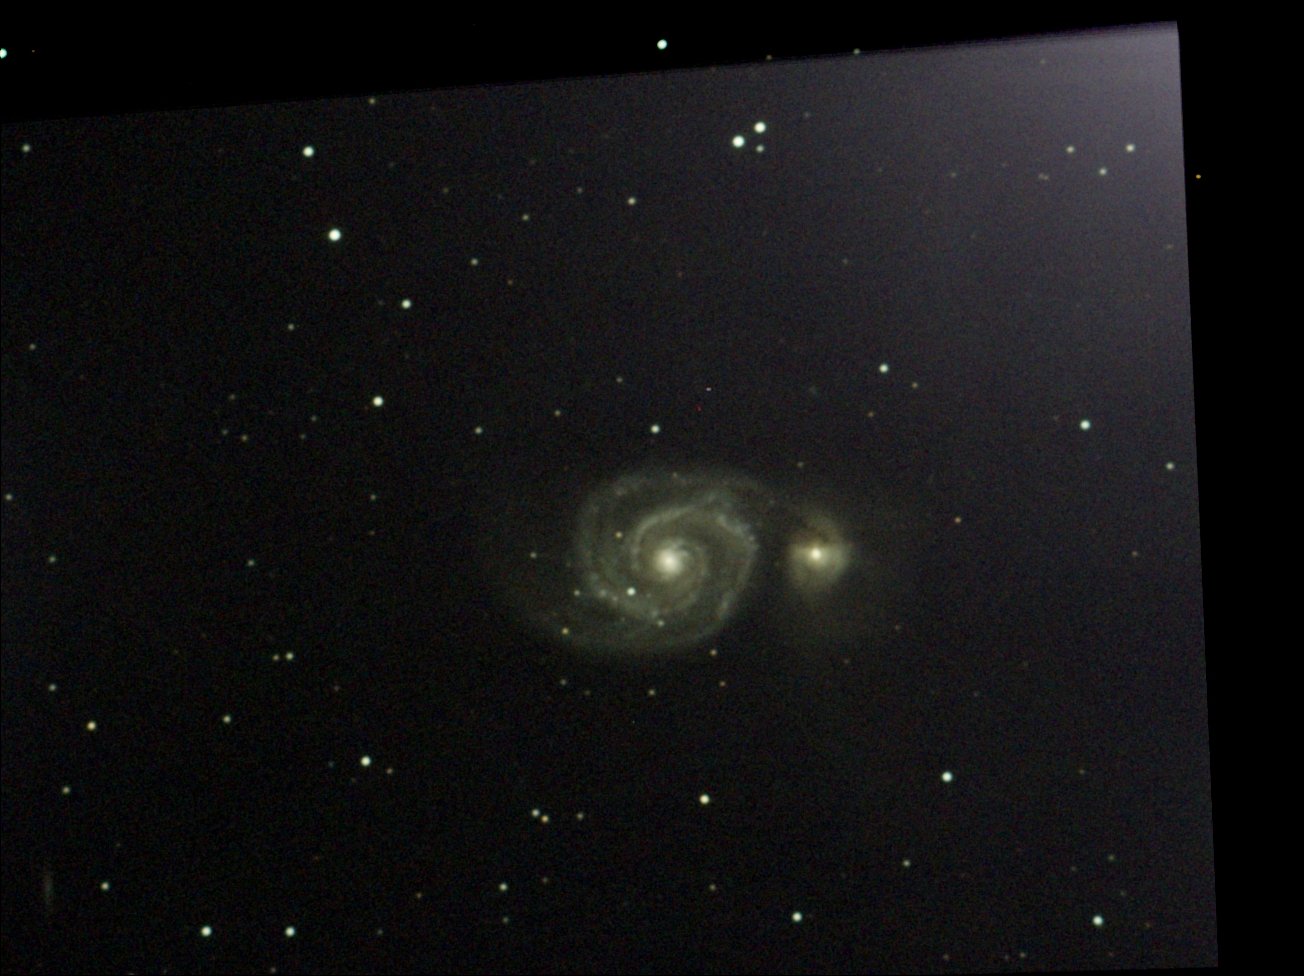
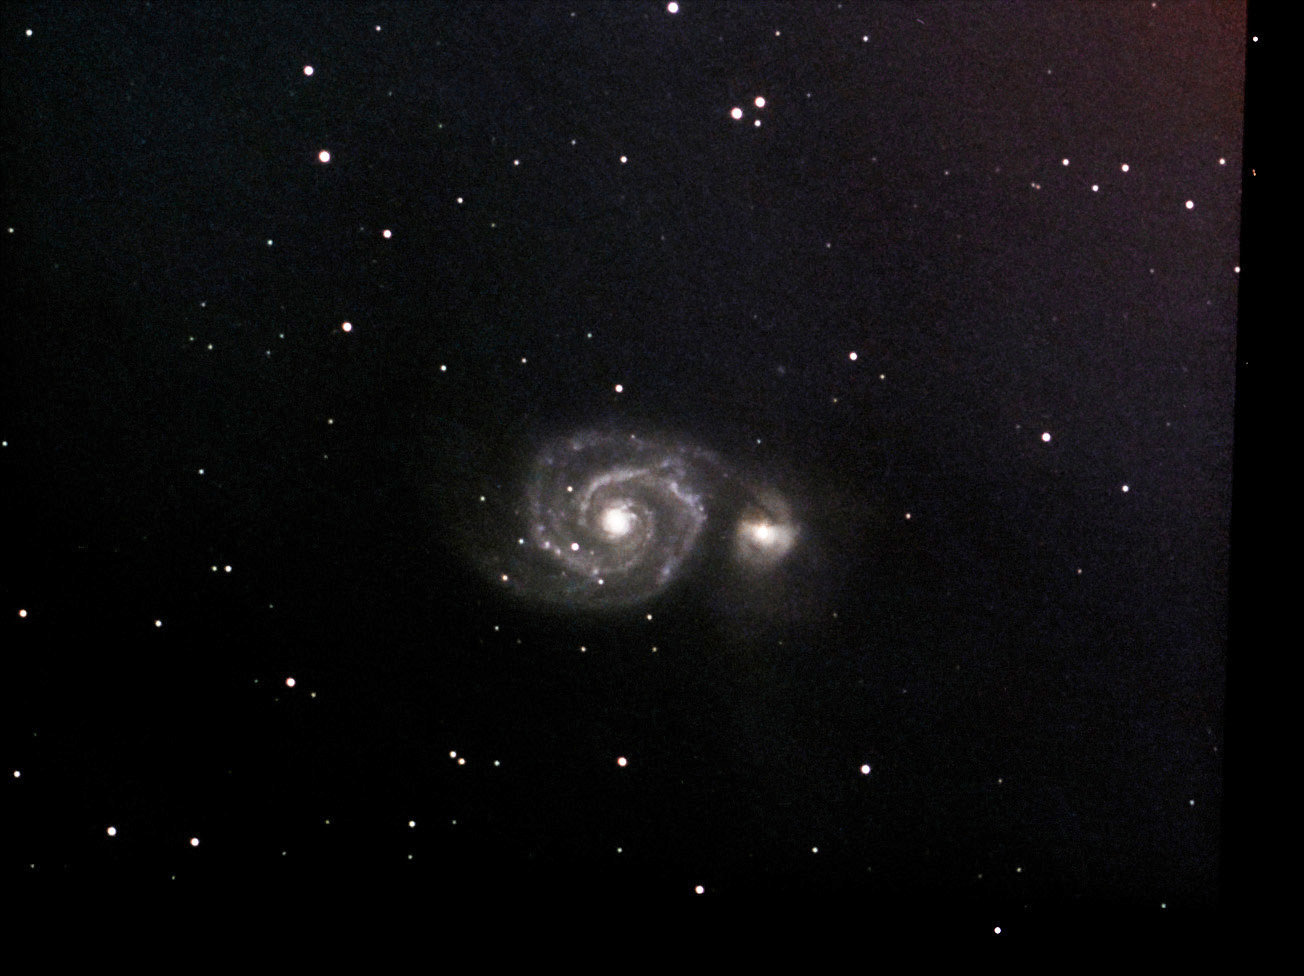
On my third attempt, this time with filter, I stacked up to 100 frames and present the same image once "as on screen", ditto post-processed, and finally obtained from the FITS file and and processed; the FITS file rendered the best result with respect to colors:
M 51 (100 frames, 12 s, gain 300), SharpCap, WithDisplayStretch, with UV/IR cut filter |
M 51 (100 frames, 12 s, gain 300), SharpCap, WithDisplayStretch, processed, with UV/IR cut filter |
M 51 (100 frames, 12 s, gain 300), SharpCap, from FITS file, processed, with UV/IR cut filter |
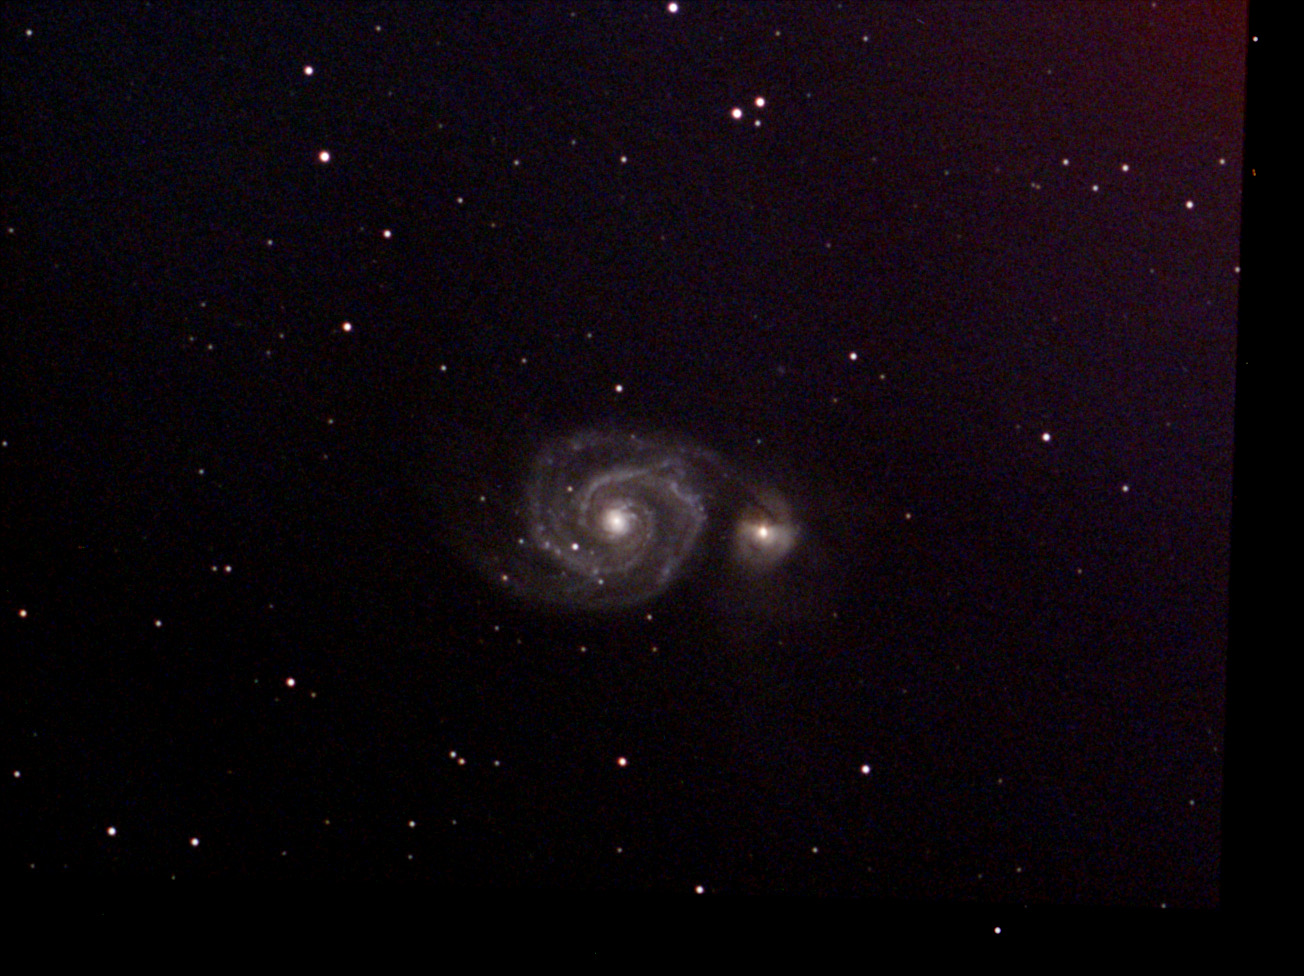
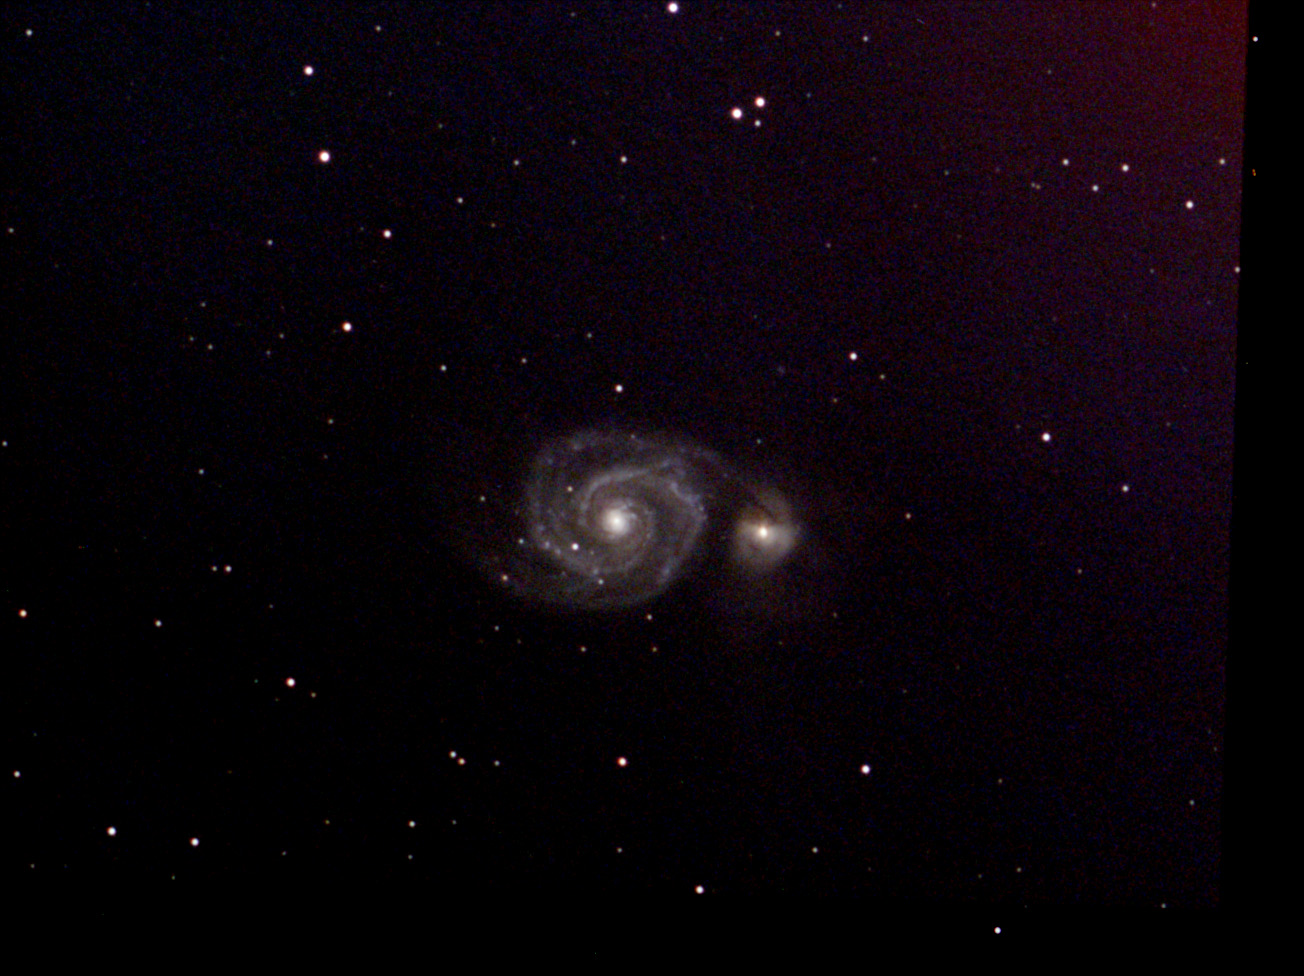
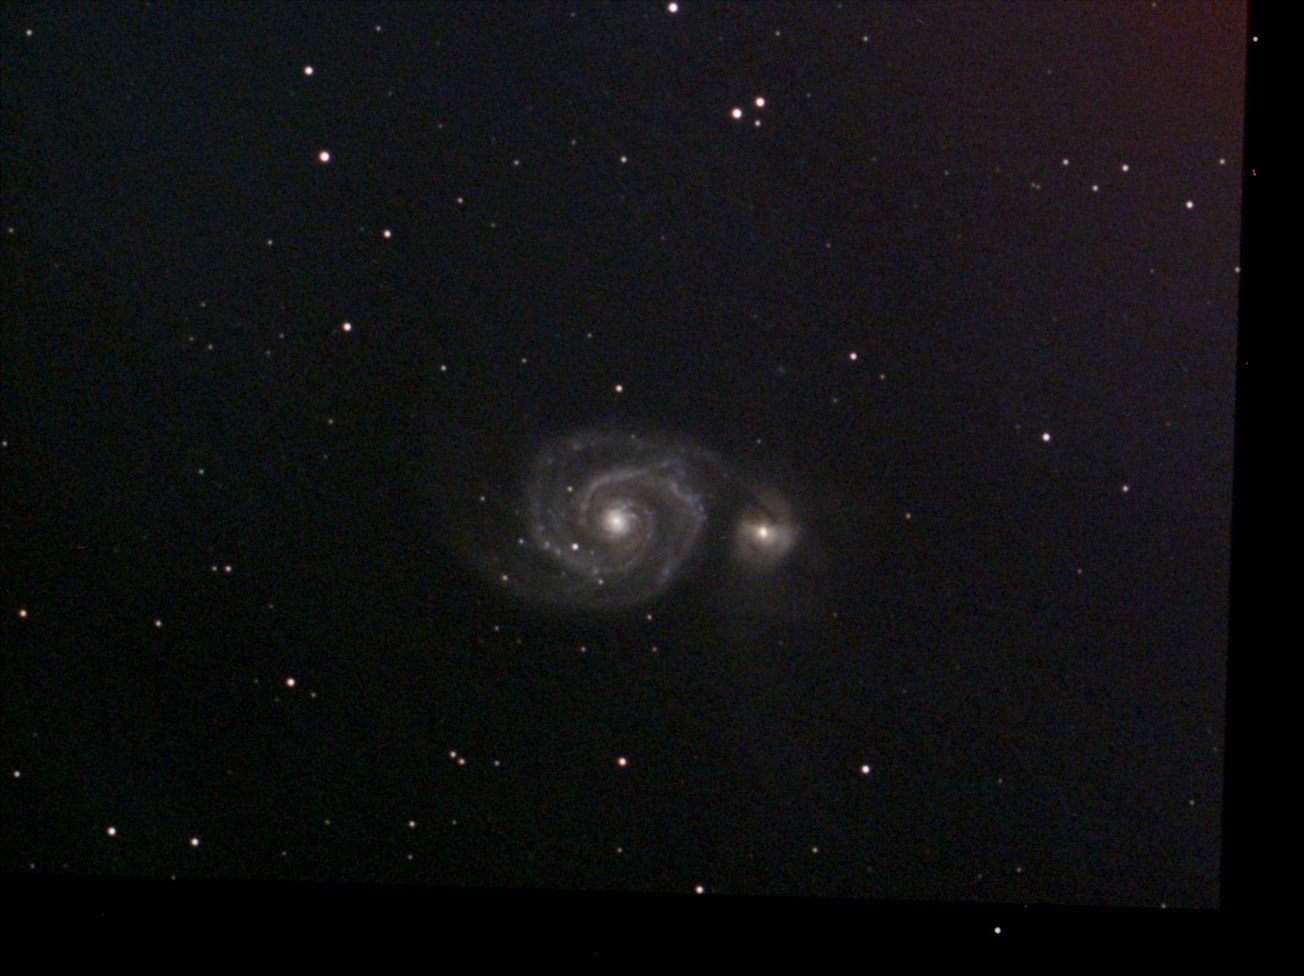
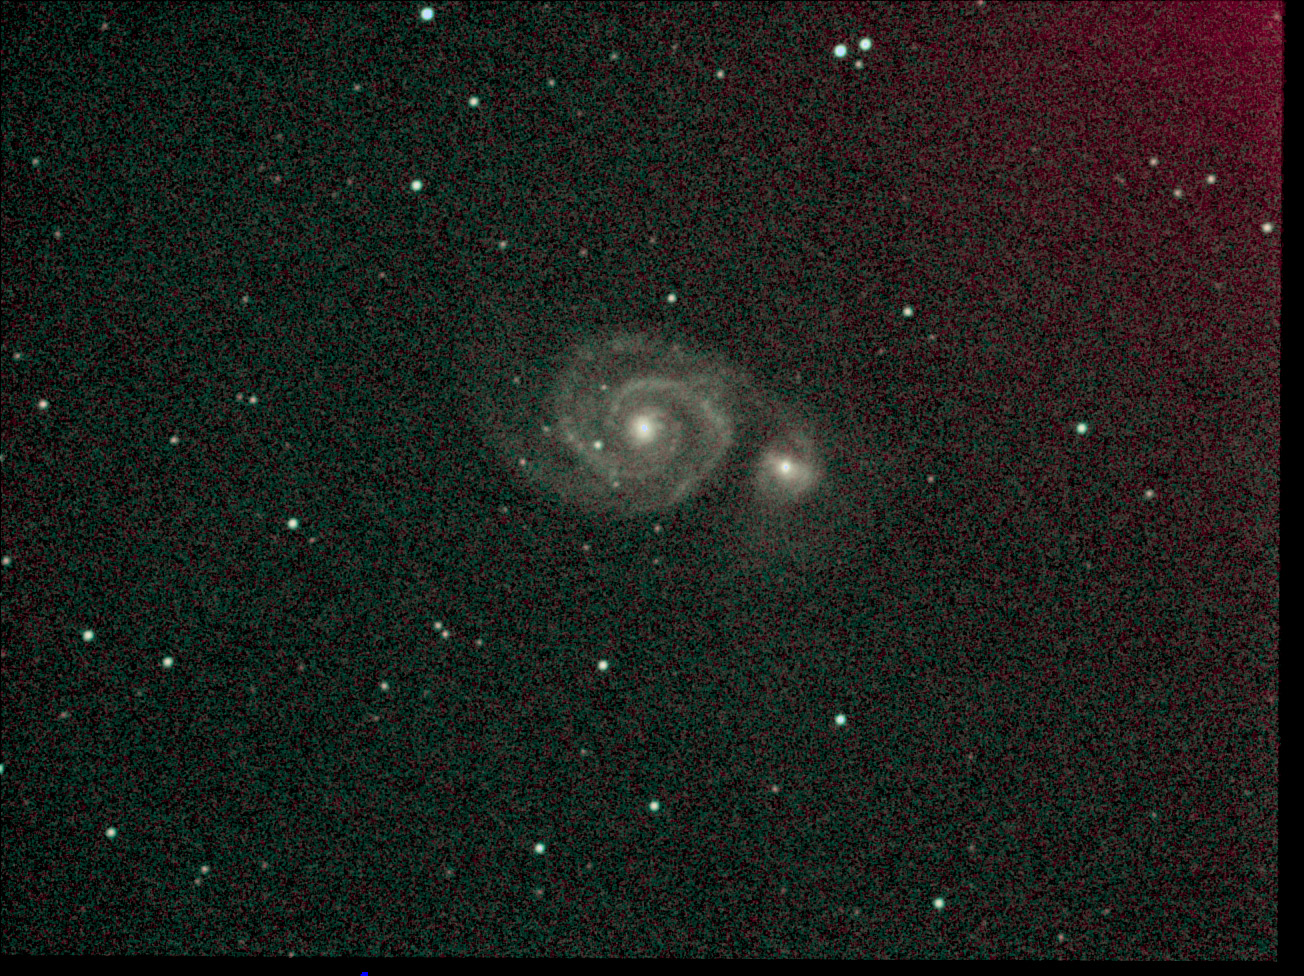
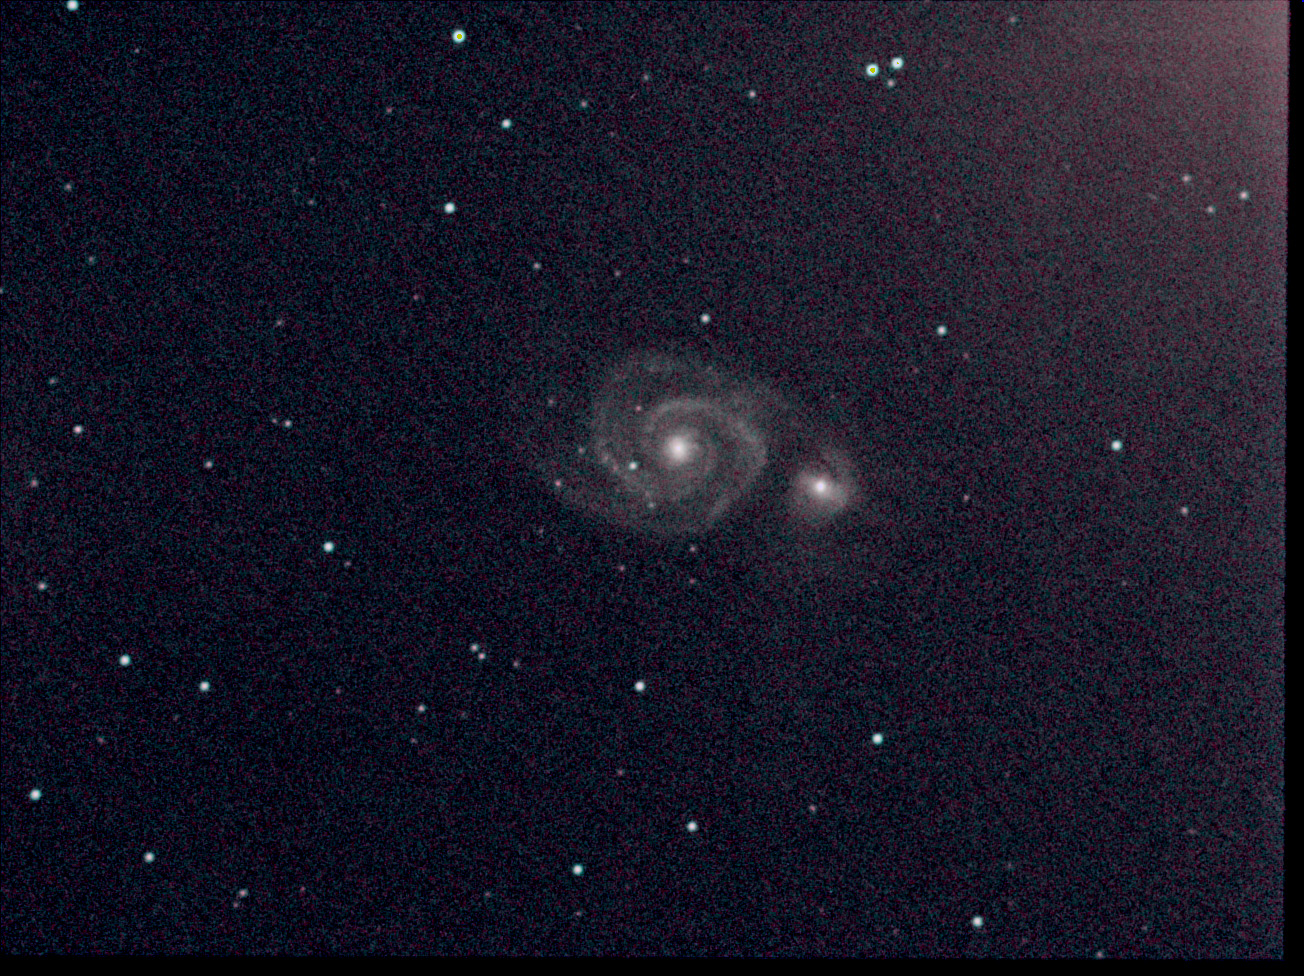
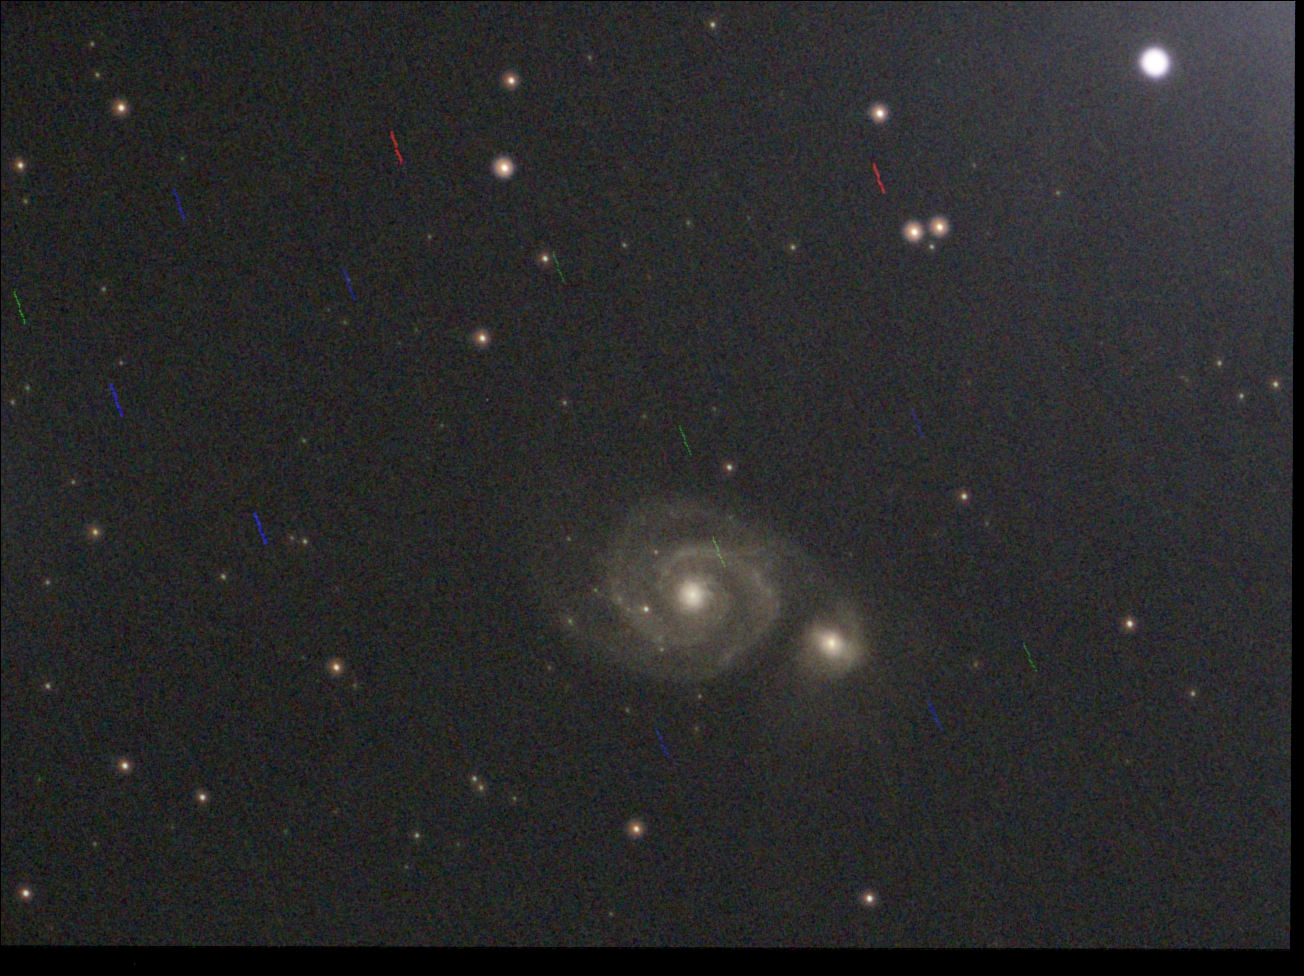
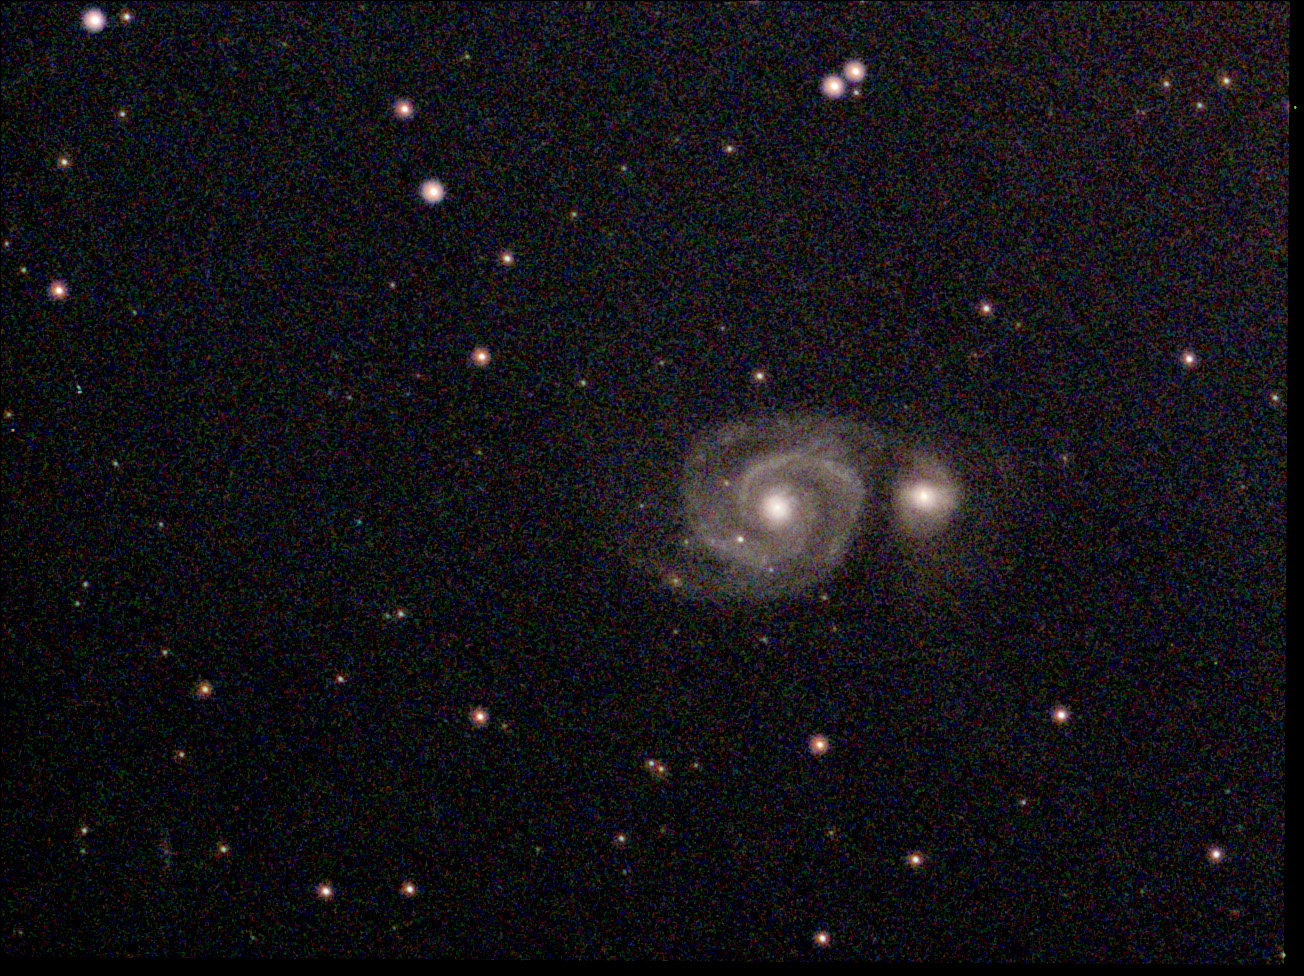
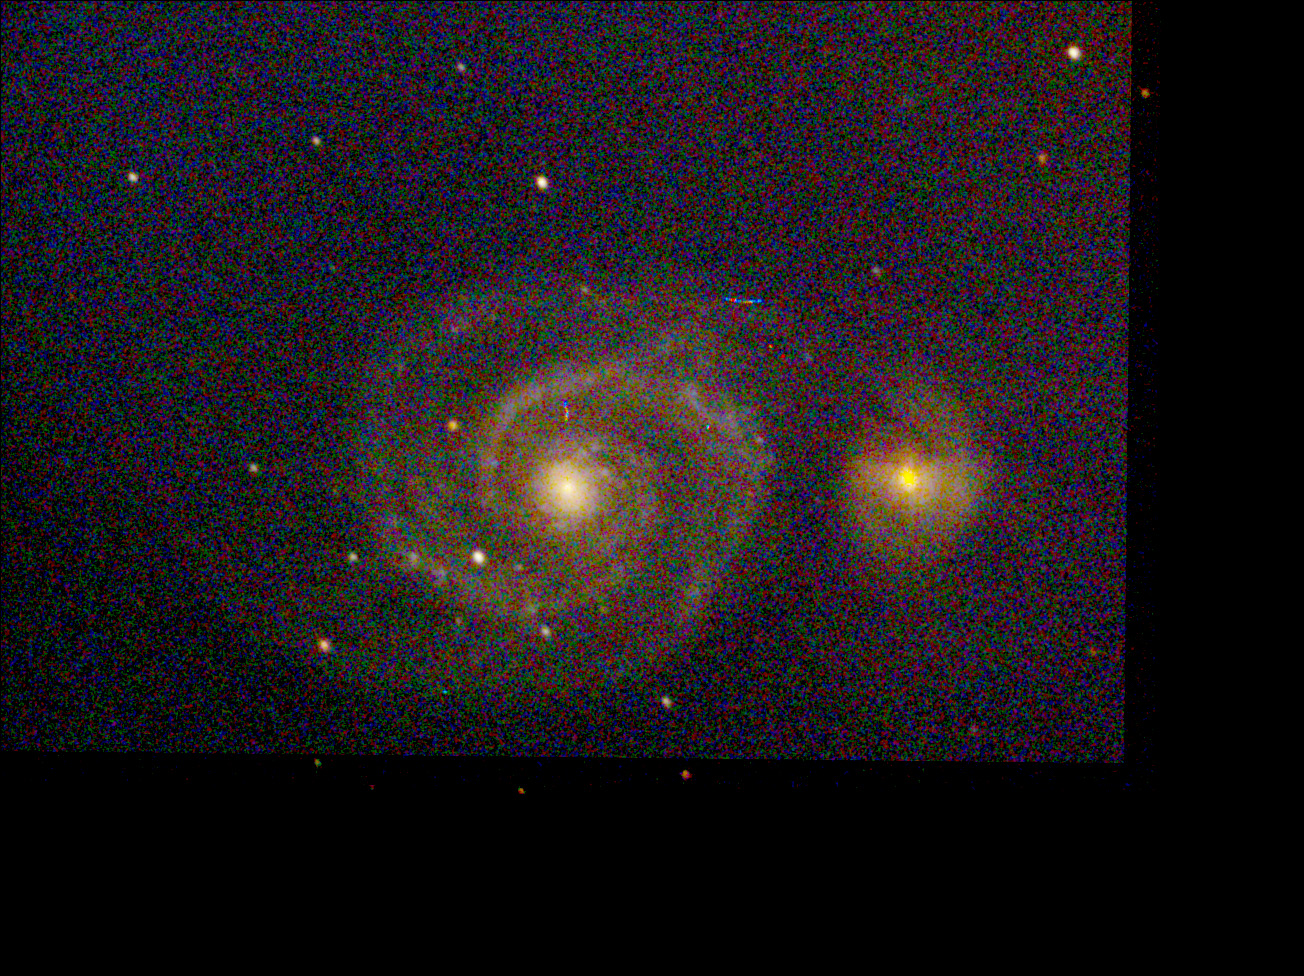
How the FITS file changes when you expose up to 100 frames (20 minutes) is demonstrated in the following unprocessed images obtained from the FITS files (click on the images and view the large versions of the images for details!):
M 51 (22 frames, 12 s, gain 300), SharpCap, from FITS file |
M 51 (37 frames, 12 s, gain 300), from FITS file |
M 51 (60 frames, 12 s, gain 300), SharpCap, from FITS file |
M 51 (68 frames, 12 s, gain 300), SharpCap, from FITS file |
M 51 (80 frames, 12 s, gain 300), SharpCap, from FITS file |
M 51 (100 frames, 12 s, gain 300), SharpCap, from FITS file |
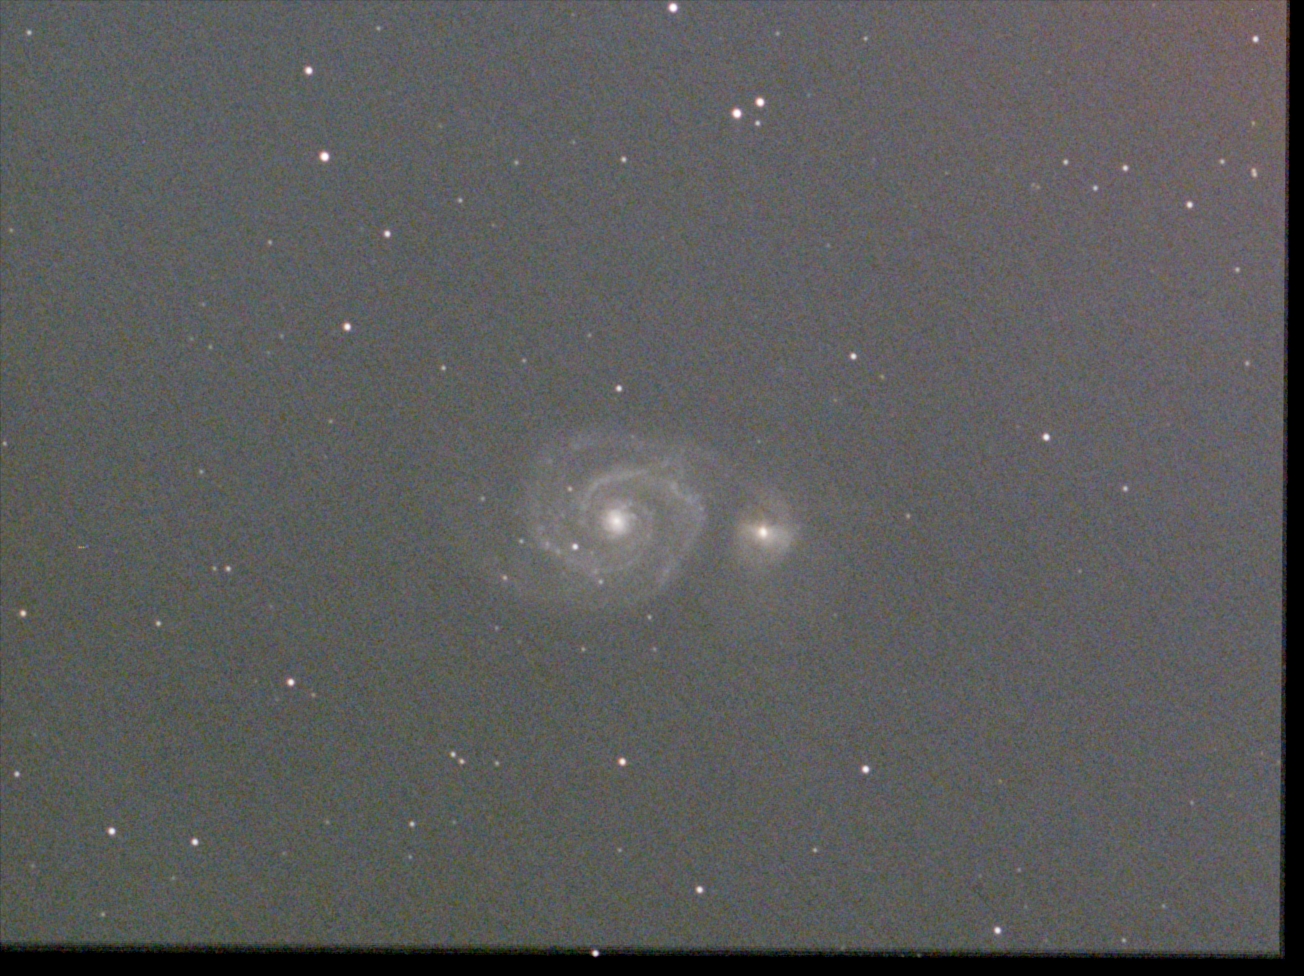
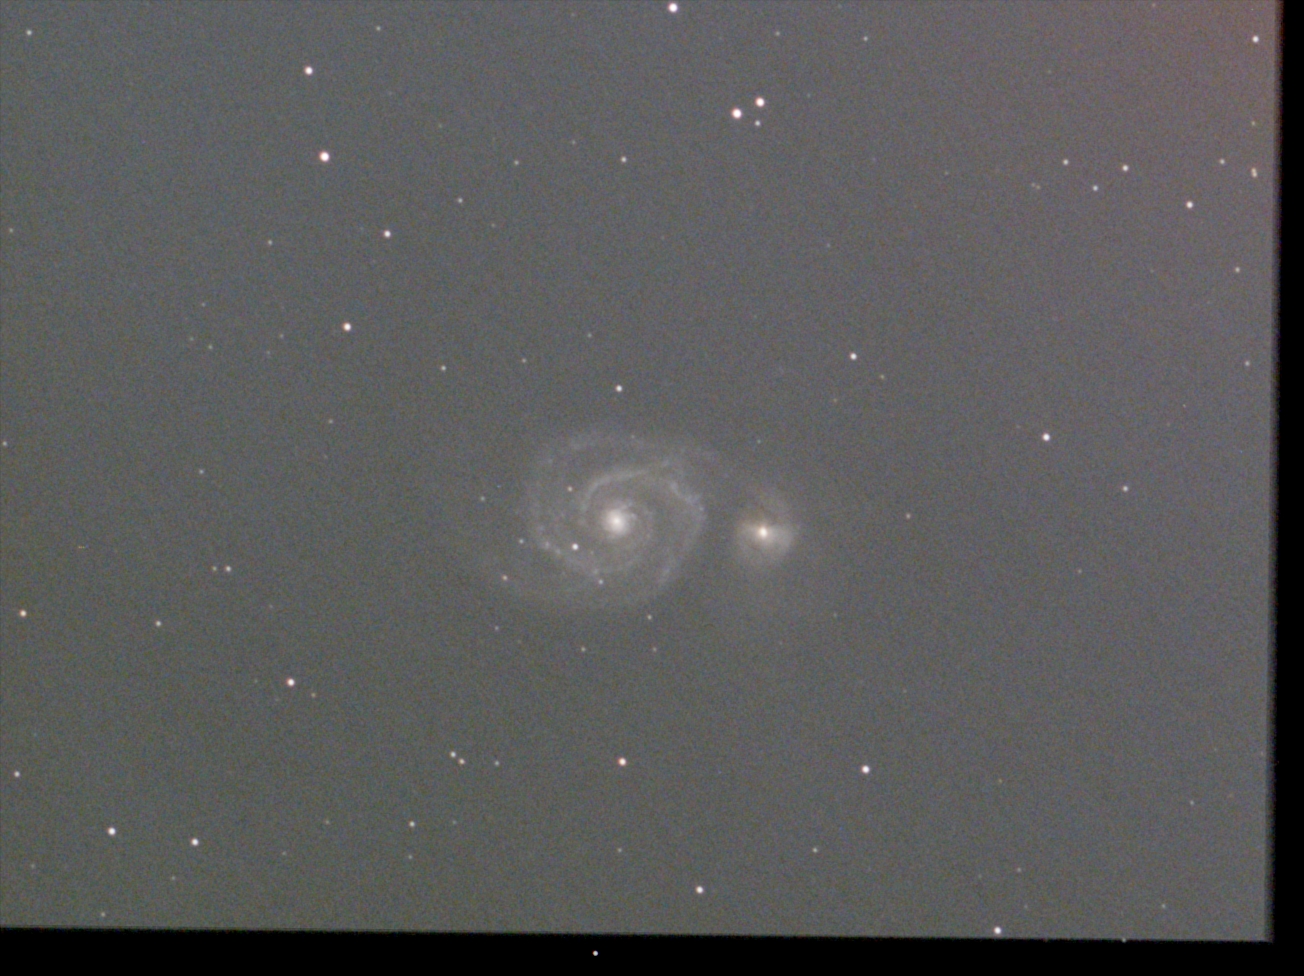
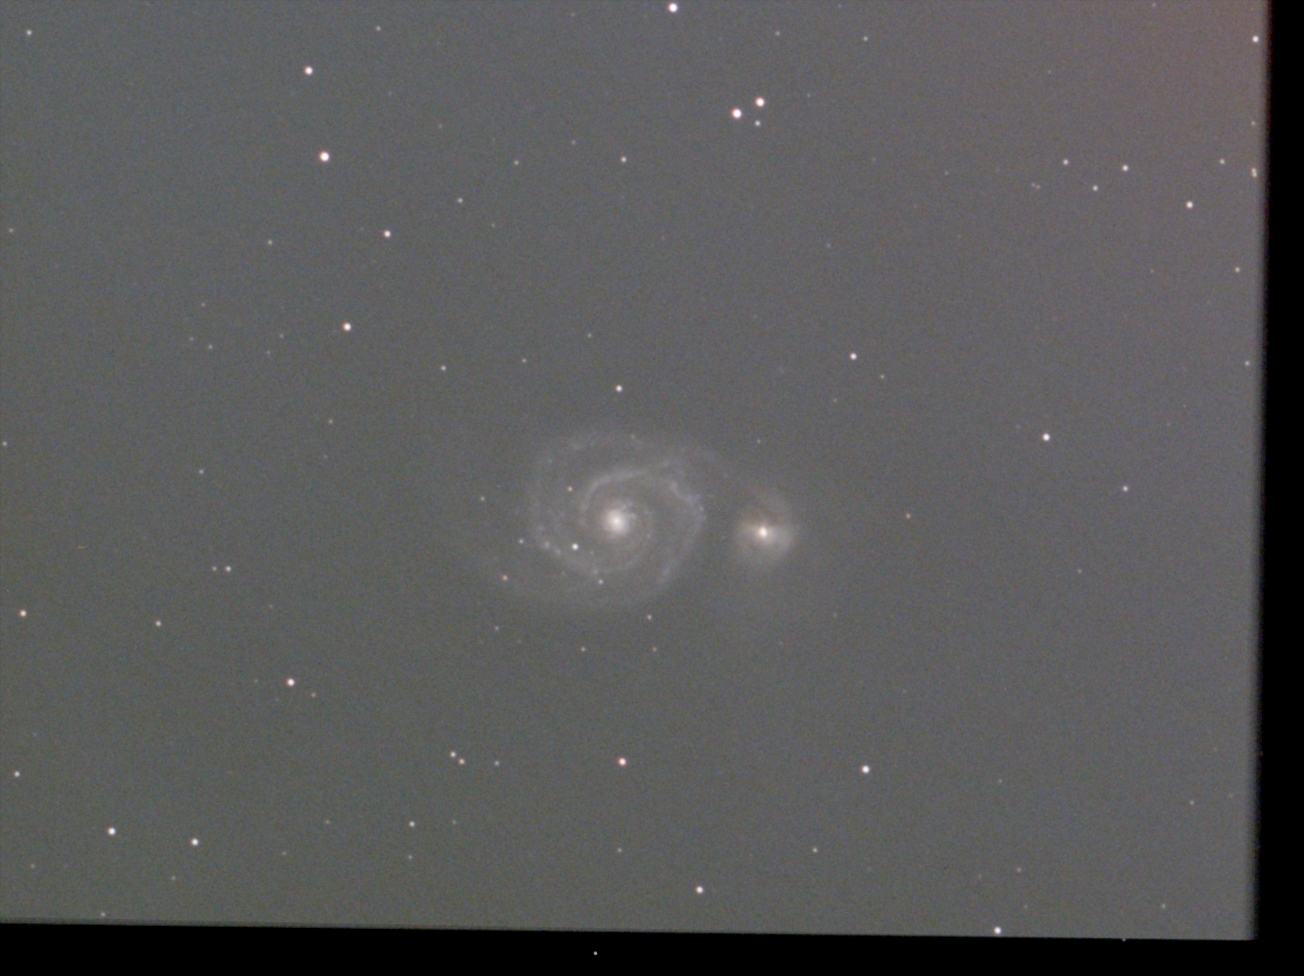
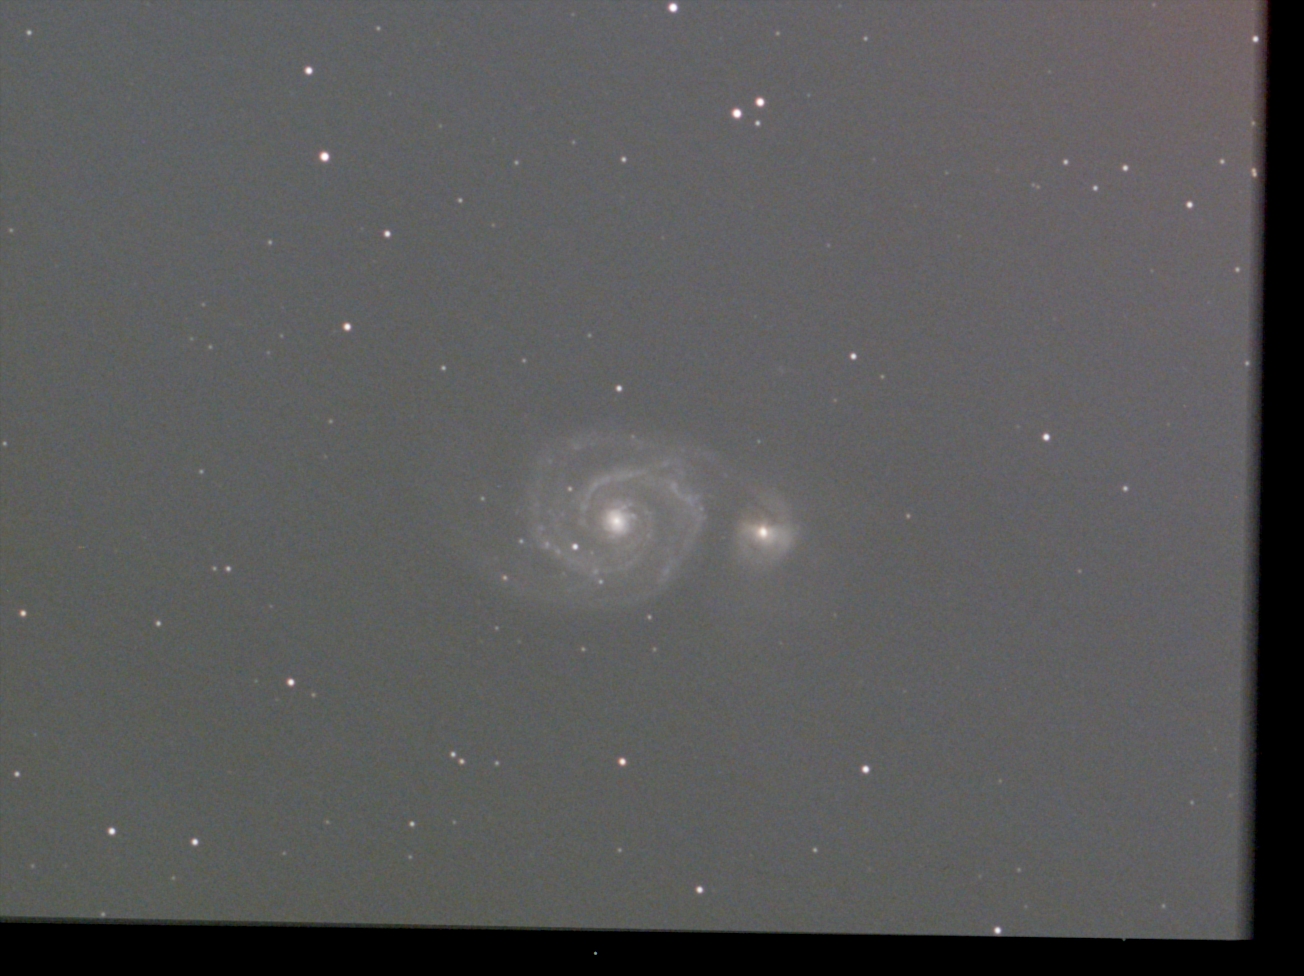

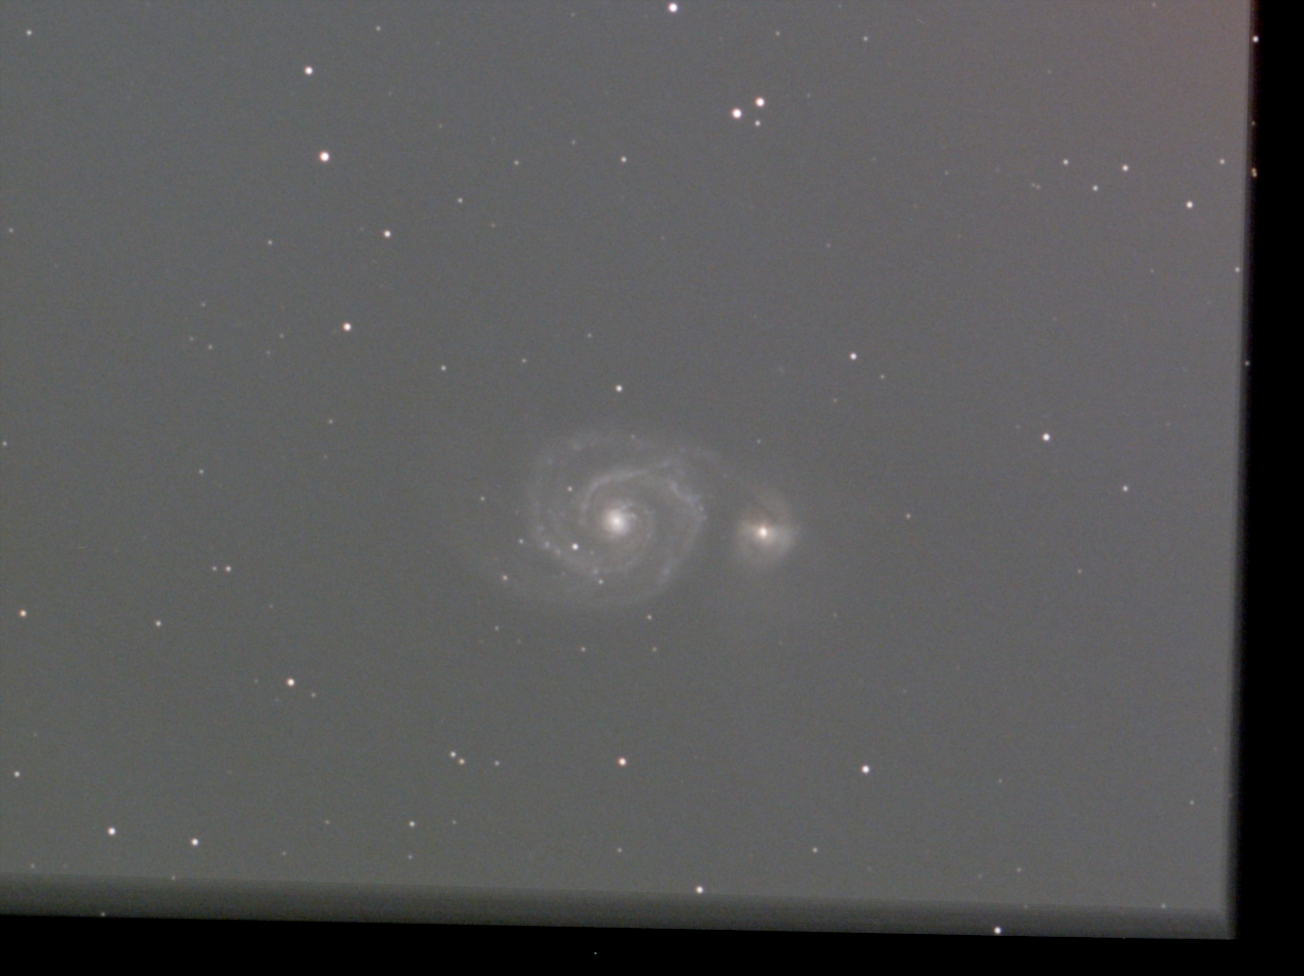
Even so, you can already see well the field rotation and that the brightness of stacked photos does not change, only the noise is reduced the more images are stacked.
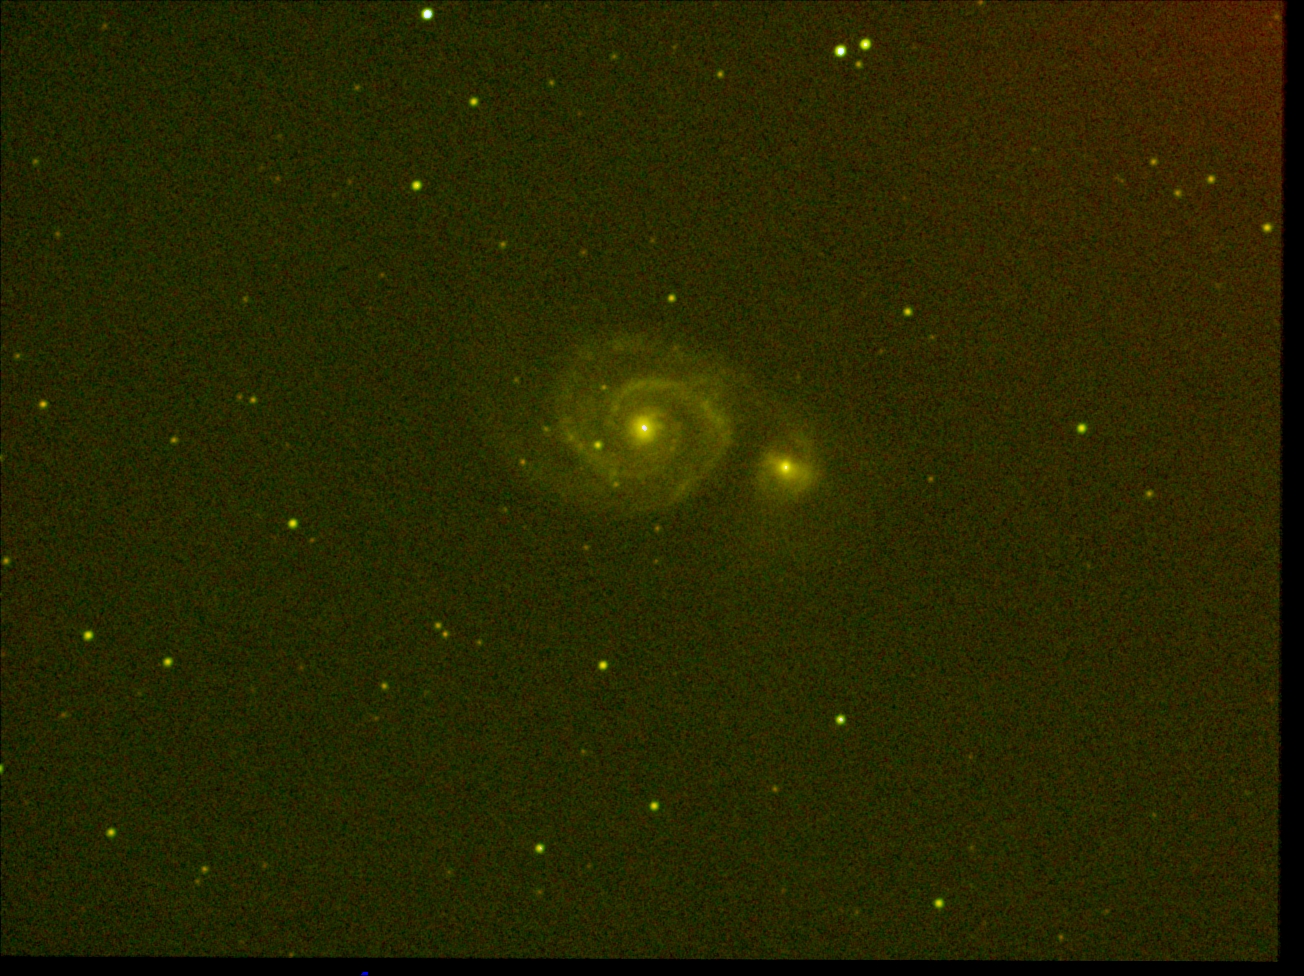
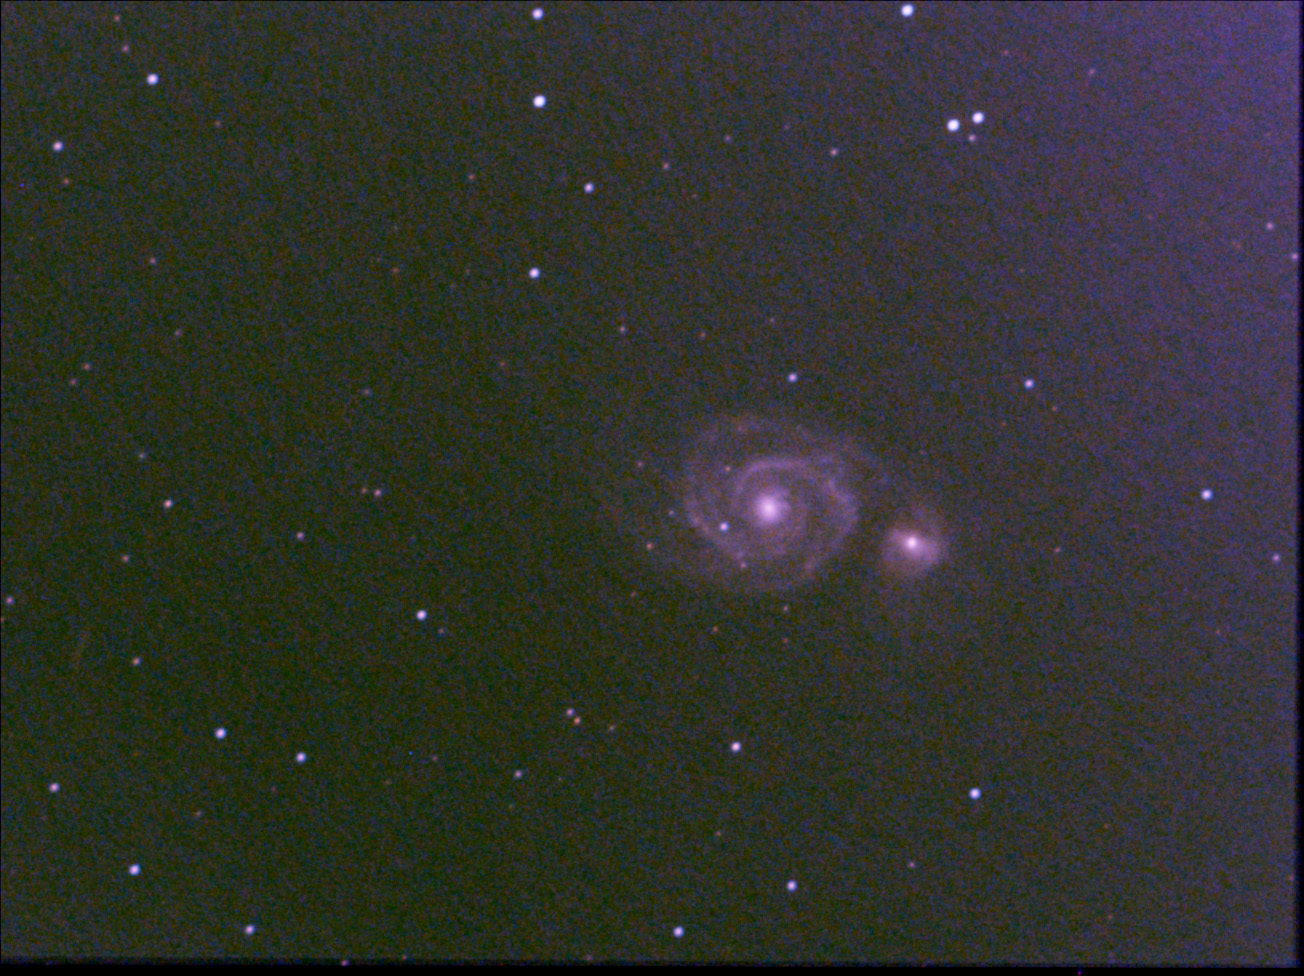
Afterwards I used ASILive (with filter). Here the stars look less bloated than in the attempt from April 13, 2021, probably because I still had the filter on from my third SharpCap attempt:
M 51 (123 frames, 10 s, gain 300), ASILive, stored directly, processed, with UV/IR cut filter |
M 51 (123 frames, 10 s, gain 300), ASILive, from FITS file, processed, with UV/IR cut filter |
M 51 (76 frames, 10 s, gain 300), ASILive, from FITS file, processed, no UV/IR cut filter (April 13, 2021) |
M 51 (100 frames, 12 s, gain 300), SharpCap, WithDisplayStretch, with UV/IR cut filter |
M 51 (100 frames, 12 s, gain 300), SharpCap, WithDisplayStretch, processed, with UV/IR cut filter |
M 51 (100 frames, 12 s, gain 300), SharpCap, from FITS file, processed, with UV/IR cut filter |
Despite an exposure time of about 20 minutes, I got no really good picture, indicating the detrimental influence of the moon light. The photo taken 10 days earlier looks better (but the stars are bloated). Maybe, the moon light was less disturbing then.
For comparison, I put the photos taken with SharpCap underneath so that you can compare the results of both applications (of course, only in a very limited way...). However, the results that can be achieved with both programs do not seem to be worlds apart...
April 24, 2021: Night Test with the C5
On April 25, 2021, I did another night test on the Whirlpool Galaxy M 51 with the C5 on the AZ-GTi mount. This once again became a "disaster session" because the stacking just did not want to work, and I therefore was not able to take any usable photos. The moonlight interfered and besides, the tracking was poor, as the following images show:
M 51 (15 frames, 12 s, gain 300), SharpCap, WithDisplayStretch |
M 51 (15 frames, 12 s, gain 300), SharpCap, from FITS file |
M 51 (15 frames, 12 s, gain 300), SharpCap, WithDisplayStretch, processed |
M 51 (15 frames, 12 s, gain 300), SharpCap, from FITS file, processed |

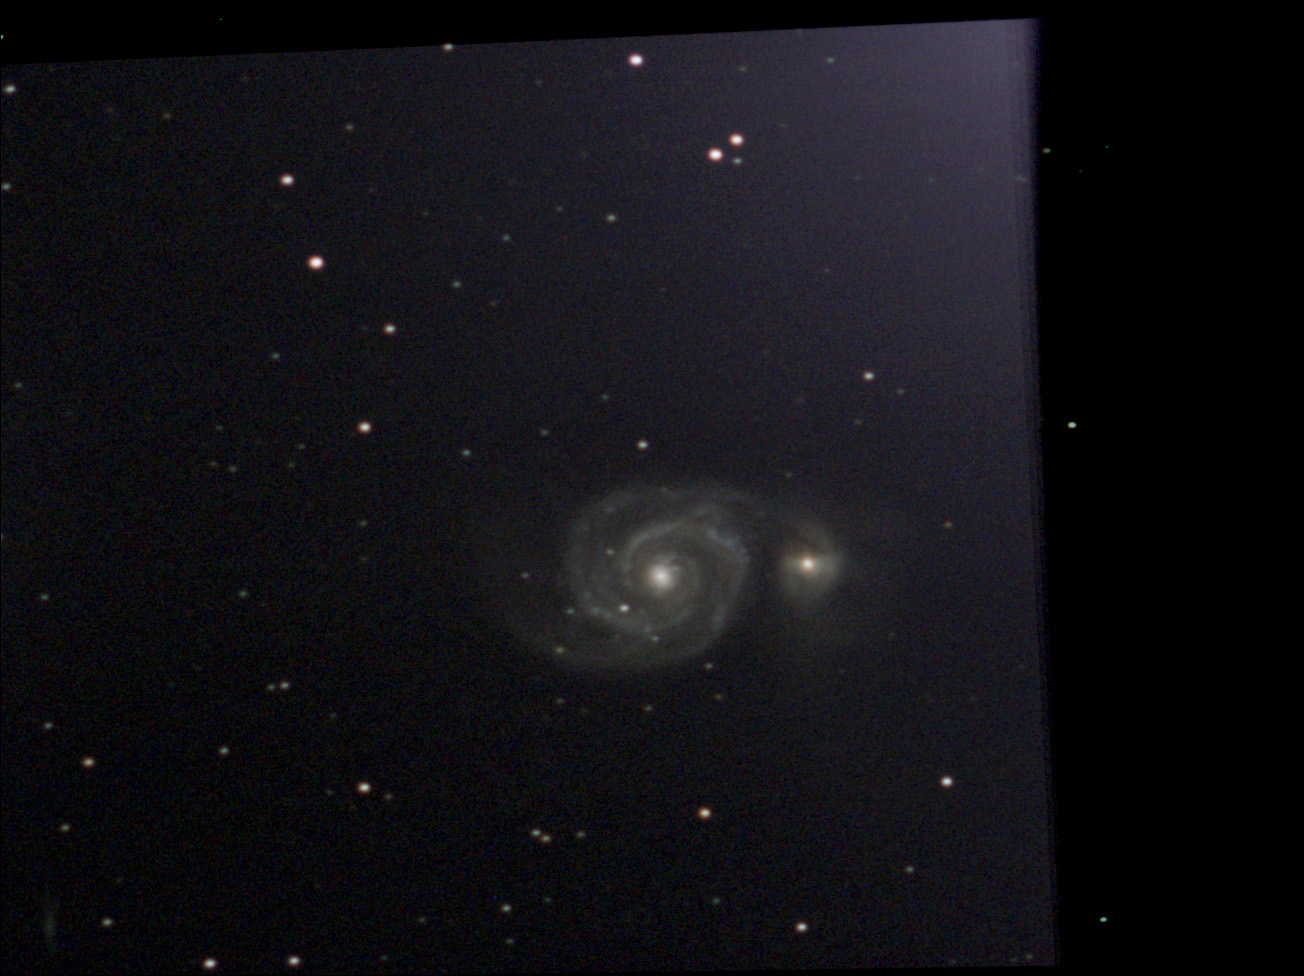
May 8 and 9, 2021: Night Tests with the PS 72/432
On May 8 and 9, 2021, I did two more tests with the ASI224MC at the PS 72/432 on the AZ-GTi mount, both times with UV/IR cut filter. On May 8, I did not find the target M 51 at all, maybe because the camera hit a tripod leg (that day, I did not think of this possibility...). On May 9, I was not able to find the target M 51 (which was very high in the zenith) at first either. Then, I noticed that the camera bumped against a tripod leg and therefore could not be moved in a certain direction. After correcting the tripod position, I finally managed to find M 51 with the camera. I then captured M 51 twice for 10 minutes (10 s for a single frame) with ASILive, the first time with poor focus, the second time the focus was better. I then tried to capture M 51 with SharpCap, but failed because stacking was not successful (once I still managed 8 frames, but the quality was poor). In addition, the tracking seemed to be poor. When taking the equipment down, I noticed that the camera had bumped against a tripod leg again, so that was the reason for the poor tracking!
I take away from the second night that the darker sky gave overall slightly better results with ASILive, and that I need to use the center column if I want to observe and photograph objects close to the zenith with the ASI224. Here are the results of the second evening:
M 51 (60 frames, 10 s, gain 300), ASILive, from FITS file with stretch, with UV/IR cut filter |
M 51 (61 frames, 10 s, gain 300), ASILive, from FITS file with stretch, with UV/IR cut filter |
M 51 (8 frames, ca. 5 s, gain 400), SharpCap, WithDisplayStretch, with UV/IR cut filter |
M 51 (60 frames, 10 s, gain 300), ASILive, from FITS file, processed, with UV/IR cut filter |
M 51 (61 frames, 10 s, gain 300), ASILive, from FITS file, processed, with UV/IR cut filter |
M 51 (8 frames, ca. 5 s, gain 400), SharpCap, WithDisplayStretch, processed, with UV/IR cut filter |

Comparisons
Even though I took only a few usable photos with the ASI224MC, I would like to venture some initial comparisons with the eVscope and the Atik Infinity:
| ZWO ASI224MC (PS 72/432) | eVscope | Atik Infinity |
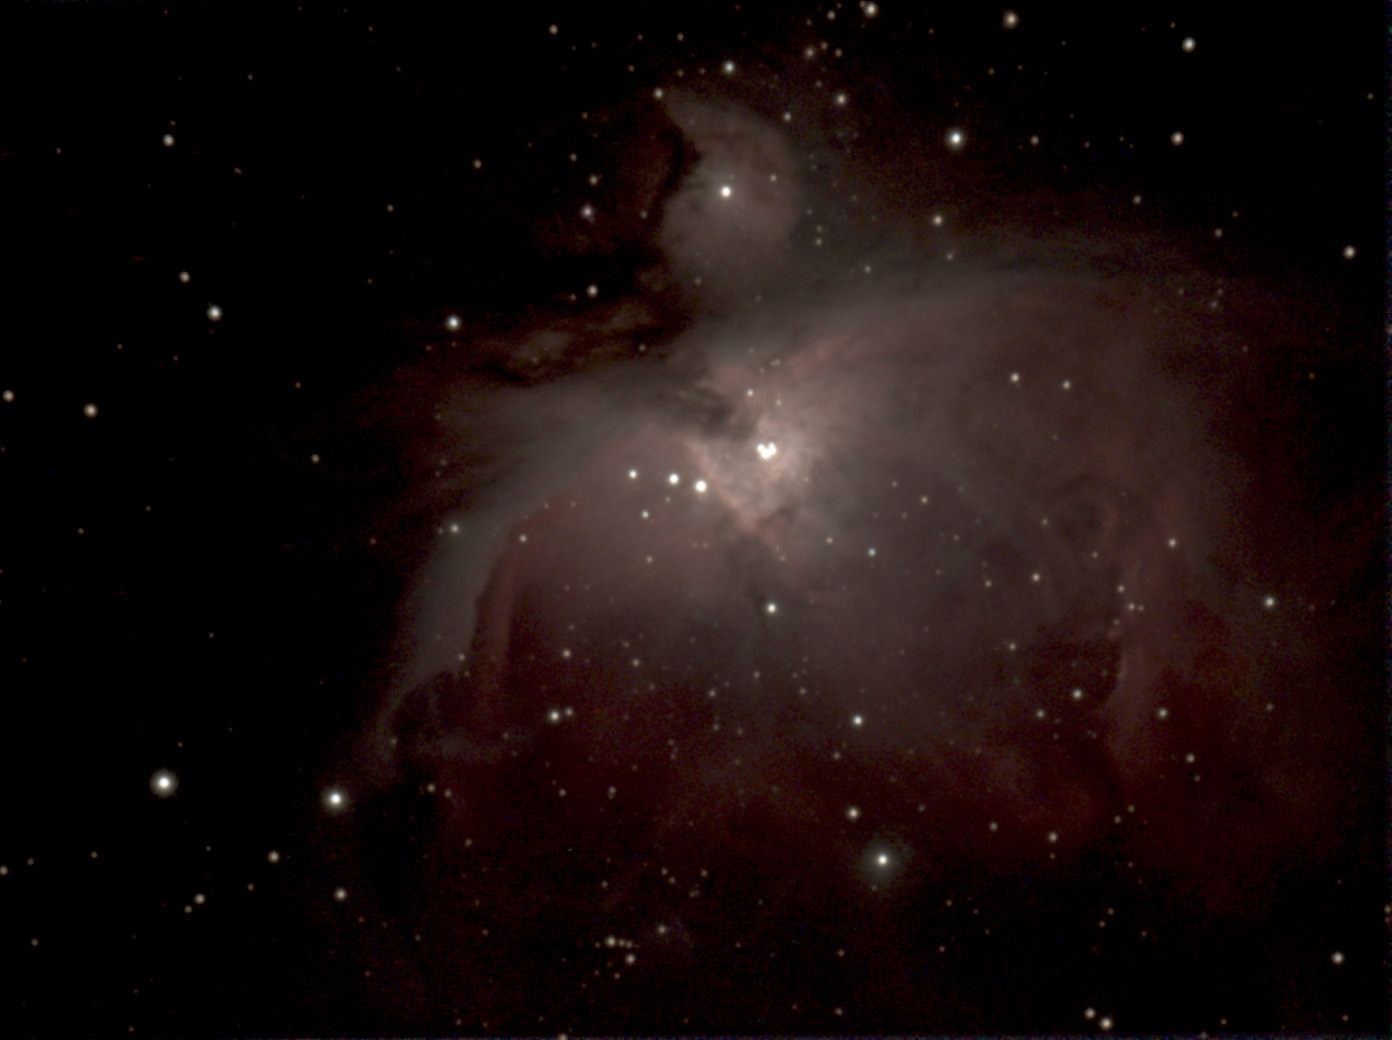
M 42/43 (16 frames, 10 s, gain 134), processed |
M 42/43 - Nov 17, 2020, processed |
M 42/43 - Mar 23, 2021, processed, TLAPO1027 |
M 65/66 (31 frames, 10 s, gain 0) |
M 65 & M 66 - Mar 8, 2021, processed |
M 42 - Feb 21, 2018, processed, 150PDS |
M 78 (30 frames, 10 s, gain 300) |
M 78 - Mar 6, 2021, processed |
M 78 - Feb 13, 2021, processed , C5 |
M 95 (13 frames, 10 s, gain 300) |
M 95 - Mar 7, 2021, processed |
|
M 96 (30 frames, 10 s, gain 300) |
M 96 - 8.3.2021, processed |
|
M 105 (17 frames, 10 s, gain 300) |
M 105 (+ NGC 3384 and NGC 3389) - Mar 8, 2021, processed |
|
NGC 2024 (30 frames, 10 s, gain 300) |
NGC 2024 - Feb 17, 2021, processed |
NGC 2024 - Mar 19, 2021, processed, PS 72/432 |
NGC 3628 (48 frames, 10 s, gain 134) |
NGC 3628 - Mar 7, 2021, processed |


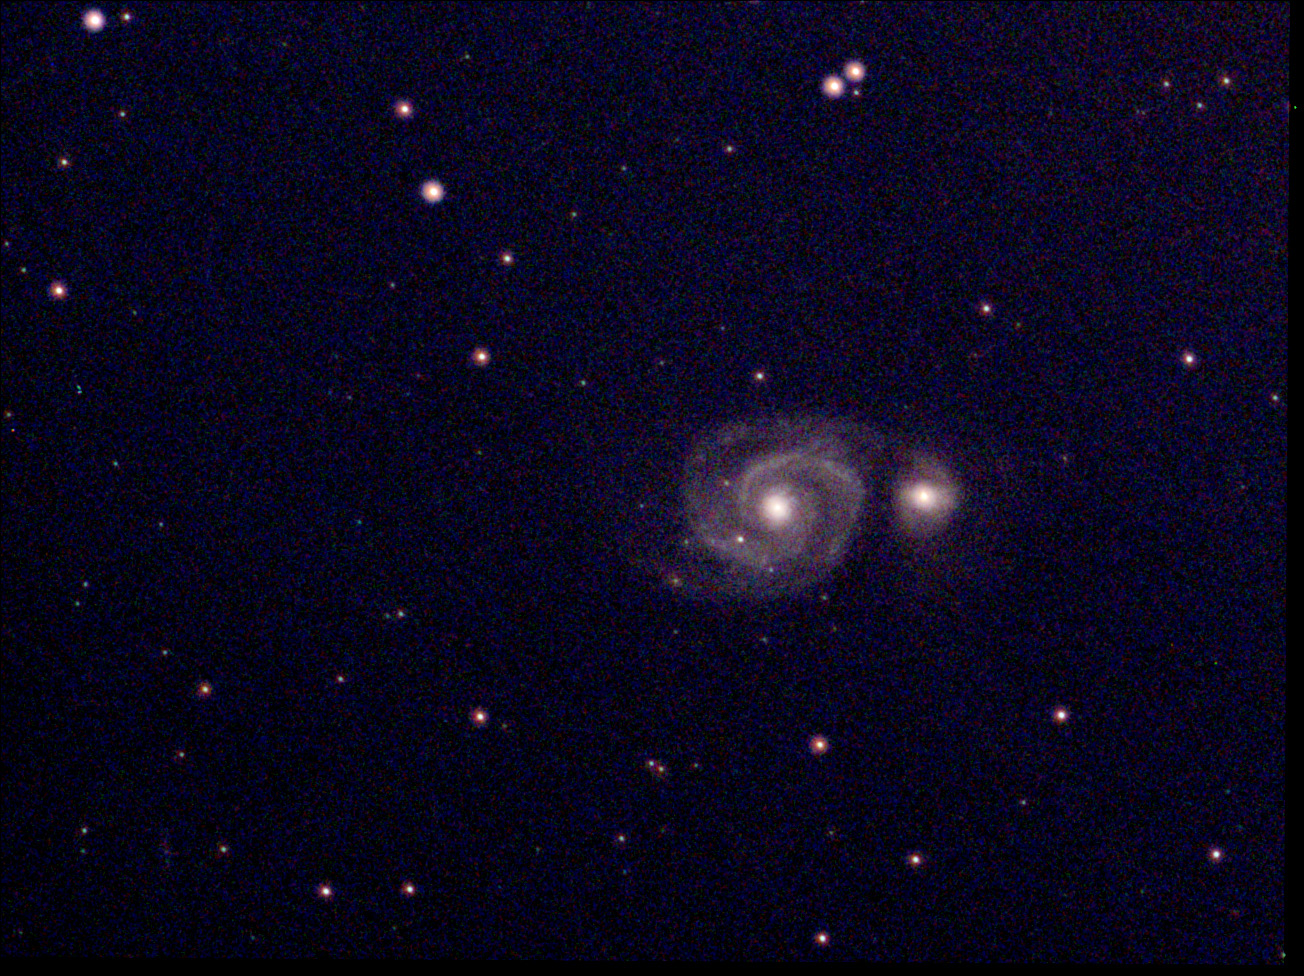
And here a couple of M 51 samples taken with the ASI224 and one eVscope photo:
M 51 (50 frames, 10 s, gain 134) |
M 51 (76 frames, 10 s, gain 300) |
M 51 - Mar 6, 2021, processed, eVscope |
M 51 (100 frames, 12 s, gain 300), SharpCap, from FITS file, processed, with UV/IR cut filter |
M 51 (123 frames, 10 s, gain 300), ASILive, from FITS file, processed, with UV/IR cut filter |
M 51 (61 frames, 10 s, gain 300), ASILive, from FITS file with stretch, with UV/IR cut filter |
In general, the eVscope photos look more brilliant and better (they also exhibit lower noise). But the latter goes at the expense of details. In larger view, the eVscope photos look like "brushed up ". The Atik Infinity can convince especially with M 42/43. Note that this is just a first glance at the photos!
M 51 Comparison with Alternative Processing
M 51 (100 frames, 10 s, gain 300), SharpCap, processed |
M 51 (123 frames, 12 s, gain 300), ASILive, processed |
M 51 - 6.3.2021, processed, eVscope |
M 51 (100 frames, 10 s, gain 300), SharpCap, processed alternatively |
M 51 (123 frames, 12 s, gain 300), ASILive, processed alternatively |
M 51 - 6.3.2021, processed, eVscope |

With a somewhat more aggressive post-processing (bottom row), here using Polarr and a little PSE, I come already closer to the look of the eVscope...
First Results...
During my first tests with the ASI224MC, some things went wrong: partly, the GoTo did not work, partly, I had focus problems, and above all I had unfavorable light conditions, the more unfavorable the further the tests progressed. Only at the end of the tests described on this page, I was able to perform a test without moon influence. I also had to familiarize myself with two new control programs for the camera, ASILive and SharpCap. And so I wondered, whether anything came out of these tests at all. I would like to deal with this question in the following "by topics"!
Focusing
I always find focusing a bit difficult when taking astronomy photos, especially with the PS72 refractor which has considerable hysteresis when focusing. I was therefore not sure at first, whether the blown up stars in the photos taken with the PS72 were due to to UV/IR light or to poor focusing. After reviewing the photos, however, I believe that the focusing was, on the whole, OK, but could of course be improved. In the future, I would like to follow the star-based focusing approach of my star friend. But in the meantime, I also bought a Bahtinov mask for the PS72.
GoTo and Tracking
An inaccurate GoTo function and tracking that "runs away" can also spoil your fun! GoTo is mainly about finding the stars in the first place, which is more difficult with the small field of view of astronomy cameras than when working visually. Finding them also becomes more difficult the longer the focal length of the telescope used, because the field of view gets smaller as the focal length increases. With a "running away" tracking, the celestial object moves out of the image field at longer exposure times, which reduces the usable section. In addition, there may be the effect of field rotation, which crops the image...
However, these two aspects have nothing to do with the "general" image quality, they fall under the category "motivation stopper", instead...
Bloated Stars with Refractor, UV/IR Cut Filter
When taking my first photos with the PS72 refractor, I noticed that the brighter stars were "blown up" or "bloated" and image details were washed out. I found out out that UV and IR light has a different focal point than visible light (this is called dispersion). This produces blurring, i.e. "bloated" stars, on refractors with cameras that are sensitive in these spectral ranges (which is true of the ASI224). UV/IR cut filters are used as a remedy, although I was not able to find a really conclusive explanation for their effect on the Internet, and why refractors in particular are susceptible to this effect.
I was able to borrow such a filter (a Baader UV/IR cut filter with 1.25" thread) from my star friend and to test it. After reviewing my results, I bought the same type of filter. Additionally, I bought an internal filter for the camera from the star friend. But this one only works with the ASI224, not with my Atik Infinity. Because if I look at photos, which I took with the Atik Infinity at the refractor, afterwards, I find on then "blown up" stars as well.
An important result of the above experiments is that I have to use a UV/IR cut filter on the PS72 refractor, and maybe also on the TLAPO1027 refractor (no, not necessary, as I found out...), to prevent "blown up" stars. On the other hand, a starfriend told me that especially "poor" refractors should be affected by the "bloating" of the stars. Well, the PS72 is an ED refractor, but first comparisons with my TLAPO refractor already revealed that the latter is much better. And as I found out later, it is not at all affected by the "bloating problem"...
Some Notes About ASILive
At first, I operated the ASI224 camera with ASILive. More details about this application can be found on page ZWO ASI224 Color Camera - ASILive, so here only some notes!
This application is quite simple, and I soon got along with it well. The change from "single frame" to "stacking" mode was something that took some getting used to for me at first. It is also strange that, unlike in the Infinity software, you can change the exposure time and gain only in single frame mode.
At first, I also did not know how to create darkframes. As I found out, you have to change the image type to "Dark" in the "Stack" panel (for details on creating dark frames, see page ZWO ASI224 Color Camera - ASILive).
Saving the photos is done via an icon that appears as soon as you move the cursor into the image area. A FITS and a JPG file (with the current image settings) are saved with the current state of the stack. The file name contains almost all important image information, only the object name can unfortunately no longer be entered (in the first software version this was possible). In addition, you can specify whether you also want to save the individual frames to be able to edit the stack yourself later; these are saved in FITS format. With the program ASIFitsView you can view FITS files and stacks and save them with and without histogram stretch in different image formats. This is also useful for FITS files that I saved with SharpCap (only possible with 16 bit FITS files!).
To get satisfying results, you have to find suitable camera settings, basically exposure time and gain (gain is analogous to ISO). The exposure time can be adjusted only in relatively coarse steps, which can be selected from a drop-down menu (supposedly you can type in numbers yourself, but that does not work for me). The gain is adjustable in three steps (Low, Middle (134 on the ASI224) and High (300 on the ASI224)).
Histogram correction, also called "stretching", is possible, but there is no color correction. Further interesting options are noise reduction and the removal of hot pixels without requiring dark frames. The latter seems to work well.
Some Notes About SharpCap
In the meantime, I have operated the ASI224 camera also with the application SharpCap. More details about this application can be found on page ZWO ASI224 Color Camera - SharpCap, so here just some notes!
SharpCap is considered as the "Mercedes Benz " among the EAA applications and has accordingly a much more complex user interface than ASILive. For EAA observations, however, it is sufficient to deal with parts or partial aspects of the software and to build up the appropriate "routine" for just this.
It was also more difficult for me than in the Infinity software to figure out in SharpCap how to switch between single frame (called preview) and stacking mode. In the end, you are in "Preview" mode "by default" and call the function "Live Stack" for stacking via the Tools menu or a button. You can change the camera settings in either mode, but should clear the stack (Clear) afterwards if doing so in "Live Stack" mode.
I find creating darkframes easier in SharpCap than in ASILive. Most importantly, darkframes are automatically selected according to the camera settings, which is very convenient.
Some caution is needed when saving the results, because when you click the "Save" button, a 16- or 32-bit FITS file is saved, not the actual image. For this, or for other file types, one must open a drop down menu and select the desired option. It would be more convenient if you could set the default format beforehand and then just press the "Save" button.
Moonlight
In general, the results obtained so far are not inspiring and, even with long total exposure times, are more noisy than I would have expected (from my experiences with the eVscope). I am sure that the moonlight played a role in this. Certainly, the eVscope also uses more aggressive noise reduction algorithms, which is, after all, reflected in the often "brushed up " looking photos. So far, I was not able to take a photo of M 42/43 (Orion Nebula) with the eVscope that would have satisfied me. With the ASI224, I had only one attempt, which is not satisfying because of UV/IR blurring. Since the end of April, M 42/43 is no longer observable until autumn comes...
When it will be possible to observe and photograph from one week before new moon and until shortly after, I will try to do so and compare the photos with the ones taken so far.
Preliminary Conclusions
My first months with the ZWO ASI224MC produced very mixed results, partly, because there were a number of obstacles and problems to overcome:
- I had to learn and use new EAA software (ASILive, SharpCap).
- Partly I had very bad sky conditions, especially the moon light disturbed and prevented the stacking of frames.
- There were also problems with the GoTo, so that I was not able to find the target M 51, especially on one evening and at the beginning of a second evening. Possibly, this was due to the camera bumping against the tripod legs, because M 51 was high in the zenith, but I did not always notice when this happened. In the future, I will use the center column of the AZ Pronto mount, when I want to observe DSO close to the zenit with the PS 72/432.
- The camera bumping against the tripod legs may also be responsible for some of the poor tracking experiences. These possibly indicated a stronger field rotation than actually existed.
- With the refractor PS 72/432, I got bloated stars and also washed out details at DSO. I had this experience with the Atik Infinity as well, as I found out after the fact, but I had not noticed it at first. I decided to try to reduce the bloating of stars by using a Baader UV/IR cut filter.
- The focuser of the PS 72/432 has a noticeable hysteresis, which makes focusing a game of patience. Often the focus was not optimal during my photo sessions. I bought a Bahtinov mask so that I will have a clearer indication of when the PS 72/432 is in focus.
All in all, these were a lot of "stumbling blocks" for me that did not allow for better and satisfactory results. I present my further efforts with the ZWO ASI224MC on a further page, because this page has already become far too long.
Note: Since April 2016, ZWO provides all ASI224MC and AISI224MC-C cameras with the PCB revision 1.3, which reduces amp glow. Inside the camera box, there is a stamp with the year 2019 (I cannot decipher the Chinese date...), so the camera should already have the latest PCB. However, my first impression was that some of my shots exhibit a considerable amp glow. So far, I was not able to remove it using darkframes.
| Note: I bought a ZWO ASI294MC camera in the beginning of April 2022 in order to get more resolution and field of view, and I thus sold my ZWO ASI224MC camera in mid-April 2022. I therefore can no longer report any further experiences with this camera here. |
Links
- ASI224MC (color) (ZWO Website): astronomy-imaging-camera.com/product/asi224mc
- ASIStudio - ZWO Support - Software and Drivers: astronomy-imaging-camera.com/software-drivers
- Discussion forum about ASIStudio (ASI): bbs.astronomy-imaging-camera.com/t/asistudio
- At The Eyepiece Tonight - ASILive DEMO! (At The Eyepiece): www.youtube.com/watch?v=e2CygXmJVto&t=94s
- ASILive - new EAA software (CloudyNights thread, started by mclewis1): www.cloudynights.com/topic/684951-asilive-new-eaa-software
- ASIStudio v1.3.1 12.10.2020 (CloudyNights thread, started by bouvier_1): www.cloudynights.com/topic/746826-asistudio-v131-12102020
- SharpCap Homepage: www.sharpcap.co.uk
- SharpCap download page: www.sharpcap.co.uk/sharpcap/downloads
- Astrophotography Stacking Software: Imaging Deep Sky Objects the Fun and Easy Way (David Barrett): www.highpointscientific.com/imaging-deep-sky-objects-dave-barrett
- See also my page offering Astronomy Links.
|
made by |
| 28.11.2024 |