Rigel Finder
What is the Rigel Finder? | Photos: The Rigel Finder | Photos: The Rigel Finder at the Omegon PS 72/432 Refractor | Photos: View Through the Finder | First Experiences | Deep Sky Reiseatlas and Deep Sky Reiseführer | Links | Appendix: The Rigel Finder at the Omegon PS 72/432 Refractor (wrong)
On this page, I report my (first) experiences with my Rigel finder that I acquired for my Omegon PS 72/432 refractor (November 2018).
What is the Rigel Finder?
Developed by Steve Kufeld, the Telrad Finder is a kind of bright-line frame viewfinder, which, unlike the finder scope, is a zero-magnification finder. With the Telrad viewfinder you look through a mirror at the sky. The device projects three red rings (corresponding to a visual angle of 0.5 °, 2 ° and 4 °) onto the mirror. At night, you more or less see only the rings - as if they were projected onto the star background. More on this on my page about the Telrad Finder.
The Rigel Quick Finder (or "Rigel finder" for short) is a smaller version of such a finder and projects only two rings onto the mirror (corresponding to a viewing angle of 0.5° and 2°). It is better suited to smaller telescopes and a bit cheaper. After selling the Telrad viewfinder I thought about buying the Rigel viewfinder again and again, but because of the price I stayed with my simple red-dot finders. For my Omegon PS 72/432 refractor, however, these finders are not a practical solution, and so I asked the dealer for alternatives. He recommended the Rigel finder for my refractor, and I bought it.
Like the Telrad finder, the Rigel finder consists of a base, which
is attached to the telescope tube* with double-sided tape, and the actual finder.
The base remains at the telescope; the finder can be easily removed thanks
to two slots. This seems, however, more difficult than for the Telrad... If
you own several telescopes, you can acquire a base for each of them and simply
exchange the viewfinder between the telescopes. But I do not know, whether
these are also available on Germany.
*) For smaller tubes, a solution using cable ties and single-sided adhesive
foam tape is suggested.
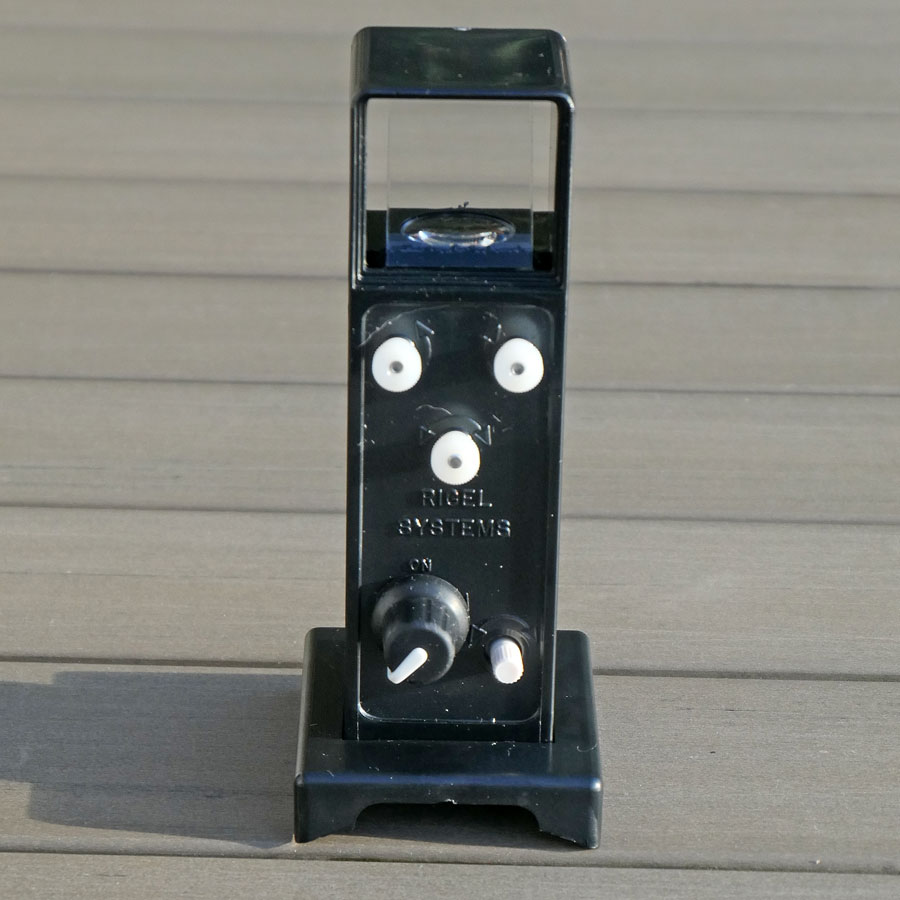
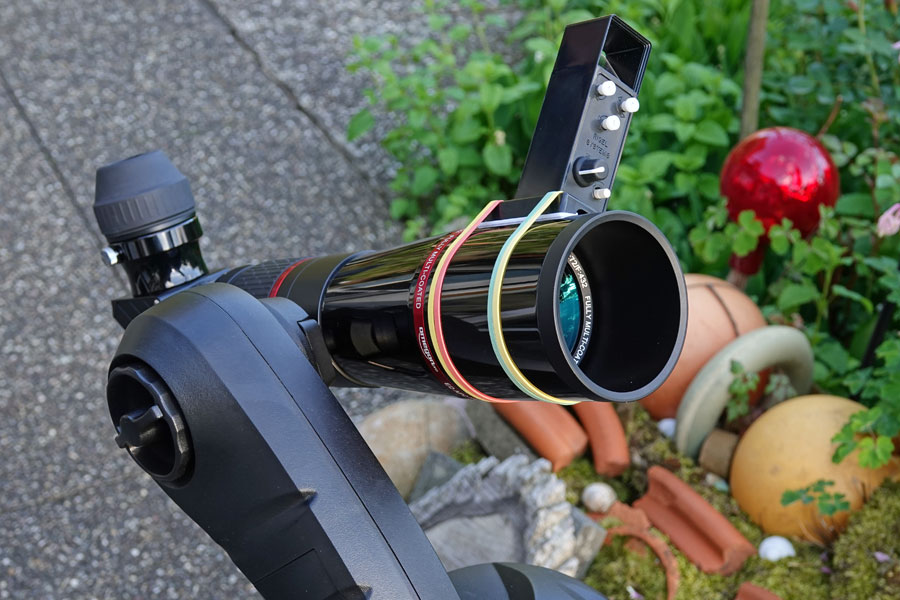
As with the Telrad viewfinder, you look through a mirror at the sky when using the Rigel finder, which projects two red rings (corresponding to a visual angle of 0.5 ° and 2 °) onto the mirror. You move the telescope and, using the rings, try to position it so that the target region lies within the inner ring - and hopefully, if the finder is in good adjustment, you will this also when looking through the eyepiece. The adjustment of the rings is done with three thumbscrews on the front of the unit. On the same side, the Rigel has a switch with rotary knob to turn on the inbuilt LED and regulate its brightness. The LED of the Rigel finder is powered by a 3V Lithium cell (CR2032). Overall, the device appears somewhat rough to me. I also do not regard it as "small." But since it is made of plastic, it is relatively low-weight...
In addition, you can use sky maps (for example, the Deep Sky Atlas, which I purchased with the Telrad finder) to find the exact position of an object under observation. These list and describe interesting sky objects (galaxies, star clusters, nebulae), and may also show Telrad rings for selected celestial objects (as the Deep Sky Atlas does). With the latter, you will know what to expect... For the Rigel finder, you are, however, restricted to the to two inner rings.
Below I show pictures of the Rigel finder, of its installation on my Omegon PS 72/432 refractor, and of the rings in the dark.
Photos: The Rigel Finder
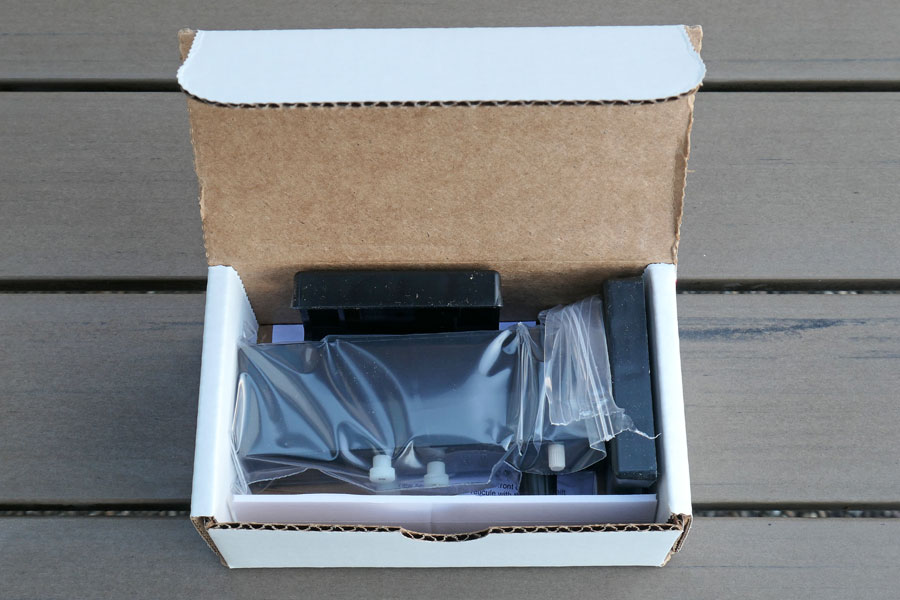
Unpackaging
Package of the Rigel Quick Finder |
Box opened |
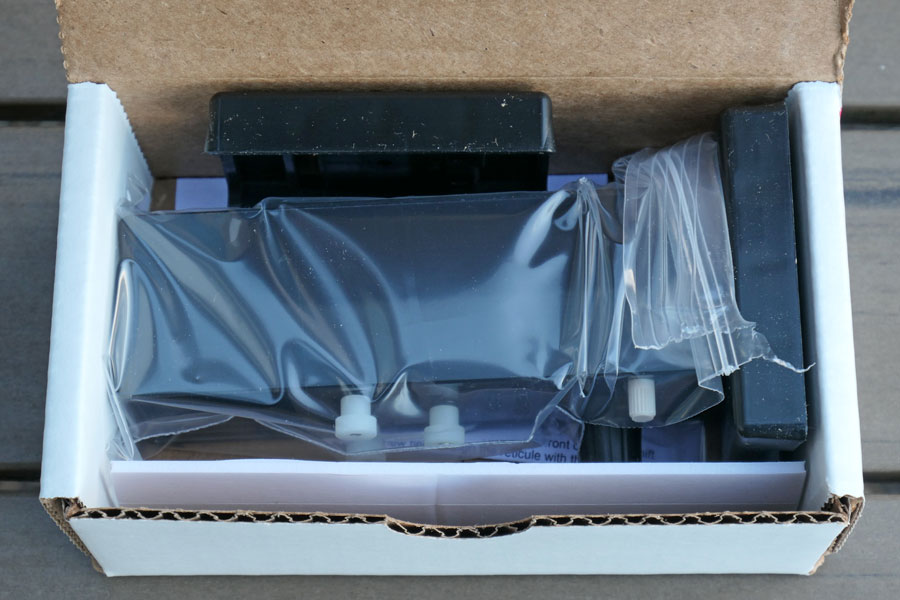
Ditto, closer view |
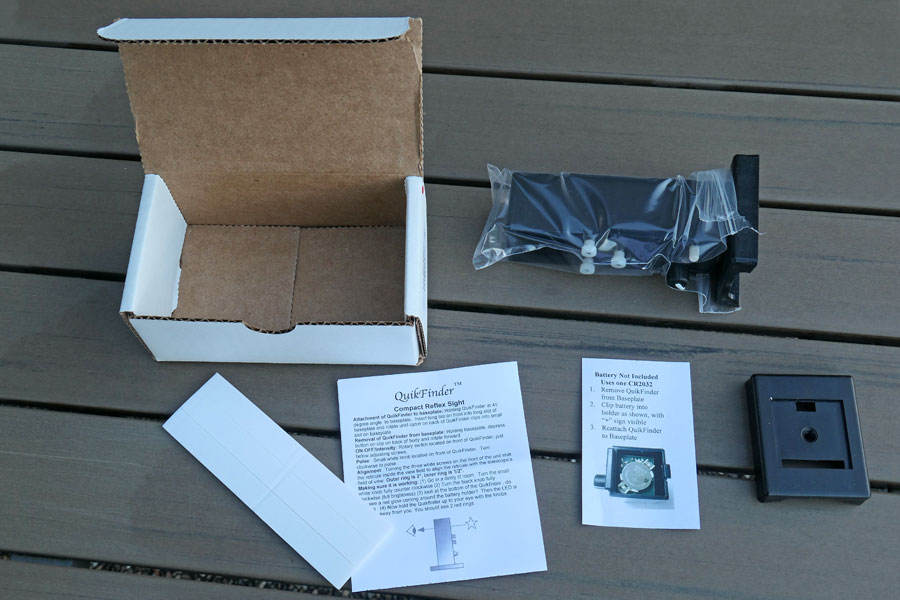
Rigel finder unpacked |

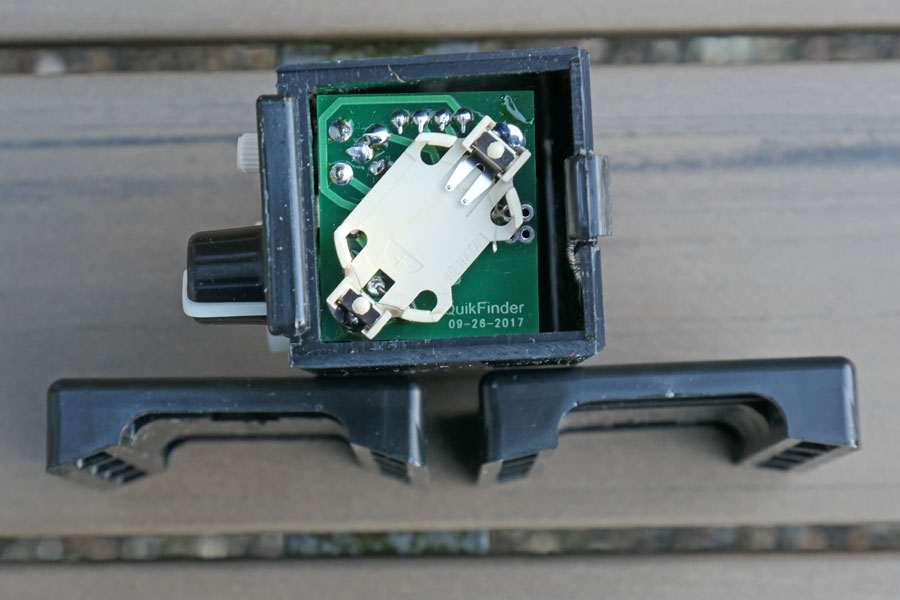
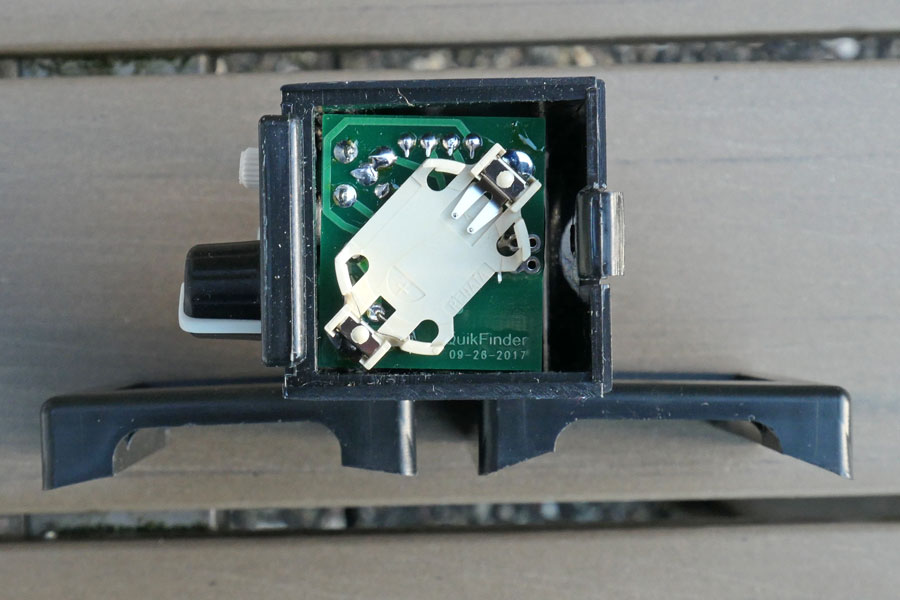
Battery Compartment, Inserting the Battery
The battery compartment is located at the finder's bottom; you can also see the two base plates... |
... into which the finder is inserted. Then the battery compartment is protected. |
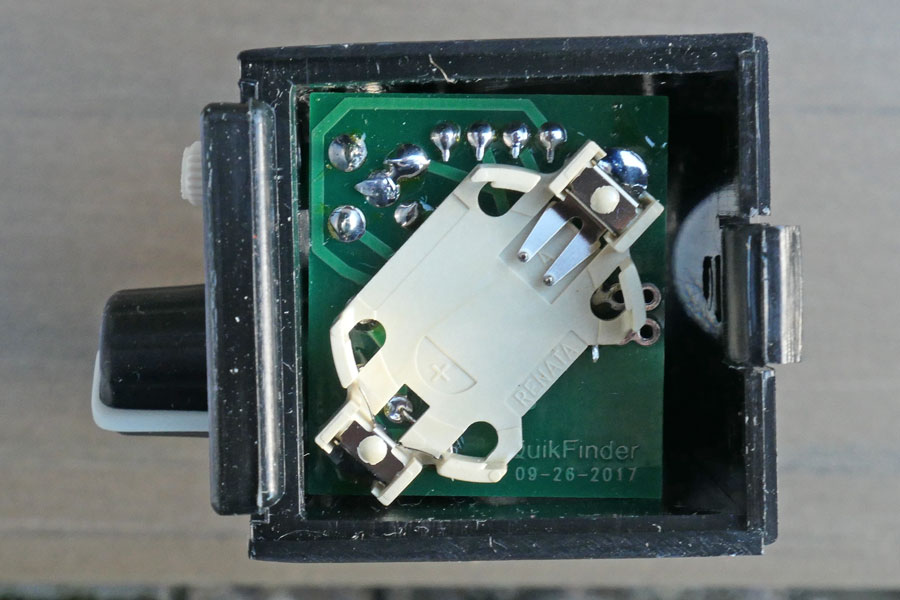
Battery compartment, closer view |
Instructions for inserting the CR2032 battery (3V Lithium battery) |
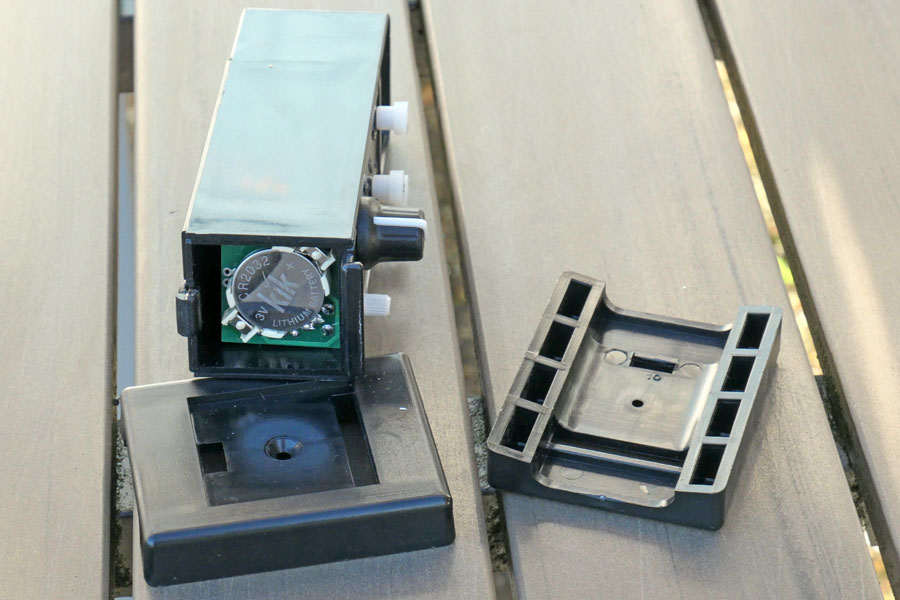
Lithium batterie CR2032 inserted |
Rigel finder with battery inserted and base plates; one base plate is ready for inserting the finder |


Look
Rigel Quick Finder with second base plate |
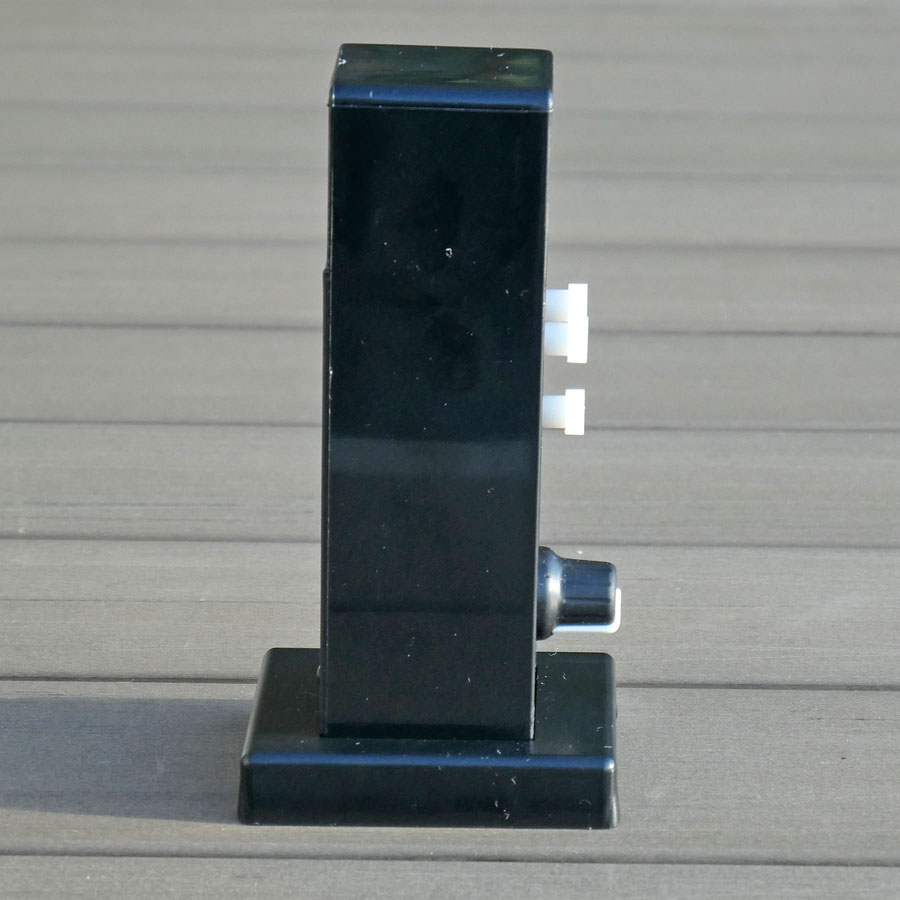
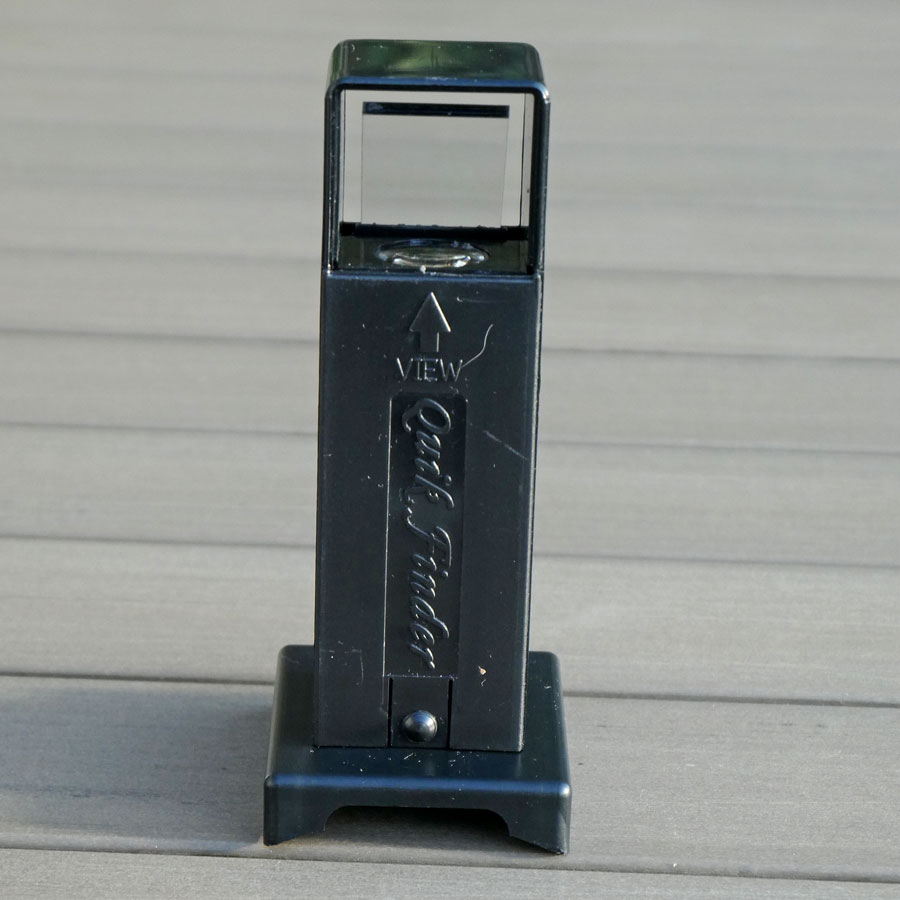
Rigel Quick Finder, side view |
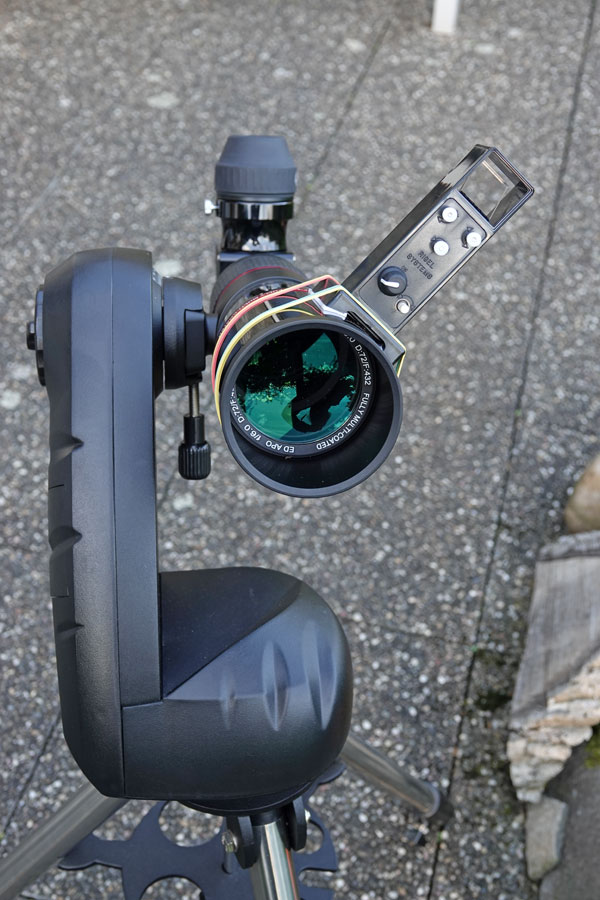
Front: At the top three screws for aligning the red dots, at the bottom left the on/off switch and intensity knob, at the bottom right the knob for adjusting the blinking frequency (stedy light at the left end) |
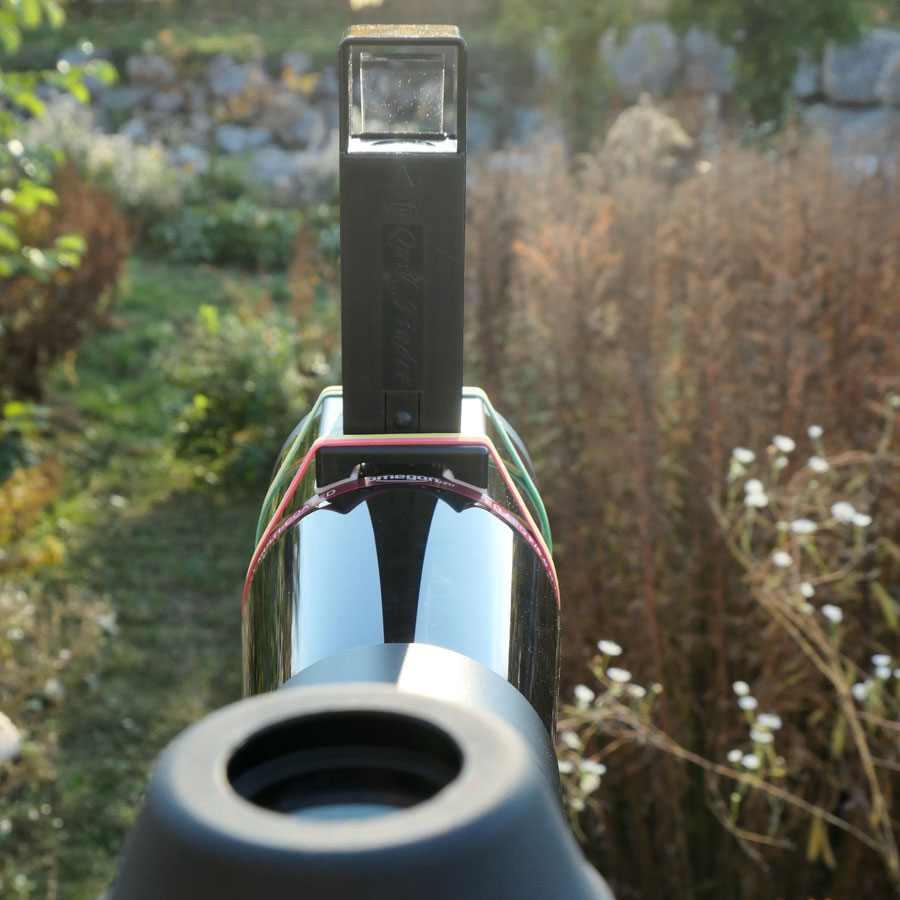
Back side - from here you look through the finder |

Photos: The Rigel Finder at the Omegon PS 73/432 Refractor
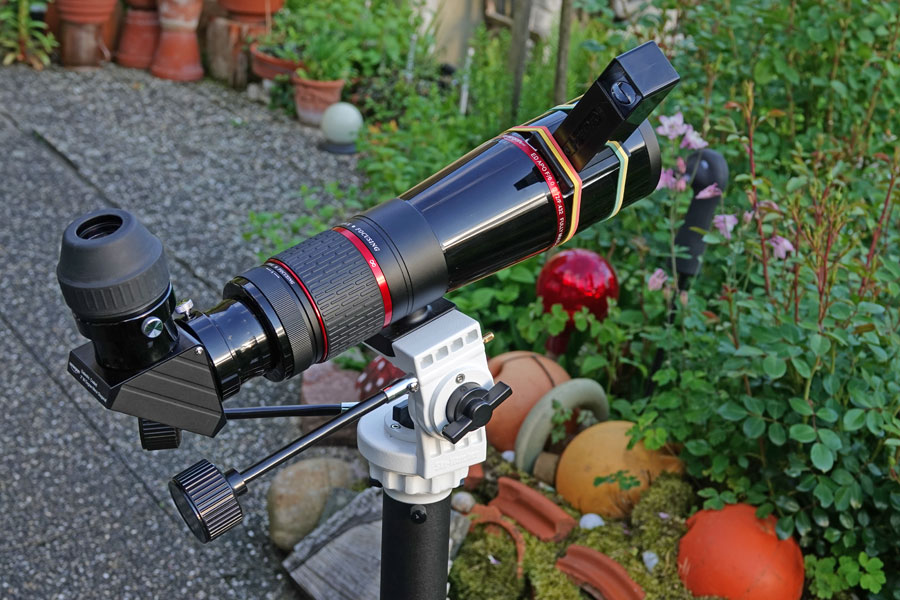
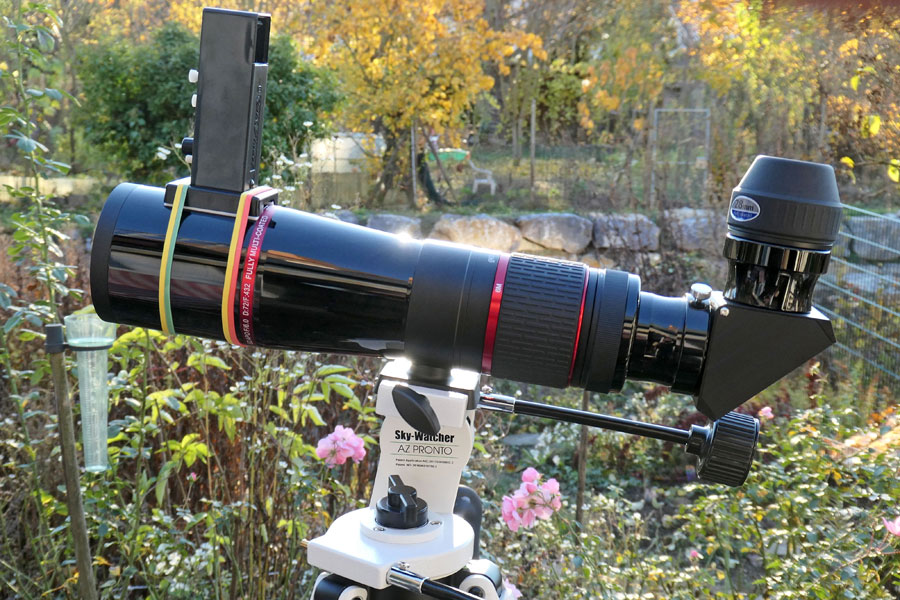
AZ Pronto Mount
Base plate of the Rigel finder attached to the telescope |
Ditto |
|
Rigel from the rear |
Ditto |
Rigel finder side view |
Ditto, other side |
Rigel finder rear view |
Ditto |

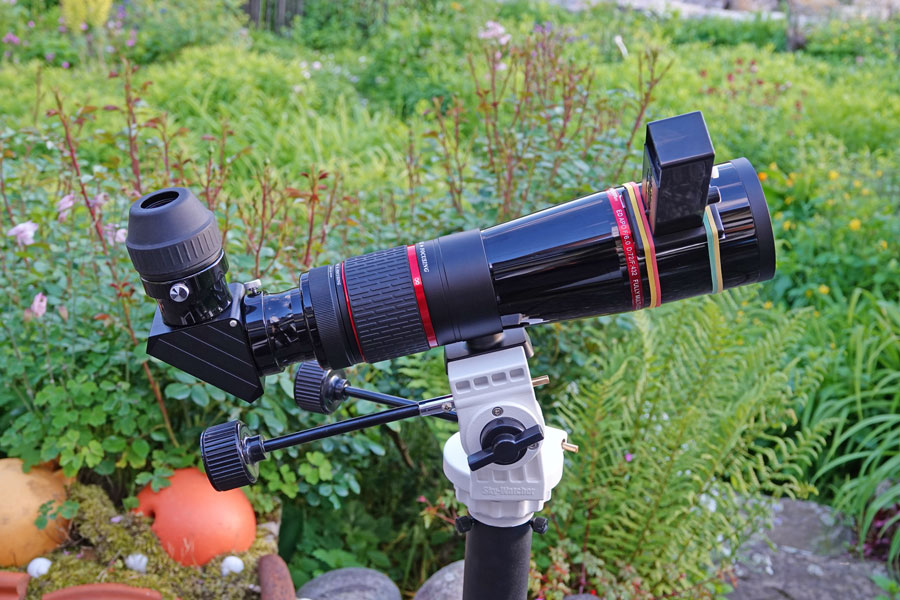

Star Discovery Mount
Rigel finder rear view |
Rigel finder side view |
|
Rigel rear view |
Rigel front view |
Rigel finder rear view |
Rigel finder front view |


AZ-GTi Mount and Second Finder Shoe
Since the refractor apparently has to be mounted in a different direction on the AZ-GTi mount, the Rigel finder was now facing downwards. I therefore glued a second finder shoe (included) to the tube (May 2021):
Rigel finder with two finder shoes, rear view |
Rigel finder with two finder shoes, front view |
Photos: View Through the Finder
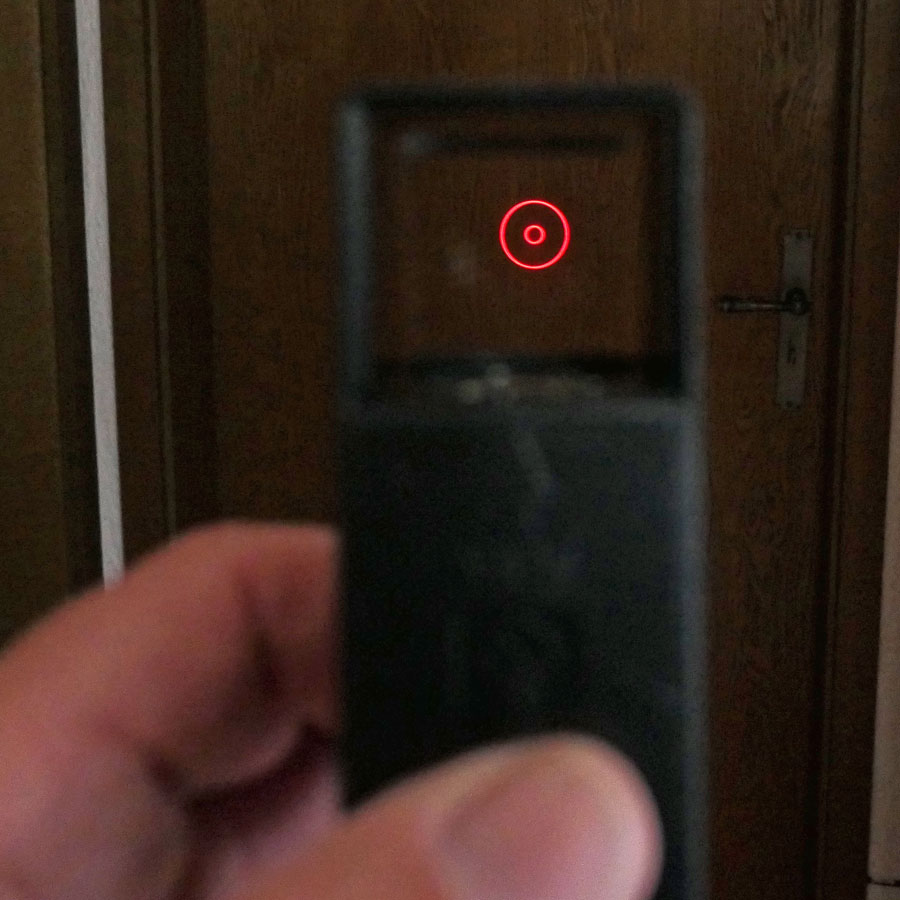
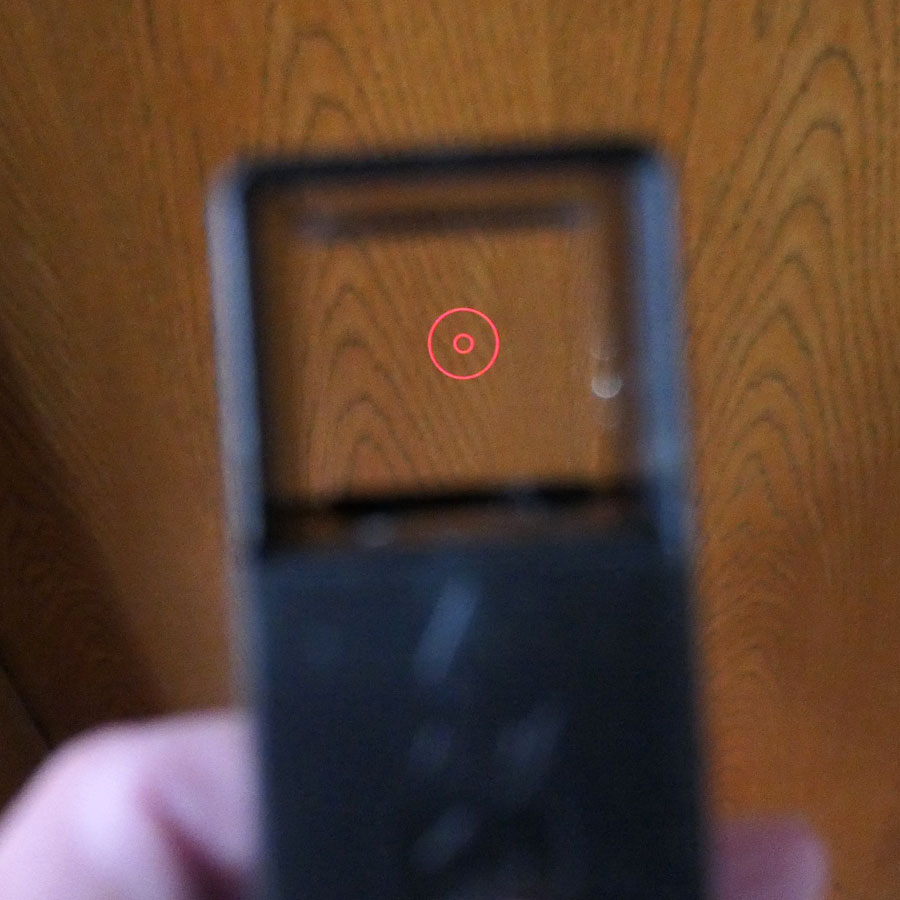
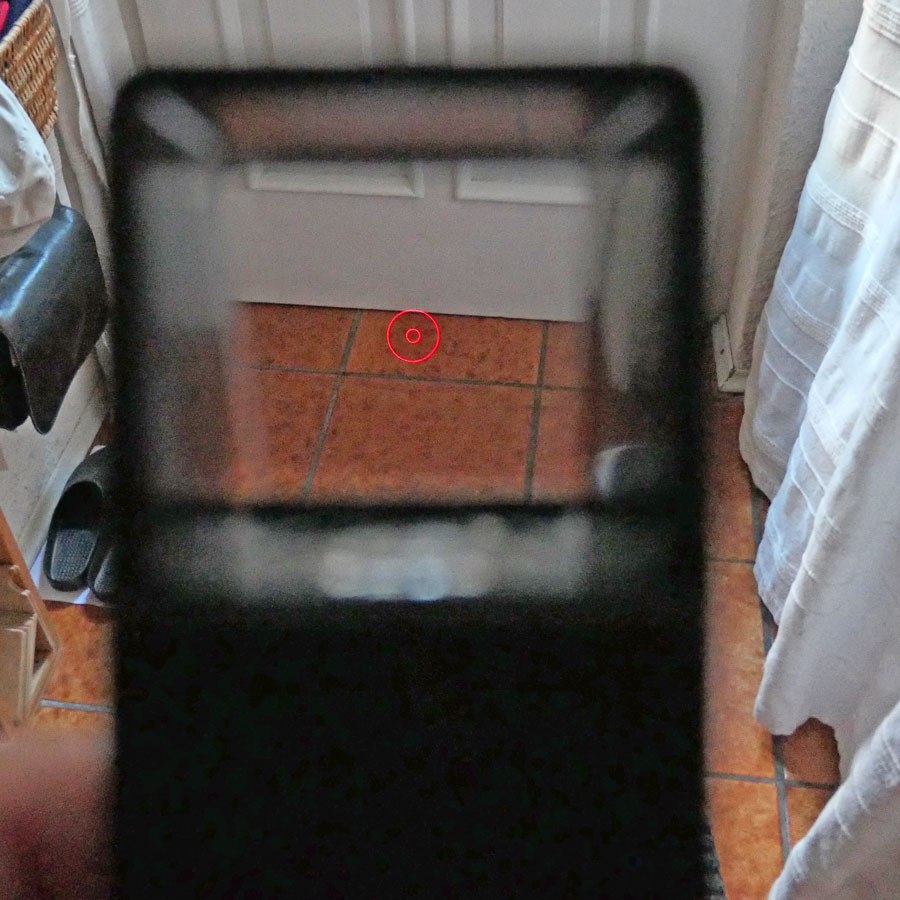
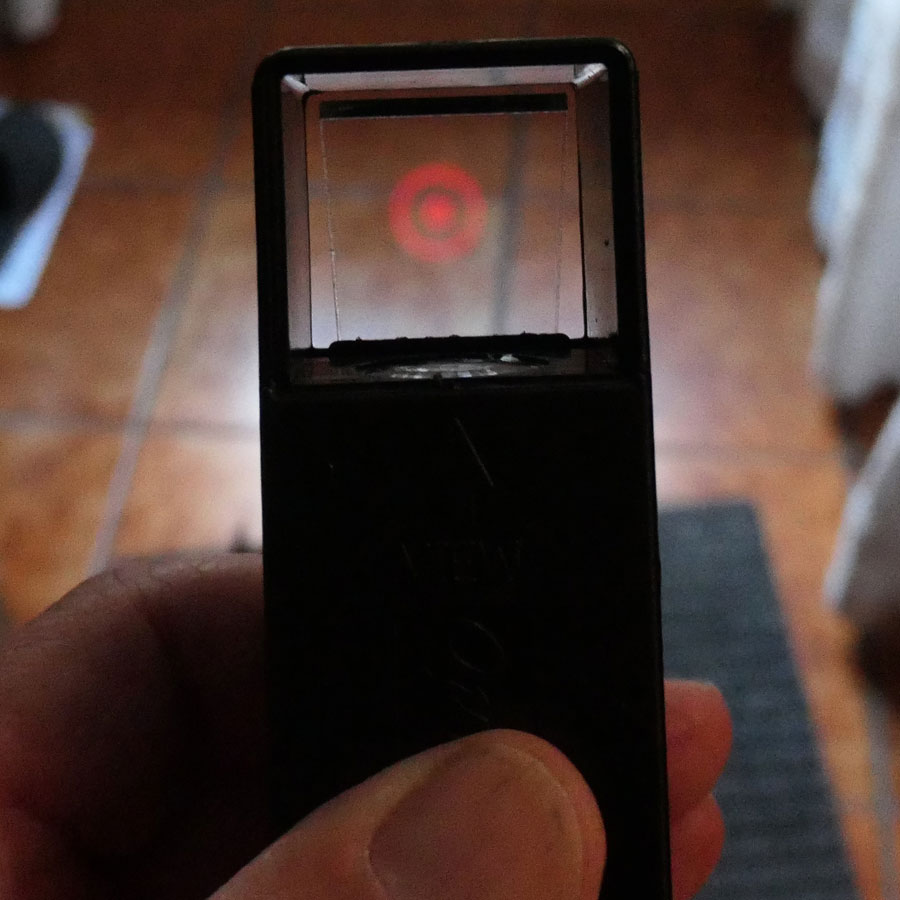
Finally, some photos taken inside where you can see the two rings (0.5° and 2°), which the LED projects on the mirror and which are used for searching target objects. Ideally, the target object should be located inside the inner ring.
View through the Rigel finder |
Ditto |
Ditto, the focus is on the rings |
Ditto, the focus is on the finder itself |
Deep Sky Reiseatlas (Maps) and Deep Sky Reiseführer (Guide)
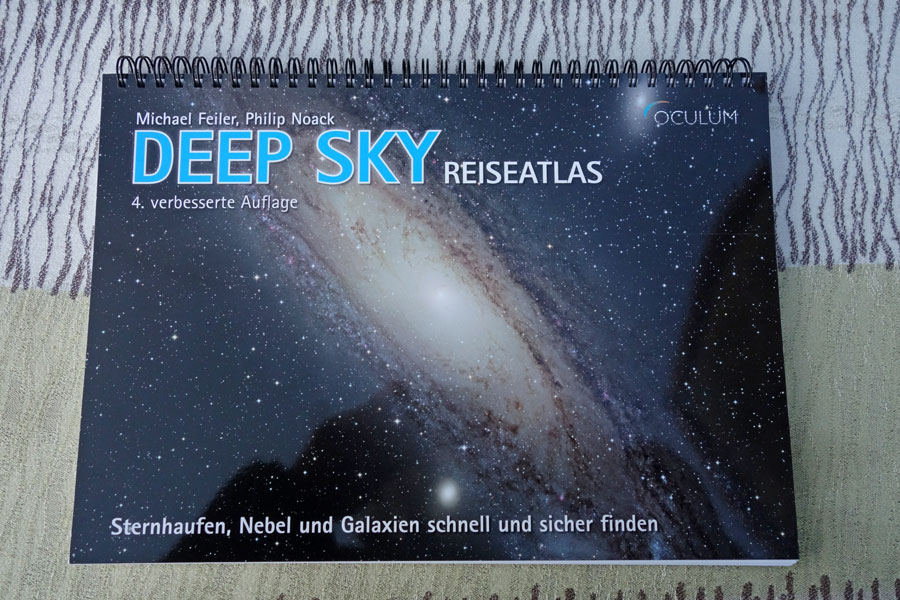
The Deep Sky Reiseatlas (sky map for deep sky objects; in German) is targeted at hobby astronomers who use the Telrad finder. For selected deep sky objects, it shows how the view through the Telrad finder would look like. If you care only for the two inner rings, you get the view through the Rigel finder.
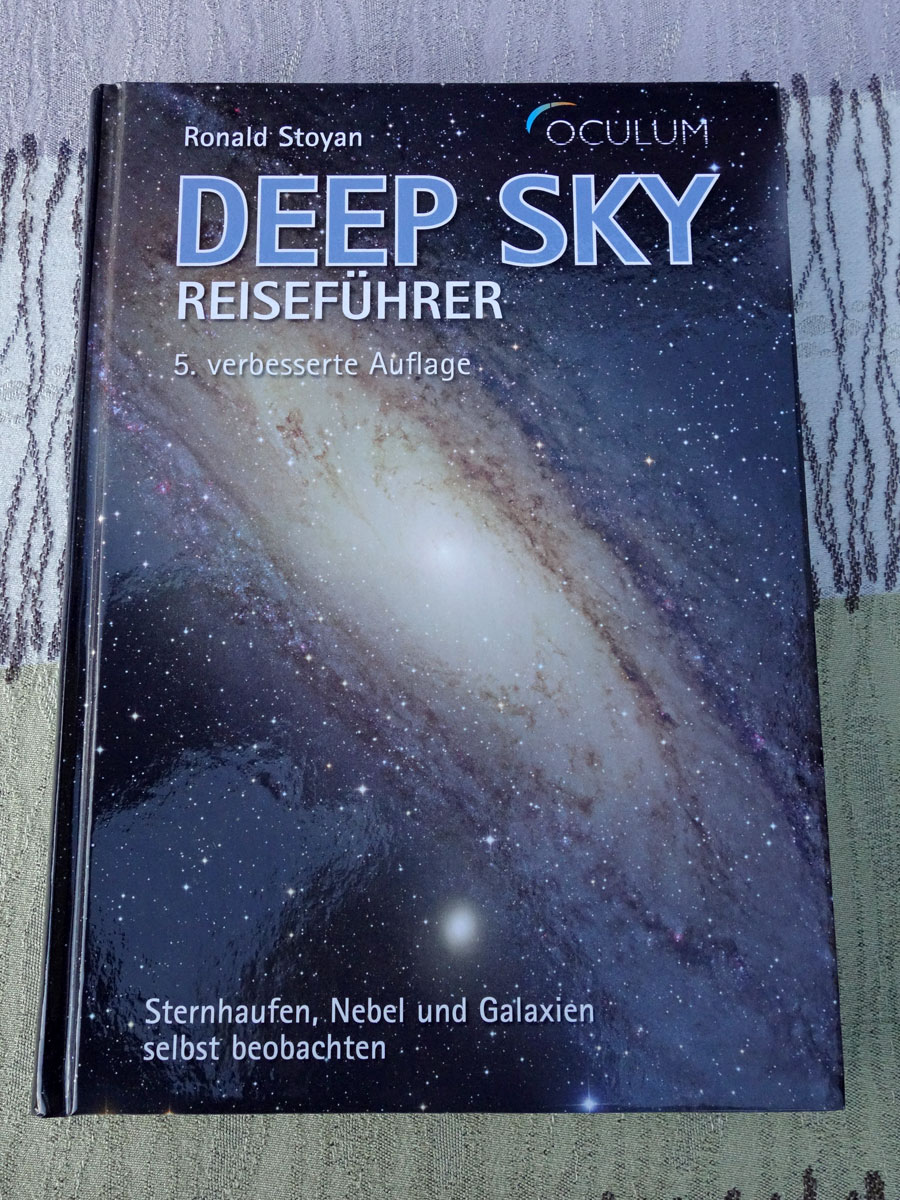
This sky map also works together with the Deep Sky Reiseführer, a guide that describes selected deep sky objects in more detail (in German) by displaying the page numbers for the descriptions of these objects in the guide.
Deep Sky Reiseatlas and Deep Sky Reiseführer - both books work together... |
Cover of the Deep Sky Reiseatlas (sky map) |
Cover of the Deep Sky Reiseführer (guide) |
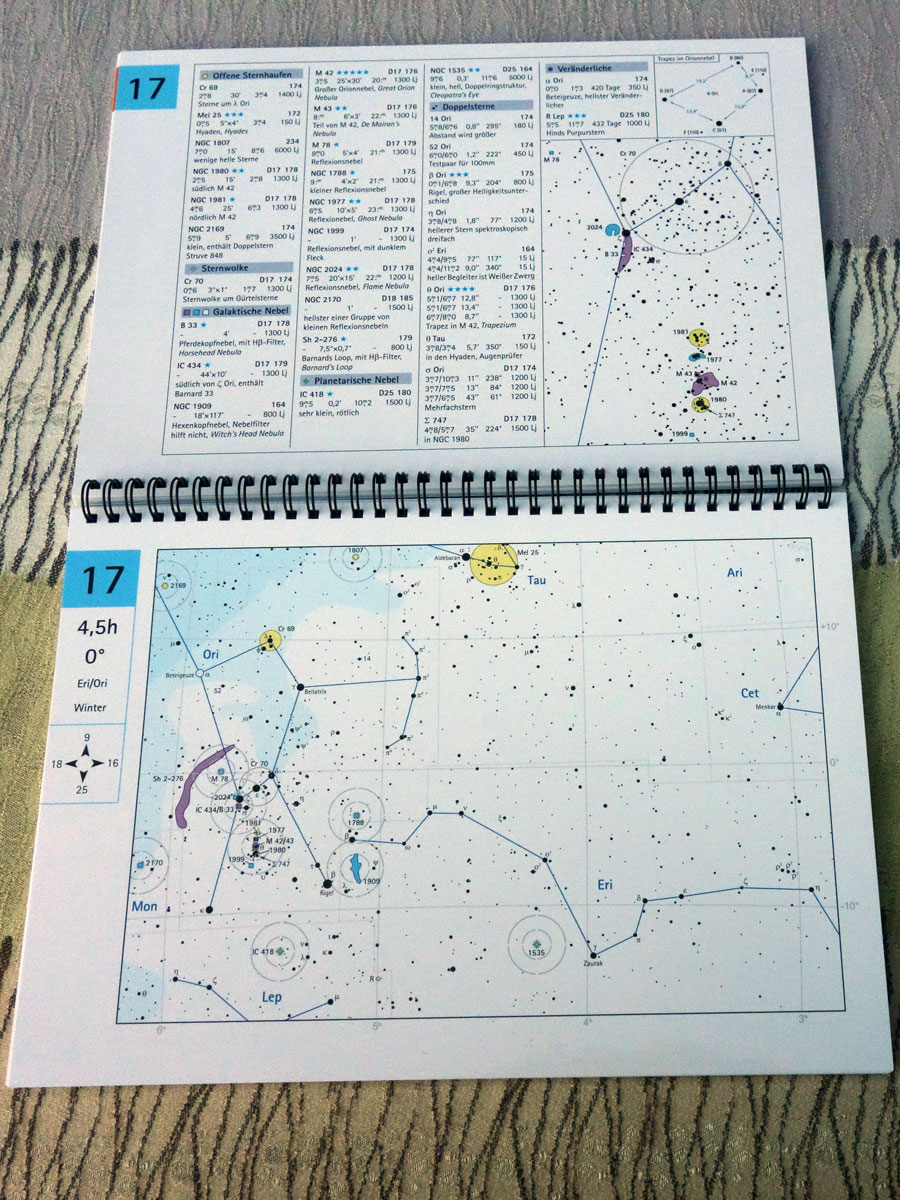
Deep Sky Reiseatlas: Double pages present descriptions and a map of a certain section of the sky |
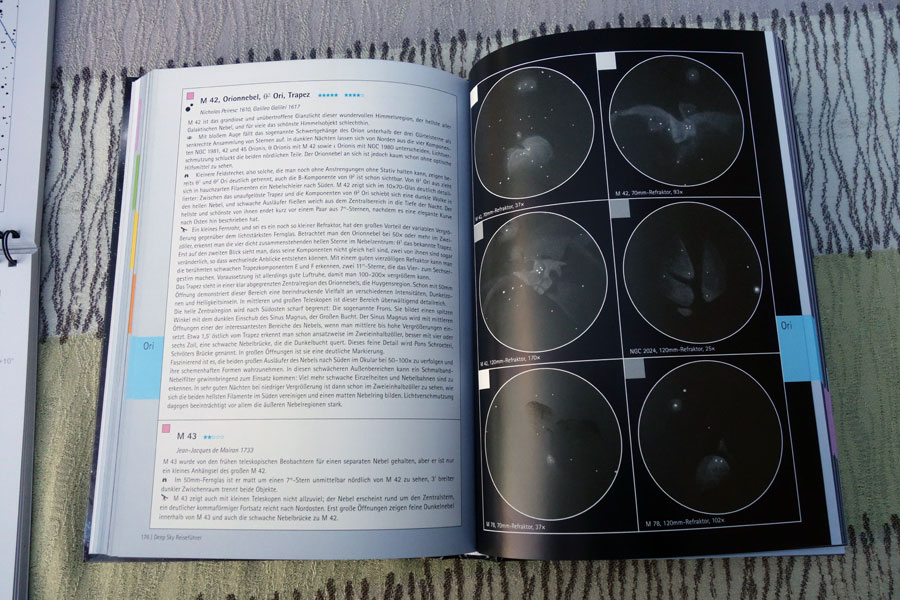
Deep Sky Reiseführer: Description of the Great Orion Nebula M42 (the page number is given in the Reiseatlas), plus paintings of how the object looks in smaller telescops and under different viewing conditions |
Deep Sky Reiseatlas: The upper pages present descriptions of important sky objects and sometimes detail maps |
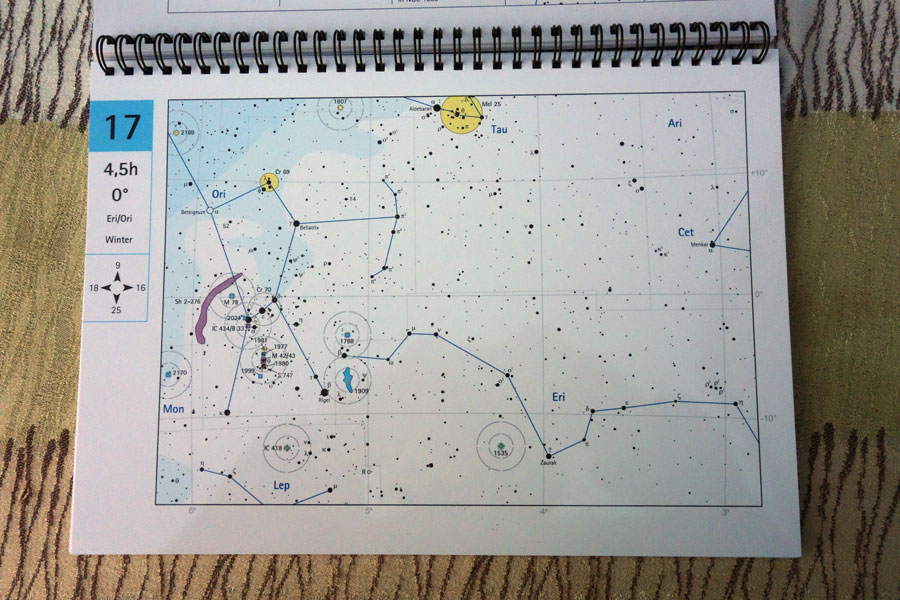
Deep Sky Reiseatlas: Detail of a lower page with a map (Orion) and Telrad rings for some important deep sky objects |
Deep Sky Reiseatlas: The lower pages present maps of sections of the sky |


First Experiences
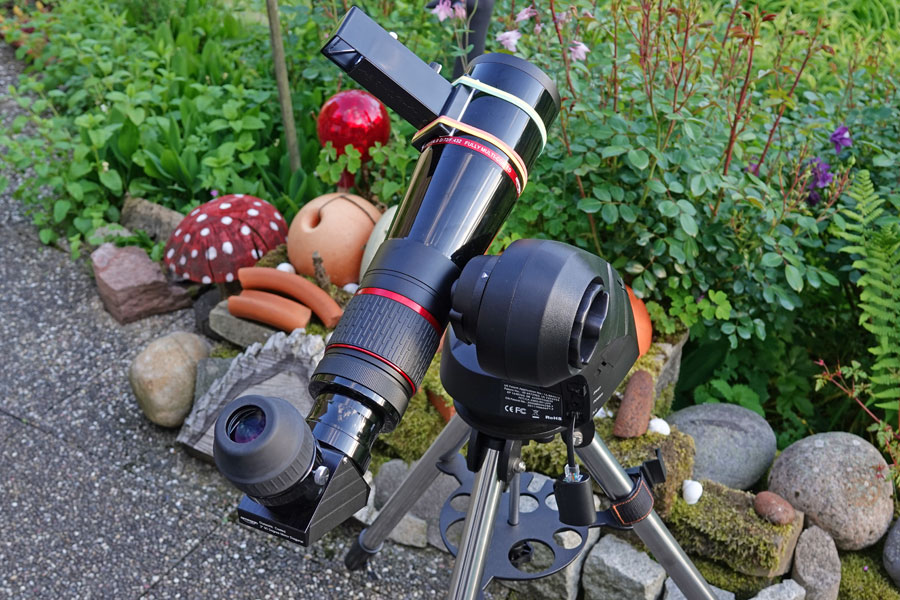
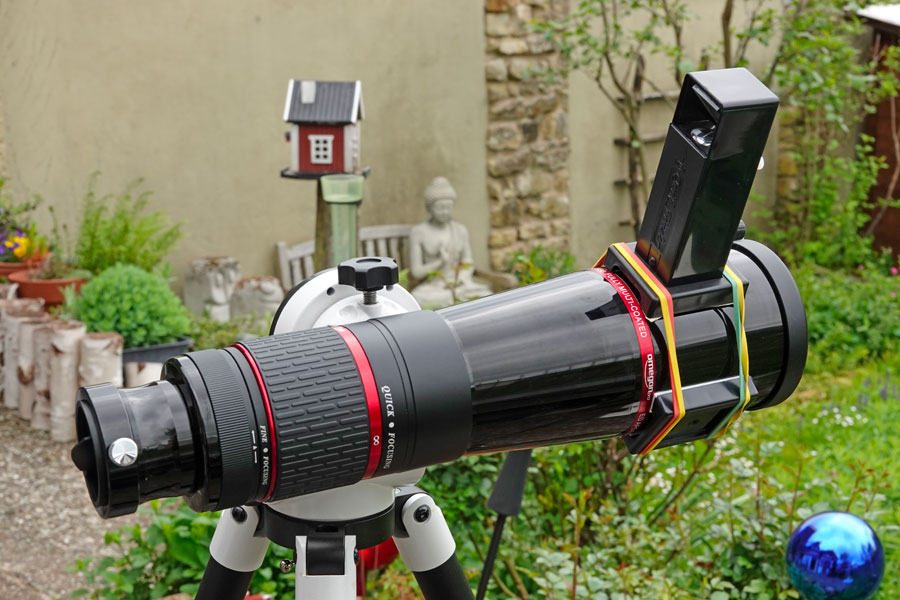
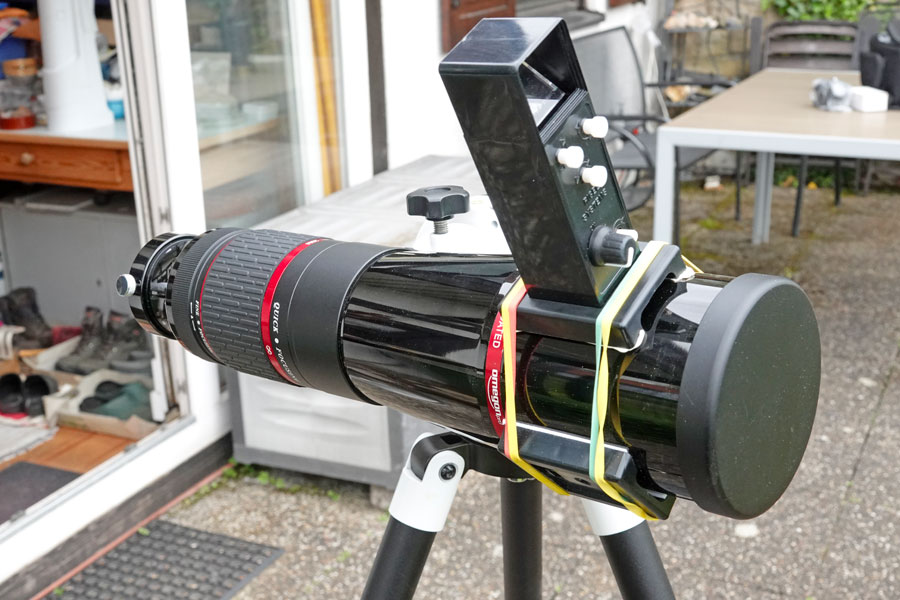
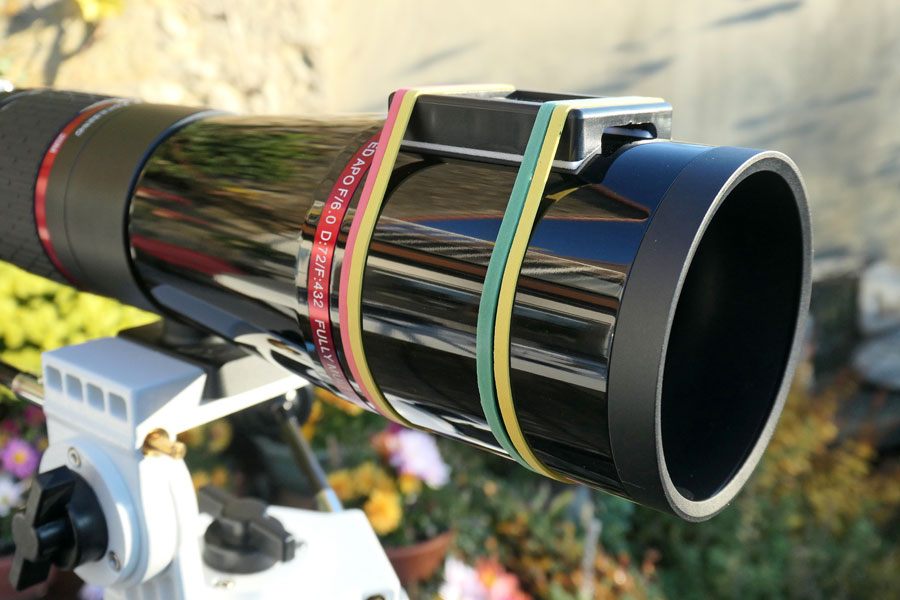
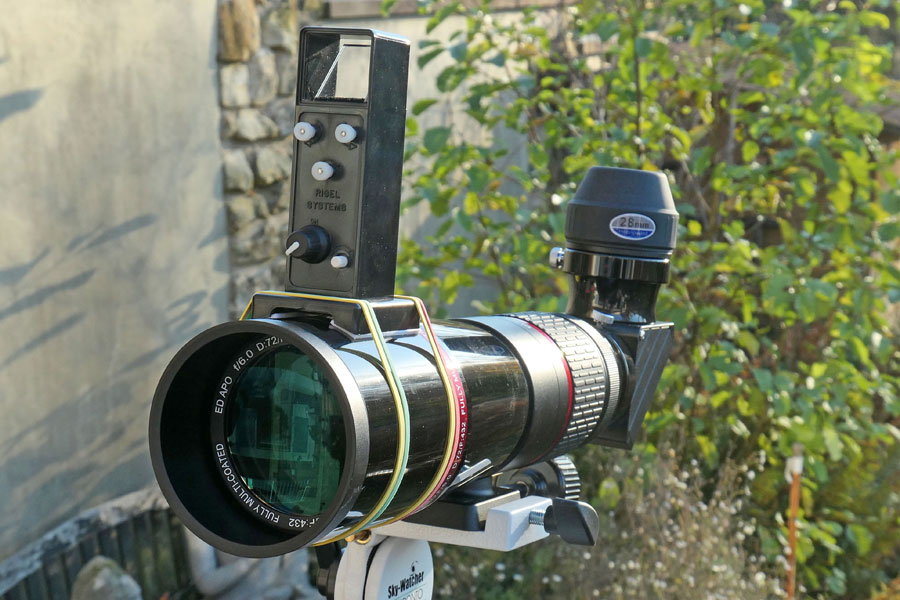
The Rigel finder was recommended to me by an Astroshop employee on the phone for my Omegon PS 72/432 refractor, and so I bought it, especially since nothing else seemed to fit on its tube so small in diameter. However, I had my doubts whether the foot would really fit the tube... These doubts proved to be justified, as it turned out after I had unpacked the Rigel finder. Actually, I wanted to mount the viewfinder in the middle of the tube, about where it is attached to a tripod or mount. There would have been some space. But the Rigel base plate was too long and did not fit the tube because of its curvature. So only one position, on which the base would plate fit, remained, namely at the front of the dew cap, far away for locating stars. But because I did not know of any alternative, I tried this first...
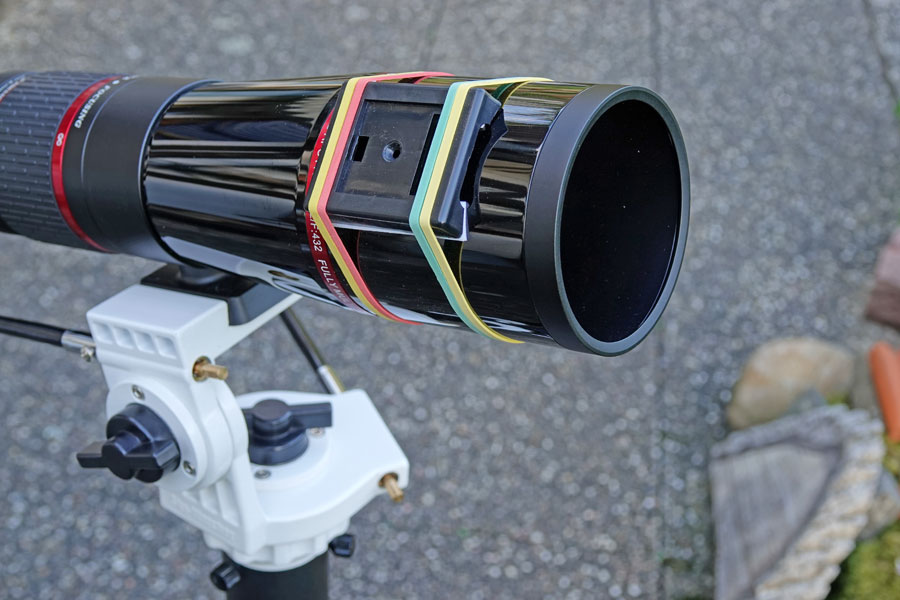
At first, I just attached the Rigel finder to the telescope tube with many thick rubber bands. This might have held during an observation session, but sometimes it did not... And above all, the finder had to be adjusted at every new session. That was annoying in the long run! So I decided to fix the base plate with the help of the supplied double-sided adhesive tape, hoping that it would remain firmly on the tube when packing the telescope away into its suitcase or bag. This has held so far, but how long it will last is, of course, open.
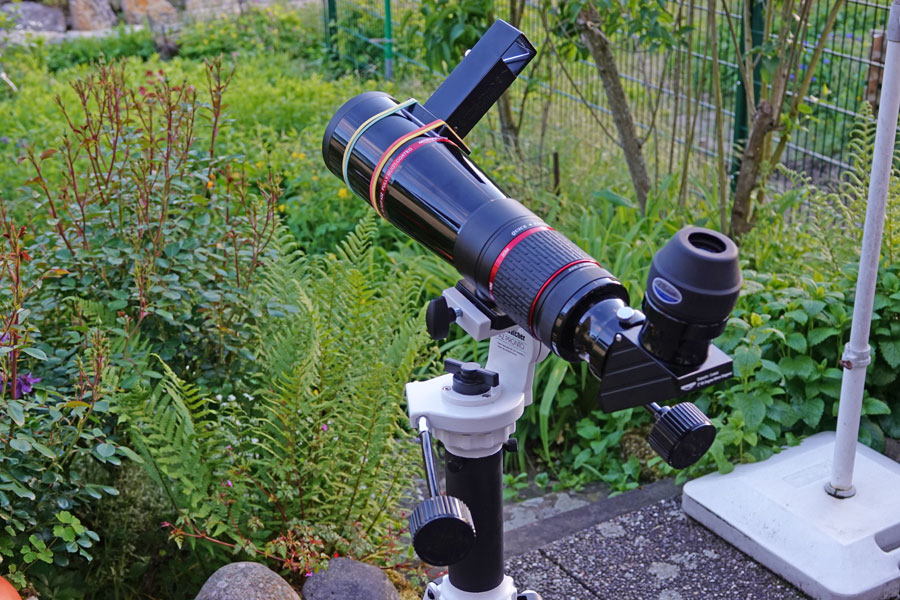
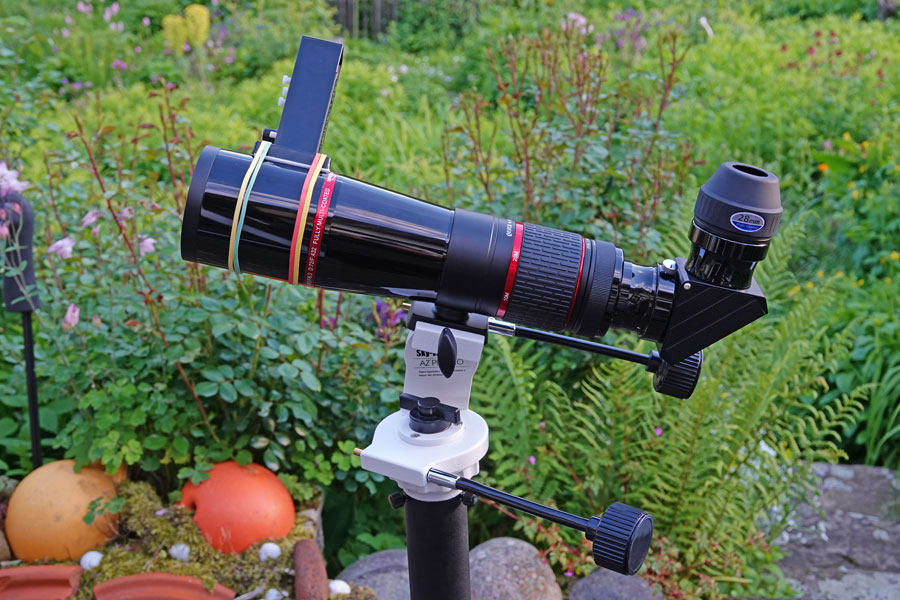
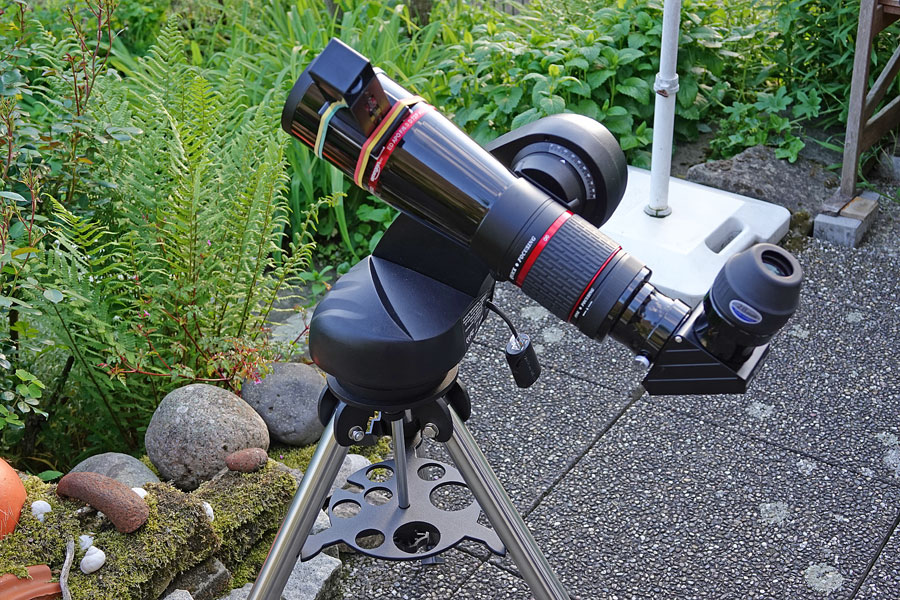
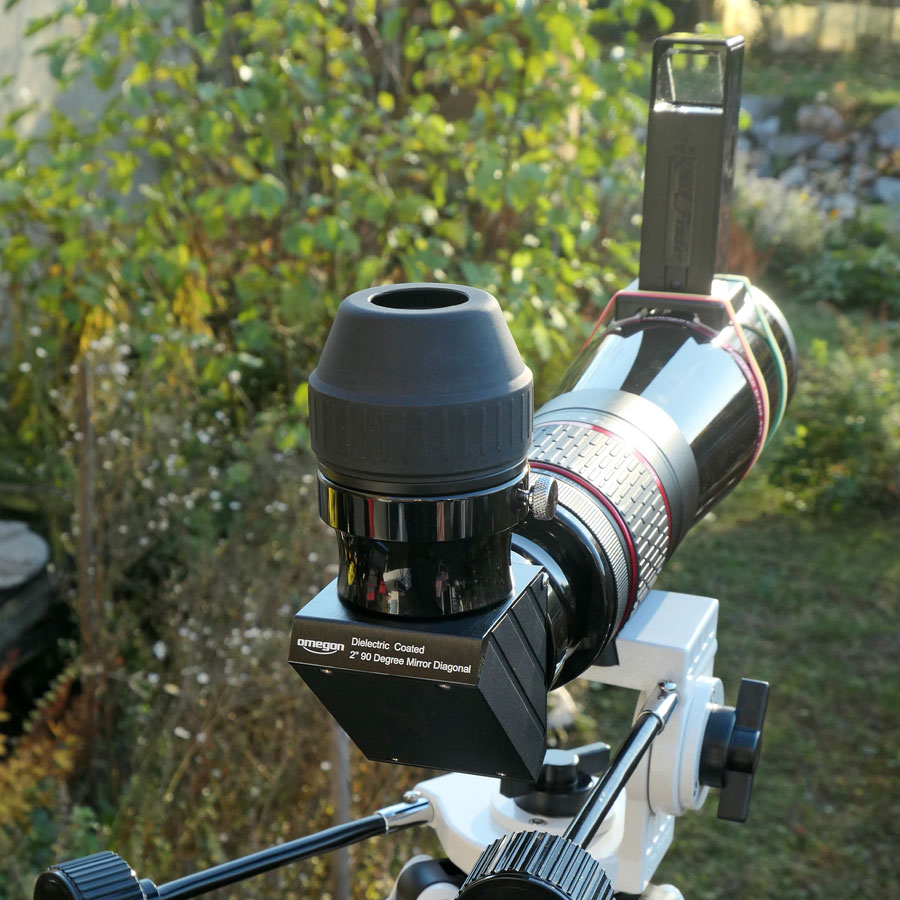
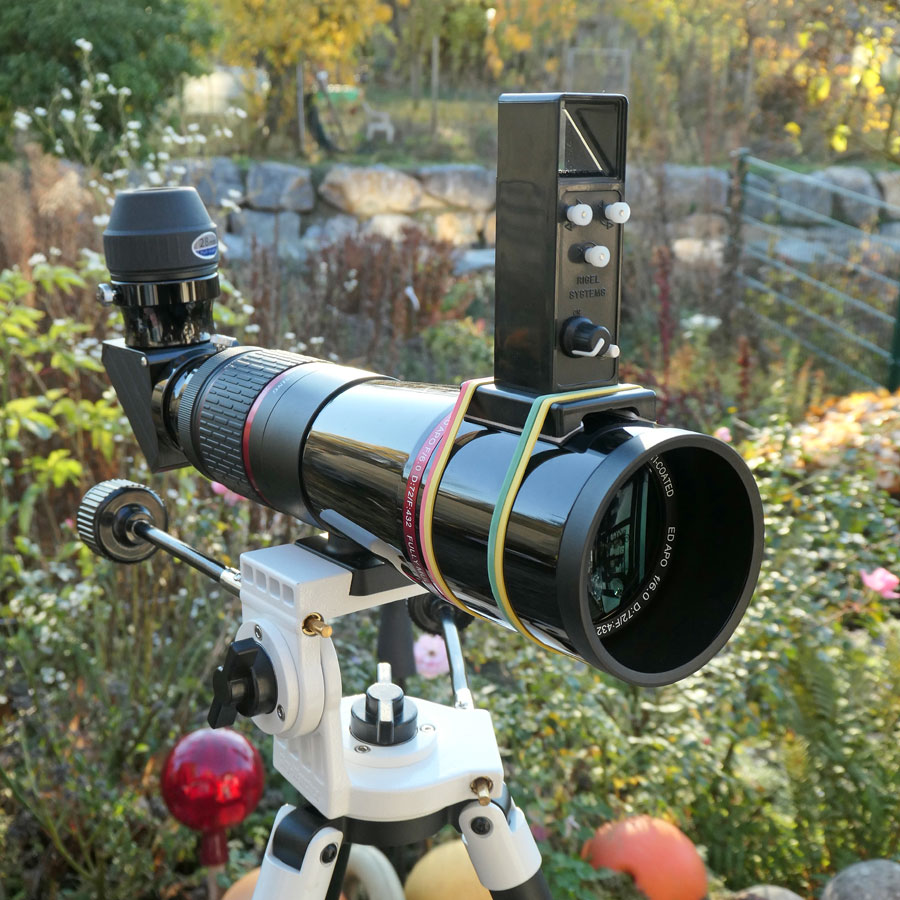
When I had fastened the base plate with rubber bands, I had attached it somewhat obliquely, in order to be able to aim past the eyepiece. But when I glued the base plate to the tube, I glued it right on top of the tube, because that was the easiest way to do it and also because aligning the plate straight was easy this way. When I, however, had inserted the finder into the base plate and wanted to adjust it, I realized, which nonsense I had accomplished: The eyepiece stood exactly in the way, when I wanted to look along the telescope tube to the Rigel finder and the stars (see appendix)! Now I always had to loosen the zenith mirror to be able to tilt the eyepiece sideways, whenever I wanted to take a look through the viewfinder (or I had to take the eyepiece out of the zenith mirror). So in May 2019, I decided to mount the base plate for the finder 90 degrees downwards (see photos)!
Furthermore, I found a disadvantage of the large distance from the viewfinder (which is at the front of the telescope and I am behind it): the two red rings appear very large on the mirror of the viewfinder. At least both rings are still visible!
All in all, this was an installation with "mixed success." But as far as I can see, the Rigel finder works fine for me.
Links
- Rigel Quick Finder:
- www.astroshop.eu/red-dot-projection-viewfinders/rigel-systems-quick-finder/p,50230
- www.teleskop-spezialisten.de/shop/Telescope-accessories/Viewfinder-and-accessories/Rigel-Red-Dot-Finder-with-two-bases-including-lighting::2743.html?language=en
- www.teleskop-express.de/shop/product_info.php/language/en/info/p307_Rigel---Peilsucher-mit-zwei-Basen---inklusive-Beleuchtung.html
- Michael Feiler & Philip Novak (2014). Deep Sky Reiseatlas, Oculum
Verlag (in
German).
www.oculum-verlag.de/detailview?no=2014 - Ronald Stoyan (2014). Deep Sky Reiseführer, Oculum Verlag (in
German).
www.oculum-verlag.de/detailview?no=2015
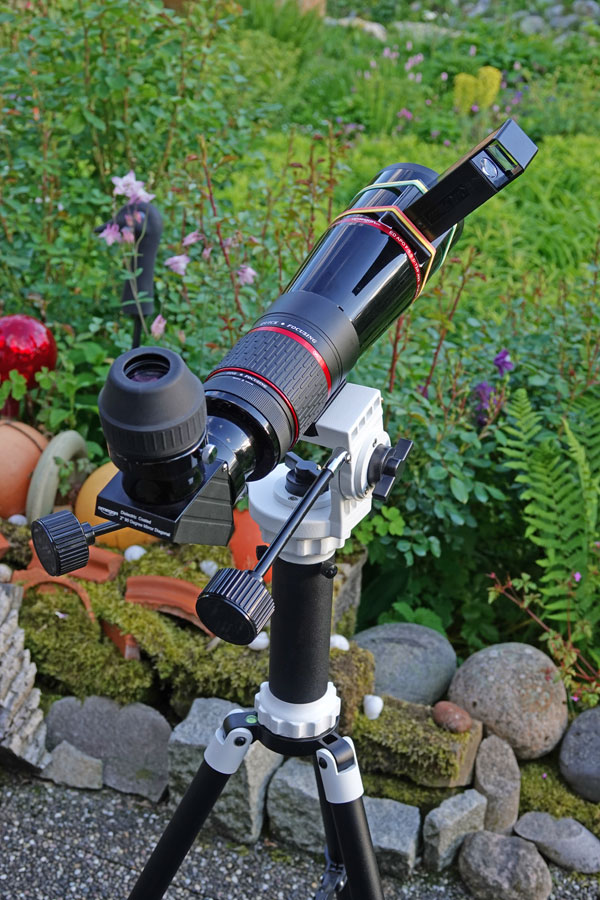
Appendix: The Rigel Finder at the Omegon PS 73/432 Refractor (wrongly installed)
Base plate of the Rigel finder attached to the telescope |
Rigel finder attached to the base plate |
Rigel from the rear |
Ditto |
Rigel finder side view |
Rigel finder front view |
Rigel finder side view |
Ditto, other side |


|
made by |
| 12.05.2021 |