Astronomy | GXR · GR · RX100 M1 · RX100 M4 · RX10 M3/4 · TZ202 · X Vario · M240 · General | Photos | Conf. Places | Calendars | Art
Panasonic TZ202: Photostyle Experiments
On this page and further ones, I discuss the question of how I can improve the "basic" image quality, or better, improve the appearance of the images of my Panasonic TZ202. This is not only a "story of pixel-peeping." The grass on some of my early photos looked very mushy indeed already when I simply viewed the images full screen on my computer.
So, like many other TZ202/200 owners world-wide, I started experimenting with the Photo Style settings in order to improve matters and also make the look of the photos more similar to those of my Sony RX100 M4, which look much better, or should I write "cleaner," in my opinion. All in all, so far I have not become a fan of the "Venus engine," which is responsible for all this...
My first tests also showed that it is difficult to get at reproducible results and to really make conditions comparable. One problem, for example, is that I used different apertures without taking note of this in the tests, another one is that the AF distance settings differed. So sharpness comparisons were difficult.
In early 2019, I started new attempts, and here I report from the first one, where I test different Photo Style parameters at various ISO values, and also the i.Resolution and Diffraction Compensation functions at their "recommended values."
See also pages Photostyle Variations - Fine and Photostyle Variations - Standard for further tests.
Introduction: Photo Style
So, the question here is not so much, what you can do with the Photo Style settings, but how you can improve the overall appearance of your images. Usually, I use may cameras with the default settings, but the Panasonic TZ202 was the first camera where I felt the need to change the basic appearance of my photos and thus, the basic settings. And this is accomplished with the Photo Style functionality.
The Photo Style settings determine the basic look of your photos. There are seven styles all of which can be adapted with respect to sharpness, contrast, saturation, and noise reduction. Usually, one should use the setting Standard, which can also be changed to a setting Custom that is based on Standard. Actually, you can have both, a Standard and a Custom setting, but is seems to be a little bit tricky to achieve this... Other settings include Vivid, Natural, Monochrome, and more, but these are not relevant here...
Since my first experiences with the TZ202 showed mushy grass, I first reduced the noise reduction, first to -2 or -3, later even to the minimum value of -5. When I read discussion threads on this topic, I joined the "majority opinion" and also increased contrast and sharpness to +2. This also seemed, at least for a moment, look much more similar to what my Sony RX100 M4 produces.
On two or three vacations, I took my photos with these settings, but when I later took a closer look at my photos, I found them too grainy. Thus, I considered to increase noise reduction to -3 or so again, but I have not yet started with this. In the meantime, I also experimented with the i.Resolution and Diffraction Compensation settings. These have an impact on the look of the photos as well, and it is still open for me, whether I should better return to the Standard setting and use one or both of these... Nevertheless, I currently use them at the "recommended values" in addition to the Photo Style settings.
Sample Photos
In the following, I present sections from example photos that I took at f/8 with the Panasonic TZ202 to look for effects of different Photo Style settings. Of course, this is just a "quick-and-dirty" investigation.
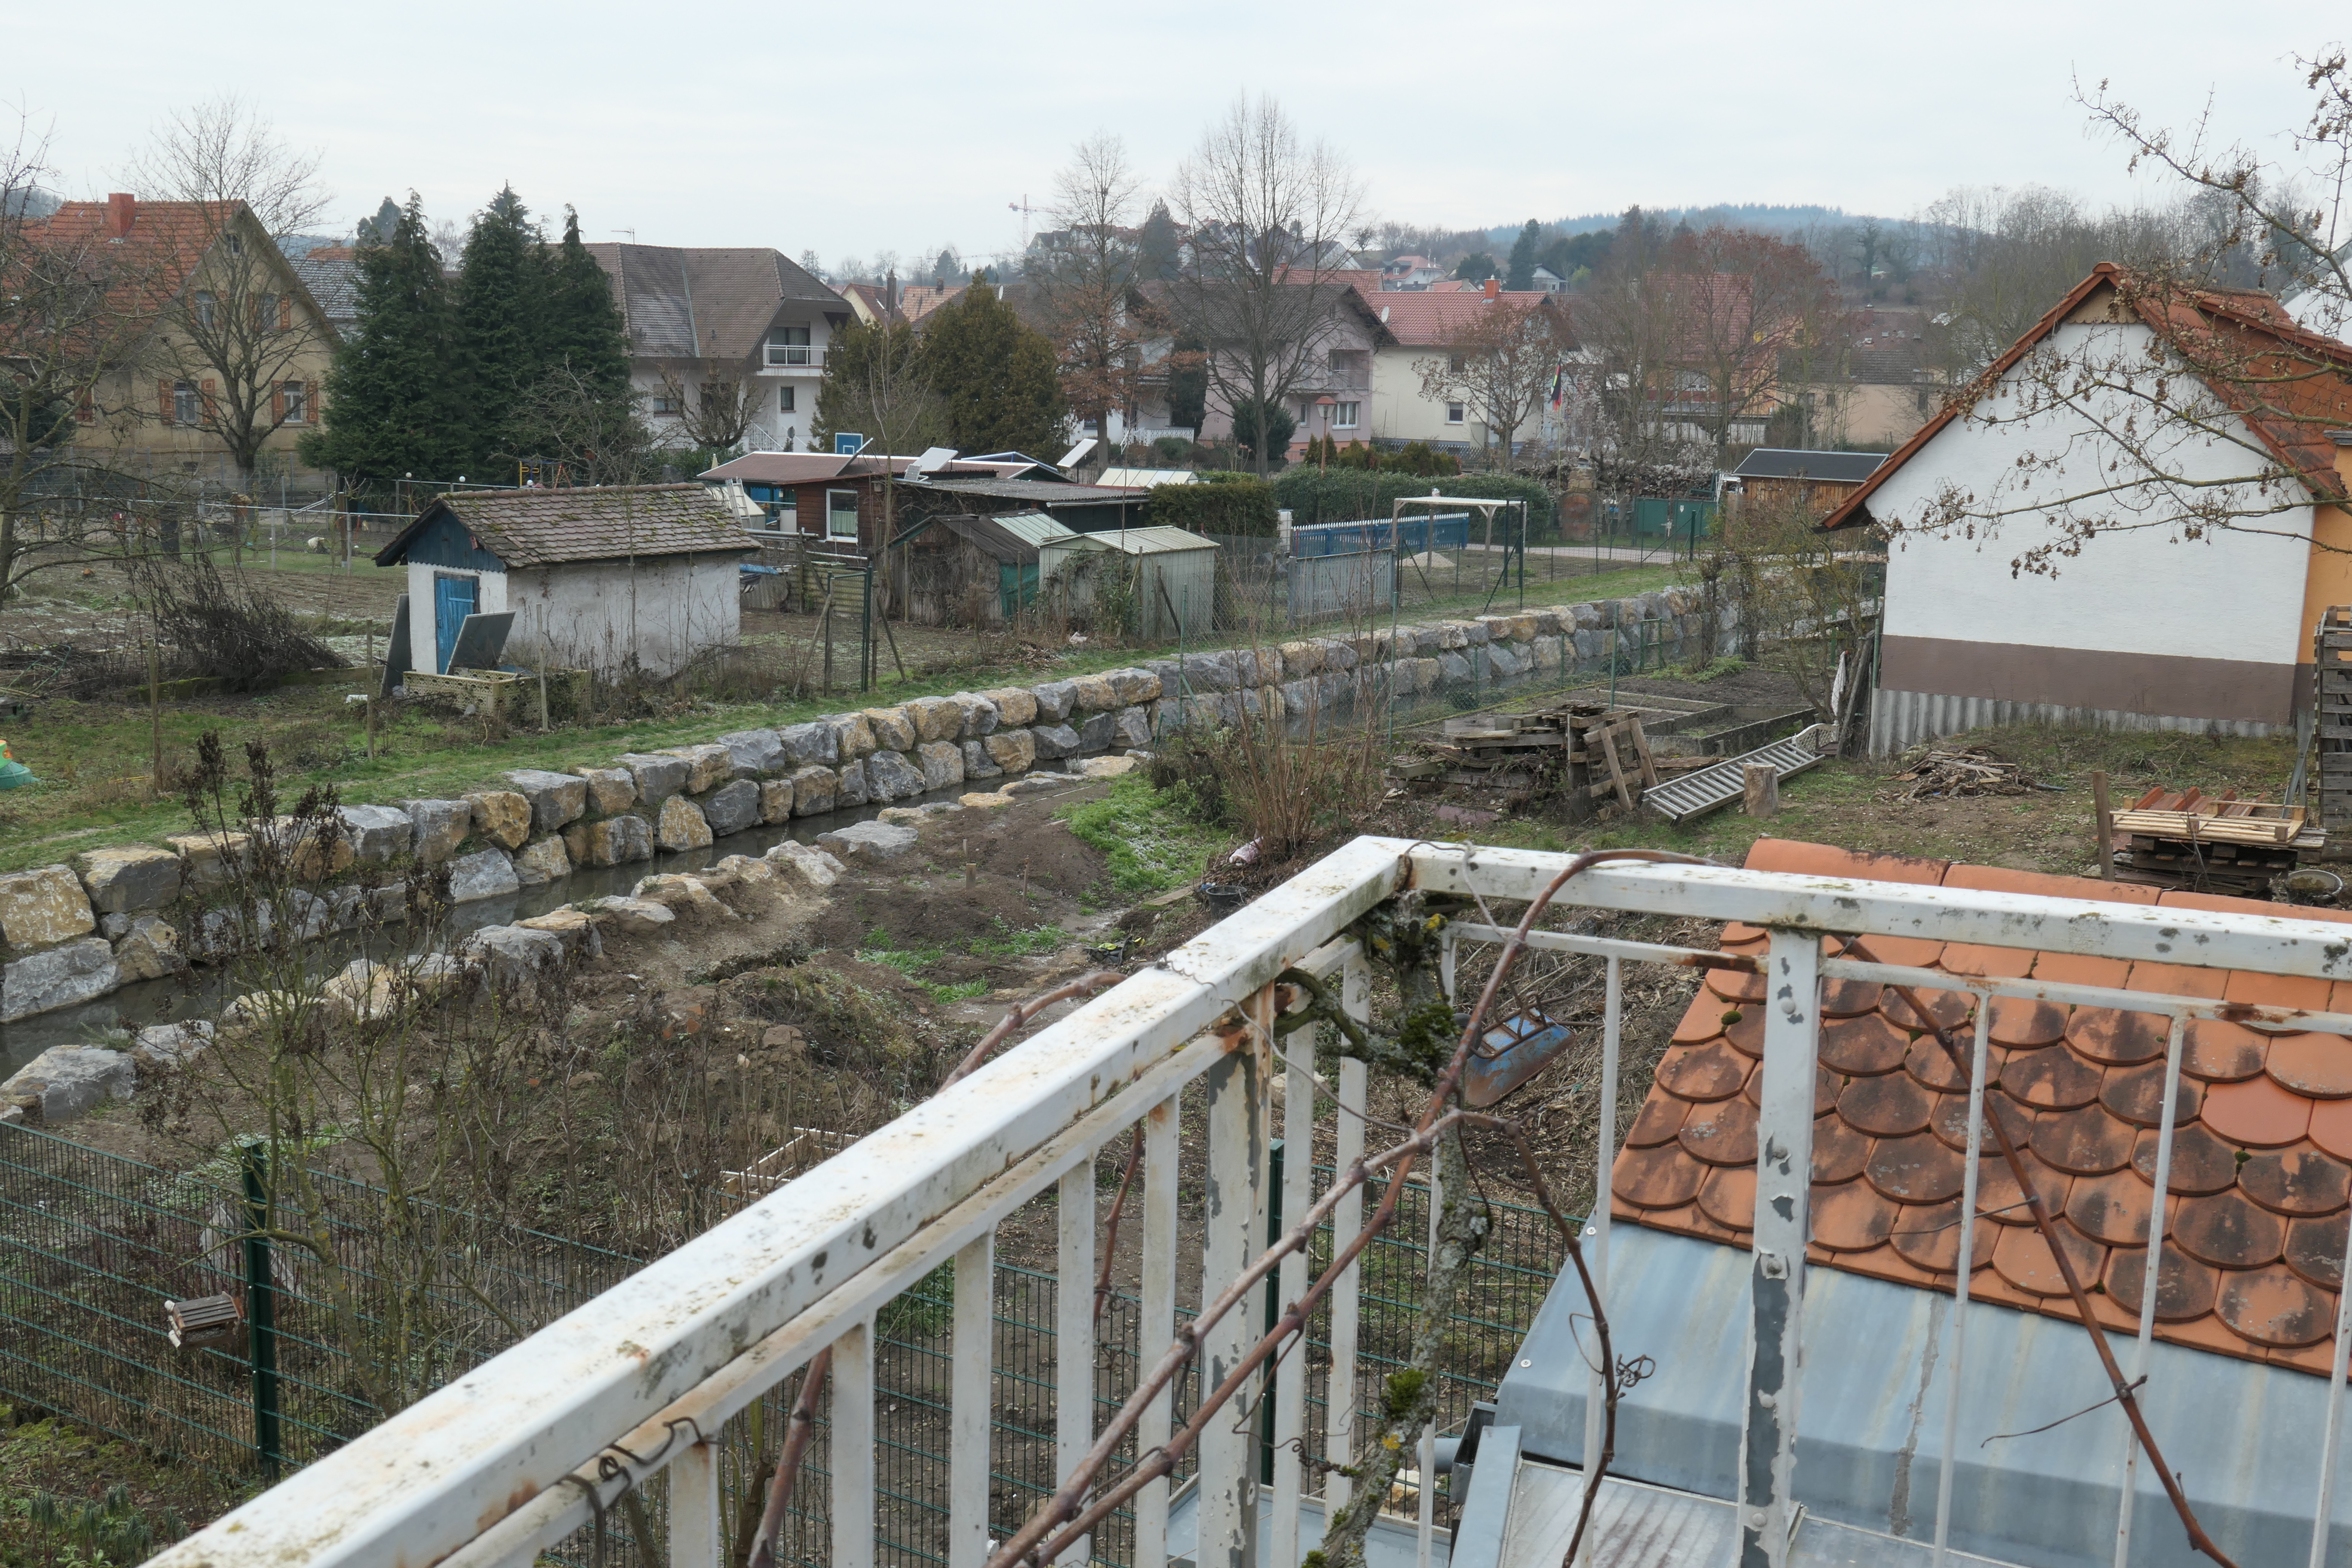
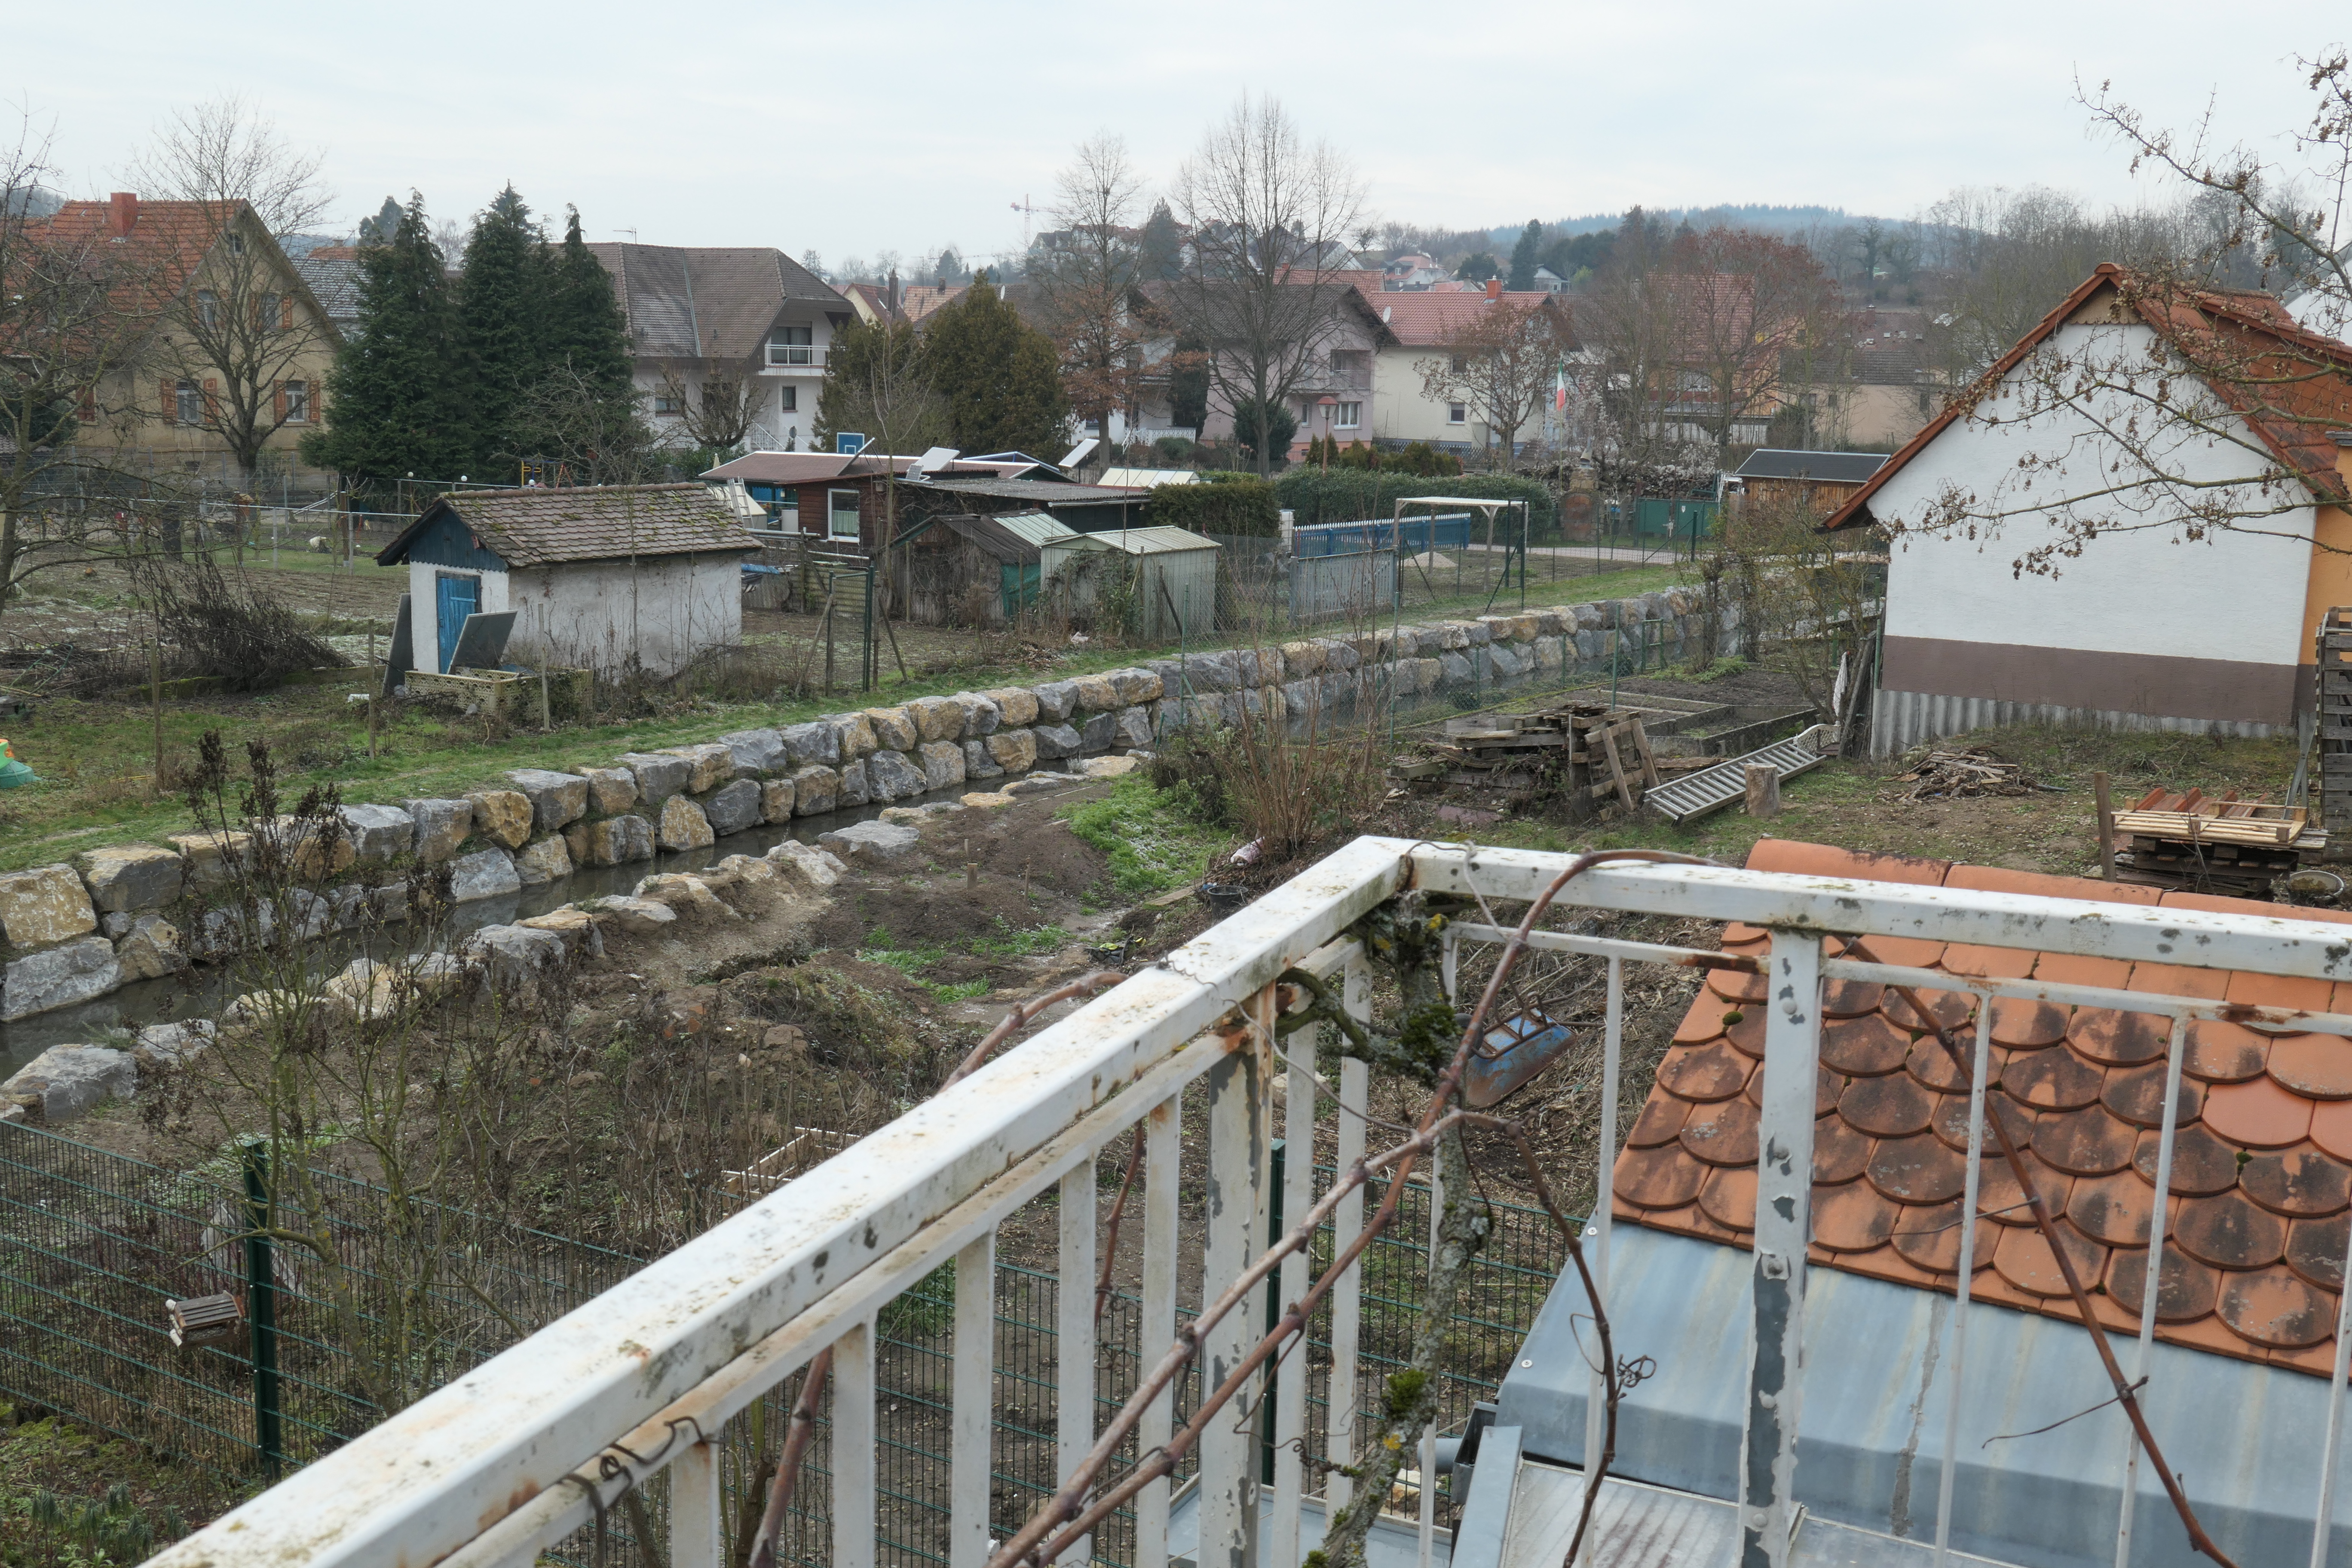
Overview sample
For these tests, I took more or less identical photos of the same scene:
 |
About the photos: The photos were taken with a tripod at f/8 in A mode. Distance was set using AF at a distant target. ISO was set to ISO 200, and a focal length of 35 mm (equiv.) was used. Photo Style was set to the values as given below. The images below are 100% sections. Click the images to download or view the photos in full size. |
Standard Photo Style versus Photo Style +2, +2, -5 at f/8
 |
 |
|
f/8 (maximum aperture) - Photo Style 0, 0, 0 |
f/8 - Photo Style +2, +2, -5 |
Photo Style: sharpness, contrast, noise reduction
Here you can see the effect of reducing noise reduction and increasing sharpness as well as contrast (right photo). The right photo not only looks more contrasty and sharper than the left one, but also more details and grainier.
Effect of Changing Noise Reduction alone
|
 |
|
f/8 - Photo Style 0, 0, 0 |
f/8 - Photo Style 0, 0, -3 |
|
 |
|
|
f/8- Photo Style 0, 0, -5 |
f/8 - Photo Style +2, +2, -5 (for comparison) |
Photo Style: sharpness, contrast, noise reduction
In these samples, you can see the effect of reducing noise reduction alone. For comparison, I also add a photo were noise reduction is set to the minimum (-5) and both sharpness and contrast are increased to +2. In the end, on thos sample, the effect of weakening noise reduction is rather subtle...
Effect of i.Resolution and Diffraction Compensation
The Panasonic TZ202 offers two more functions that are probably meant to reduce the effects of low lens resolution and diffraction. They are called i.Resolution and Diffraction Compensation. Both may lead to artifacts under special occasions, but author Frank Späth recommends the settings i.Resolution = Standard and Diffraction Compensation = Auto.
|
 |
|
f/8 - Photo Style 0, 0, 0, i-Resolution = Off, Diffraction Compensation = Off => no corrections |
f/8 - Photo Style 0, 0, 0, i.Resolution = Standard, Diffraction Compensation = Off |
|
 |
 |
|
f/8 - Photo Style 0, 0, 0, i-Resolution = Off, Diffraction Compensation = Auto |
f/8 - Photo Style 0, 0, 0, i.Resolution = Standard, Diffraction Compensation = Auto => both corrections enabled |
|
|
|
|
f/8 - Photo Style +2, +2, -5, both corrections off (repeated for comparison) |
f/8 - Photo Style 0, 0, 0, i.Resolution = Standard, Diffraction Compensation = Auto => both corrections enabled (repeated for comparison) |
Photo Style: sharpness, contrast, noise reduction
Here I present sample photos with Photo Style set to Standard (0, 0, 0), i.Resolution set to Standard or Off, and Diffraction Correction set to Auto or Off (four combinations). I also show a photo with Photo Style set to +2, +2, -5 and both corrections set to off for comparison.
I might consider enabling both i.Resolution and Diffraction Correction and return to Photo Style set to Standard or leave Photo Style at +2, +2, -5... In the end, this is difficult to decide for me on the basis of one motif.
Conclusions
Creating the sample photos was a lot of work for me, but in the end I feel more at a loss than ever. For the moment, I will leave Photo Style at +2, +2, -5 and also set i.Resolution to Standard and Diffraction Compensation to Auto... A few weeks later, I did another test series, where I also varied the JPG compression, and these tests seem to be a bit more helpful. See pages Photostyle Variations - Fine and Photostyle Variations - Standard for more information.
References
- Frank Späth (2018). Lumix TZ202 - Das Buch zur Kamera. Point of Sale Verlag (ISBN-13: 978-3941761704).
|
made by |
| 19.11.2021 |