Sony RX100 M4: DRO and HDR
This page discusses the DRO (Dynamic Range Optimizer) and HDR (High Dynamic Range) functions of the Sony RX100 M4 and presents some sample photos for both functionalities.
See also Sony RX100 M1: DRO and HDR
Introduction
Often, strong contrast presents some difficulties for selecting the right exposure. Either the sky is washed out, or the darker parts of the image are more or less black. Like many other camera manufacturers, Sony offers a function that "optimizes" the dynamic range of a photo. Typically, this function, called DRO by Sony, leaves the bright part of the image unchanged and increases the brightness of its darker parts. This can be done more or less intensively (that is, with more or less signal amplification), but in any case leads to more noise in the dark areas. Moreover, the images may look somewhat "unnatural" and the colors may change somewhat (I found this particularly with Ricoh cameras). The DRO function offers 5 steps which seem to increase amplification by one light value (from LV1 to LV5). DRO should only be used with lower ISO values because it increases the noise.
While DRO is based on one photo, the HDR technique combines several photo to create an image with higher dynamic range. This limits the photos to static subjects and may fail in some cases. It also takes some time for the processing of the image. In addition, on the RX100 M4 you also get an unprocessed image so that it is not necessary to take a "normal" image in case that you do not trust the HDR result. In HDR mode, the RX100 M4 takes three images with different EV settings, which you can set (1 EV to 6 EV). The HDR photos may also look somewhat "unnatural". The HDR function offers 6 steps which increase the difference in EV values between the three shots (from +1 EV to +6 EV). HDR cannot be used in RAW mode, but also with higher ISO values, because it does not increase the noise.
Both, the DRO and the HDR function, offer an Auto mode that selects the degree of amplification or EV separation automatically. Alexander White and Martin Vieten (in his RX100 M1/2 book) recommend having the DRO Auto setting enabled whenever you take general-purpose shots, particularly if you do not want to do any post-processing.
The authors of the books about the RX100 M4 that I own judge these functions differently - both have their opinions and preferences. Therefore, my recommendation is to experiment with these functions, their settings, and decide on your own, whether and how they are useful for you.
Sample Photos DRO
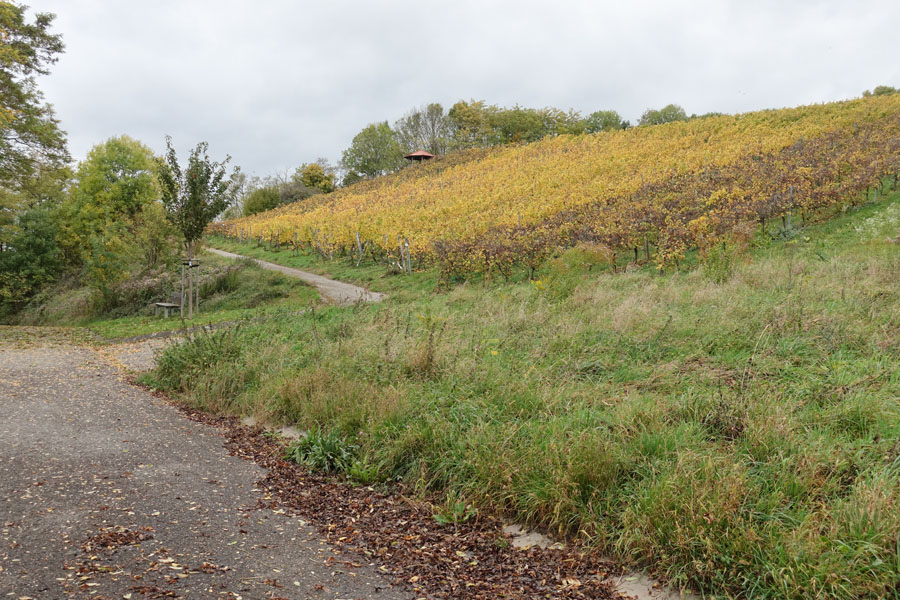
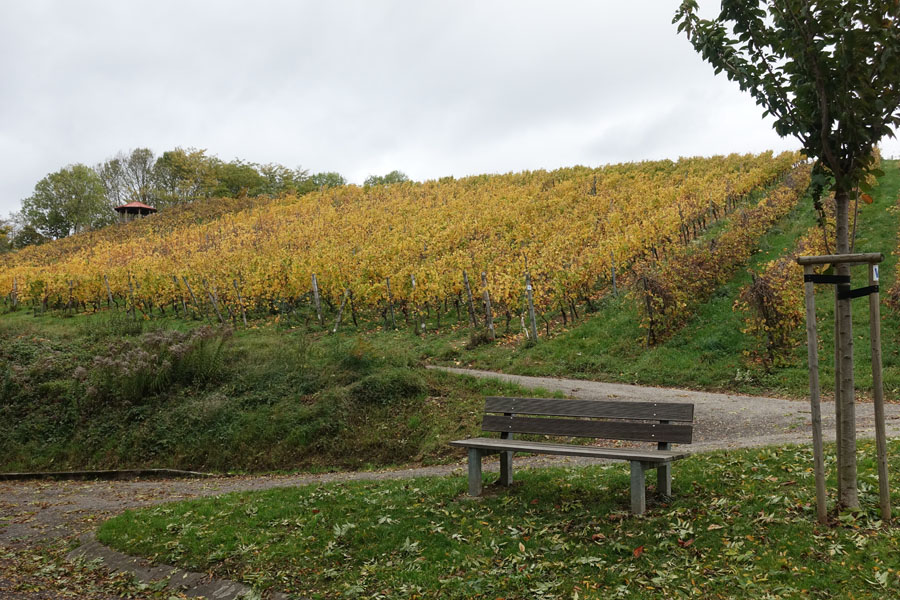
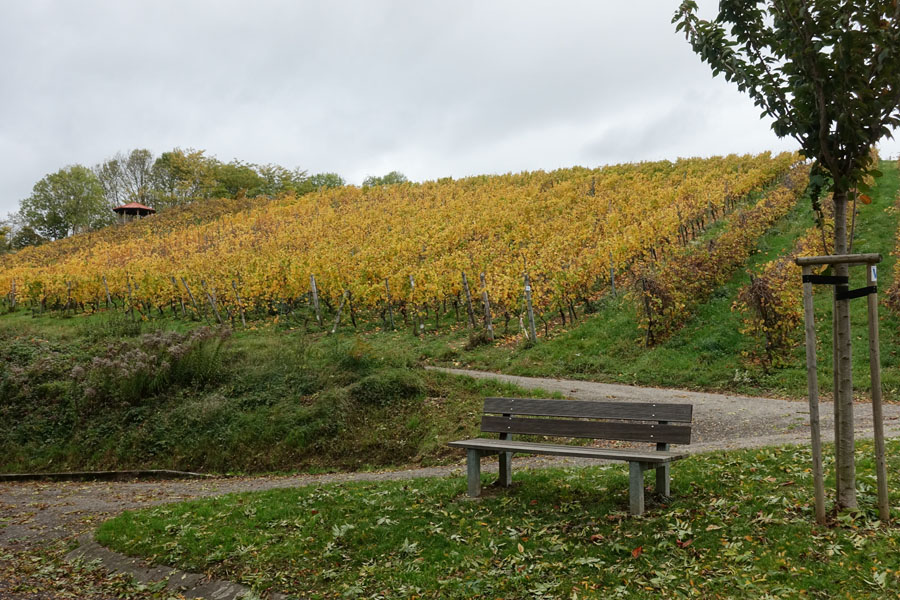
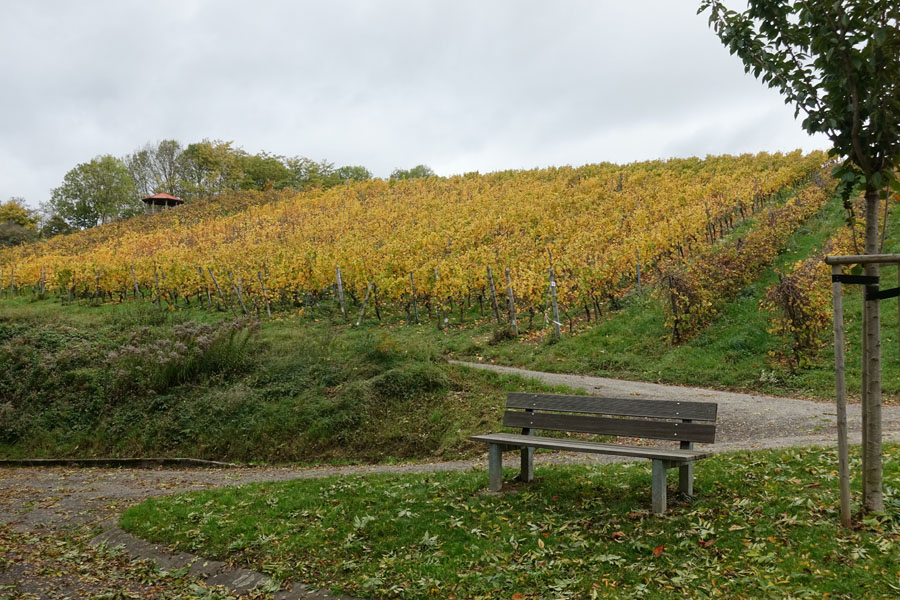
The following examples were taken to demonstrate the effect of increasing DRO for the Sony RX100 M4 (including DRO automatic).
|
|
|
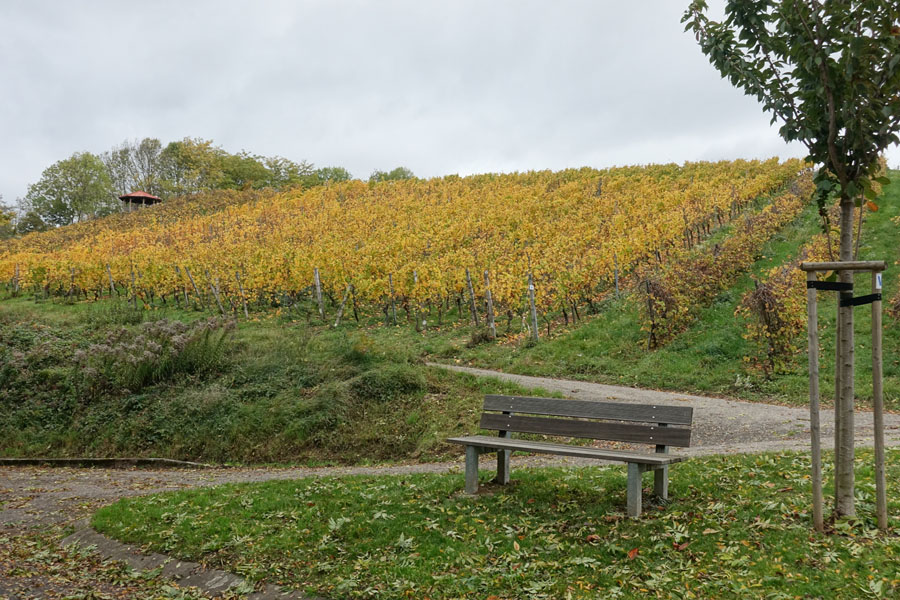
"Normal" |
|
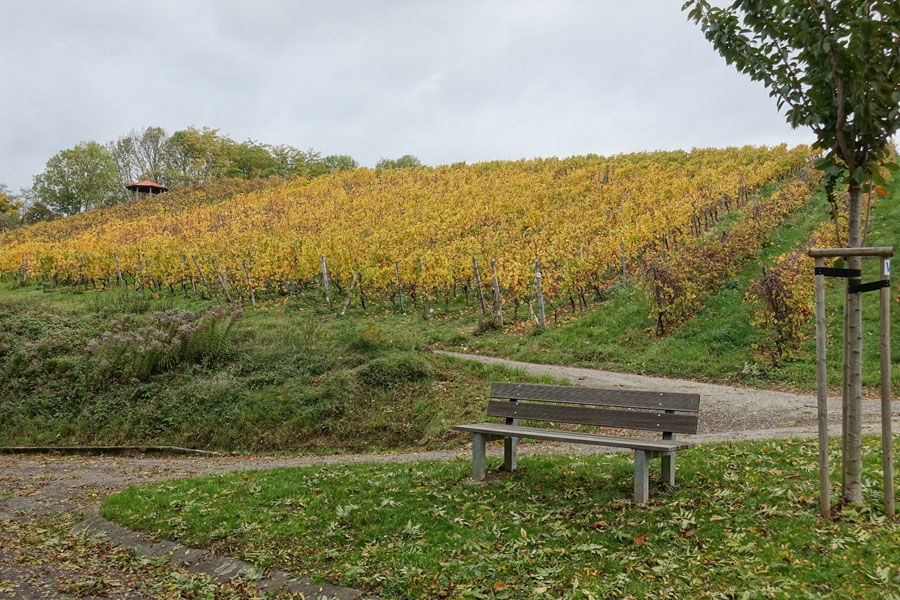
DRO Auto |
|
|
|
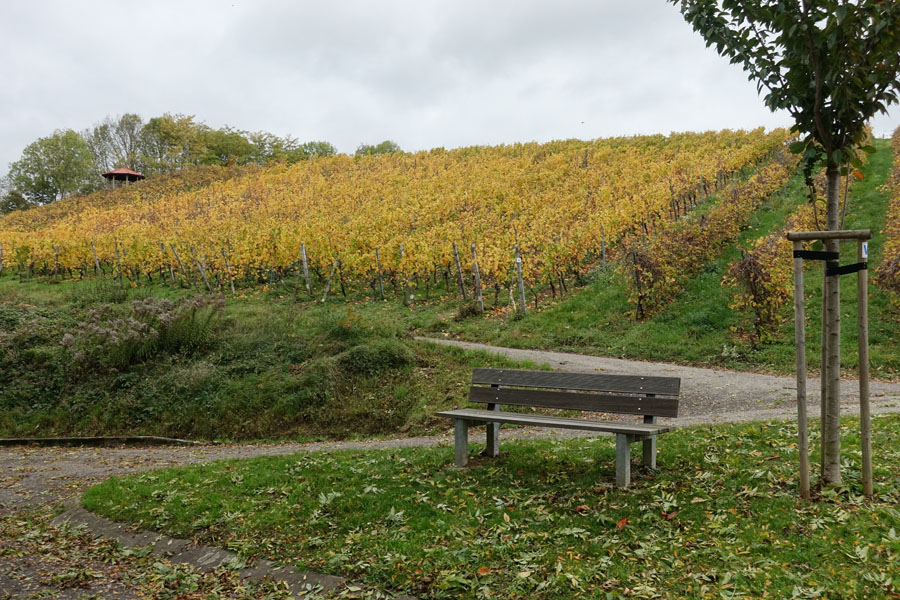
DRO LV1 |
|
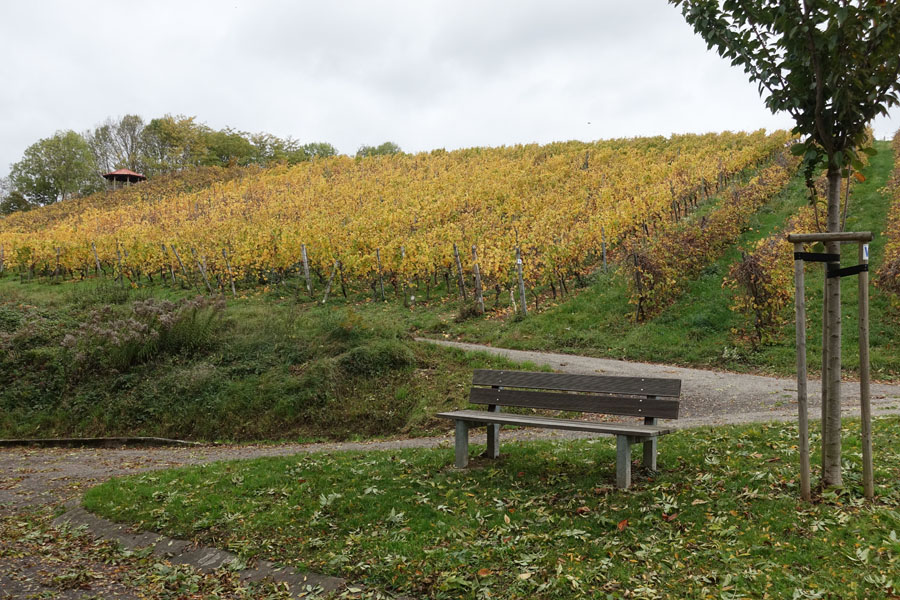
DRO LV2 |
|
|
|
DRO LV3 |
|
DRO LV4 |
|
|
|
DRO LV5 |
|
DRO Auto (repeated) |
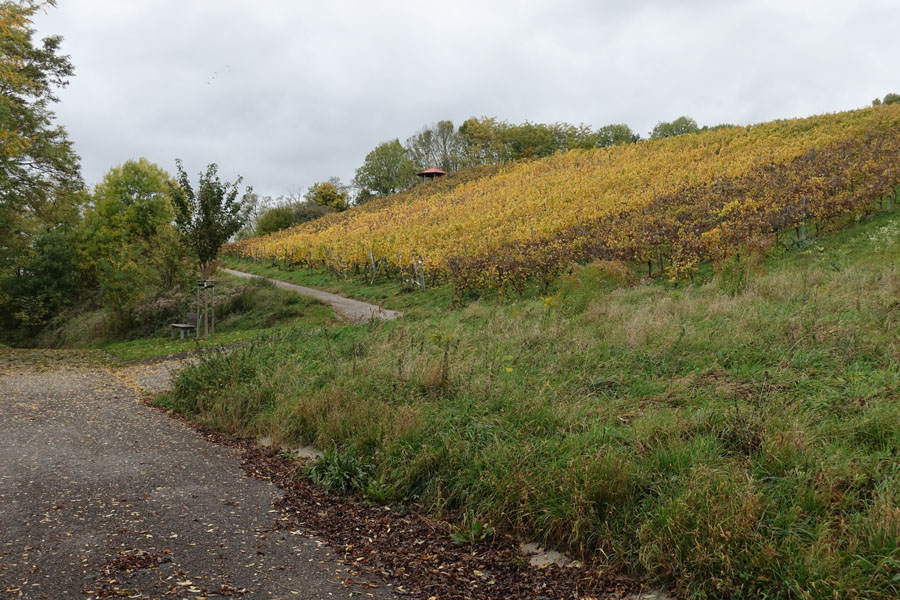

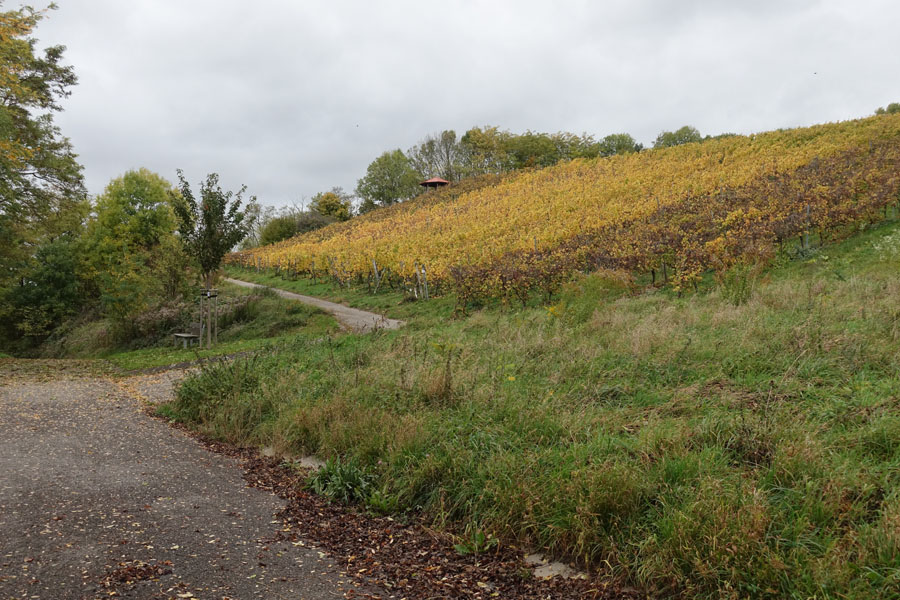
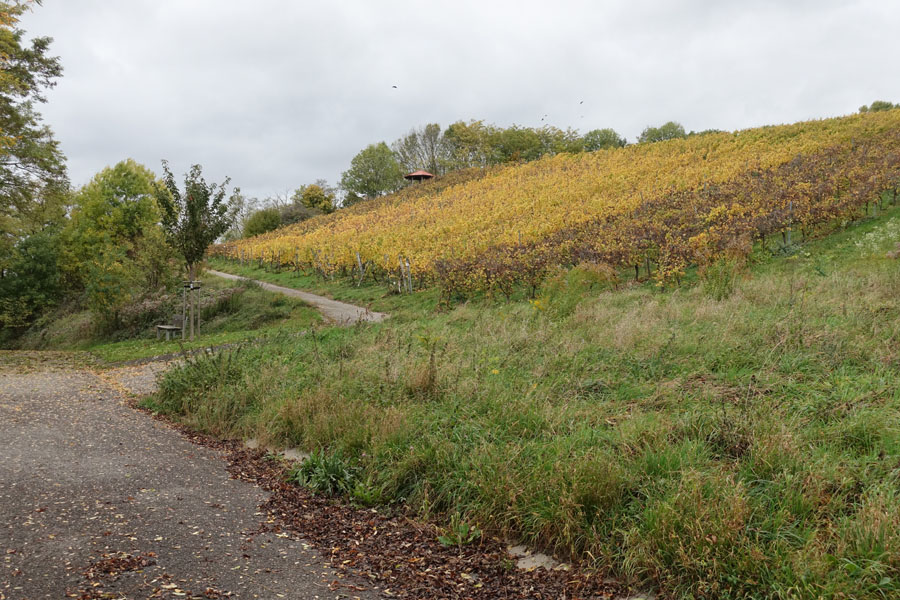
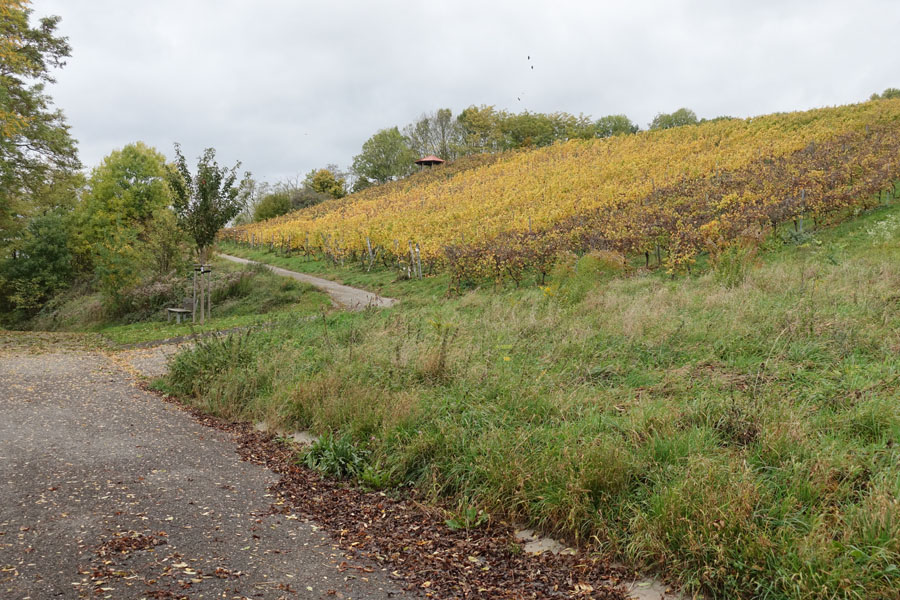

The motif may not be optimal, but indicates how the DRO function works. The Auto settings seems to be fairly conservative. Beyond DRO LV2, the images begin to look unnaturally for me.
Sample Photos HDR
The following examples were taken to demonstrate the effect of increasing HDR strength for the Sony RX100 M1 (including HDR automatic).
|
|
|
"Normal" (same as next photo) |
|
HDR Auto |
|
|
|
HDR +1 EV |
|
HDR +2 EV |
|
|
|
HDR +3 EV |
|
HDR +4 EV |
|
|
|
HDR +5 EV |
|
HDR +6 EV |
|
|
|
HDR Auto |
|
"Normal" (same as previous photo) |


The motif may not be optimal, but indicates how the HDR function works. The Auto settings seems to be fairly conservative. Beyond HDR +2 EV, the images begin to look unnaturally for me.
Conclusions
At the moment, I am experimenting with this feature and did not come to any conclusions. It is however evident to me that the Auto settings have the advantage of bringing slight improvements without making the image look unnaturally. According to my impression, both functions lead to unnaturally looking images beyond LV2/+2 EV.
References
- Alexander S. White (2015). Photographer’s Guide to the Sony DSC-RX100 IV. White Knight Press, Henrico, Virginia (ISBN: 978-1937986476, paperback)
- Michael Gradias (2015). Sony RX100 IV. Markt+Technik Verlag, Burgthann (ISBN: 978-3-95982-326-5, paperback and PDF) (German)
|
made by |
| 23.10.2017 |