Sony RX100 M1: Slide Copier with Dörr Slide Duplicator
The Dörr Slide Duplicator | Sony RX100 M1 Connected to the Dörr Slide Duplicator | Sample Slides | Some Experiences and Tips | Dealing with Contrast | Conclusions | References
On this page, I describe how I use the Sony RX100 M1 together with the Dörr Slide Duplicator as a slide copier.
See also page Slide Copier with Dörr Slide Duplicator (RX100 M4).
The Dörr Slide Duplicator
Since there are about 40.000 slides in my home that await to be digitized, I made several attempts at copying slides, all of them without success. One on these attempts was the Dörr Slide Duplicator, a device that is mounted to a camera using the filter thread of its lens. I bought it hoping that I would some day own a camera that I might use it with. However, since it requires a lens with a focal length of 100 to 110 mm for format-filling slide copies, I never succeeded. On the other hand, my cameras that would offer such a focal length did not have filter threads. So, the only thing that I have used so far is the +10 achromat that is built into the slide duplicator but can be removed and used as a close-up lens.
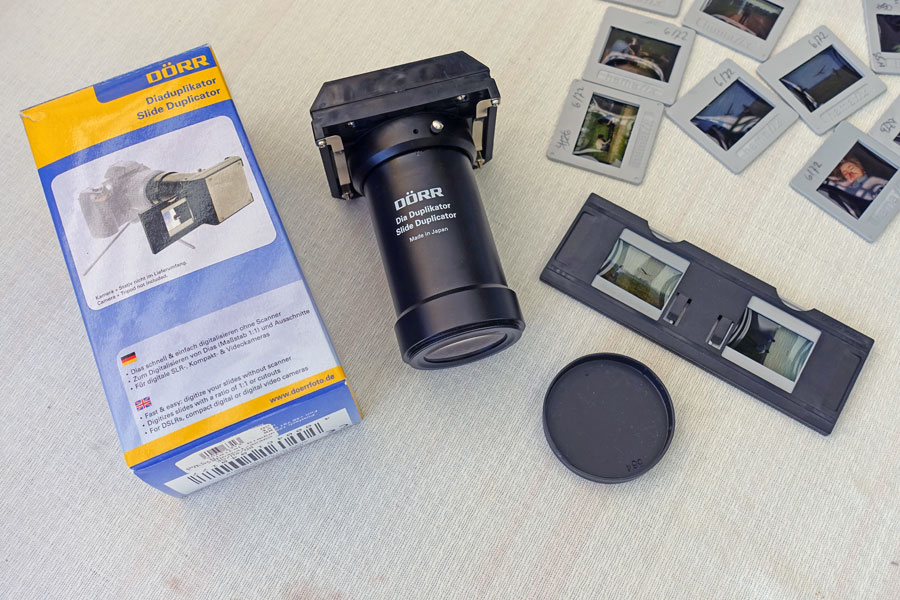
Photo: The Dörr Slide Duplicator - and a couple of slides...
Things changed a little bit, when I bought adapters that supplied our Sony RX100 cameras with a filter thread. For my Sony RX100 M4, I bought a Lensmate filter adapter that is glued to the lens. This allows for a fairly stable connection between the lens and the slide duplicator. But this camera has only a focal length of 70 mm (equiv.), far to less for being useful for duplicating slides (it is described on page RX100 M4: Dörr Slide Copier). For my wife's RX100 M1, on the other hand, I bought a Carry Speed MagFilter magnetic filter adapter which makes the connection between lens and slide duplicator rather instable. This actually results in a rather quirky setup. Nevertheless, for some reason, I needed to copy some slides und therefore tried out this combination. In the following, I present some photos and experiences with it.
Sony RX100 M1 Connected to the Dörr Slide Duplicator
When I decided to use the Sony RX100 M1 with the Dörr Slide Duplicator, I first had to collect all the things that I needed for this procedure: The camera, the Carry Speed MagFilter magnetic filter adapter, the Dörr Slide Duplicator, a tool for dust removal, spare slide frames without glass to be used during the copying, some support for the slide duplicator and the camera so that both are aligned straight, and of course, the slides to be copied:
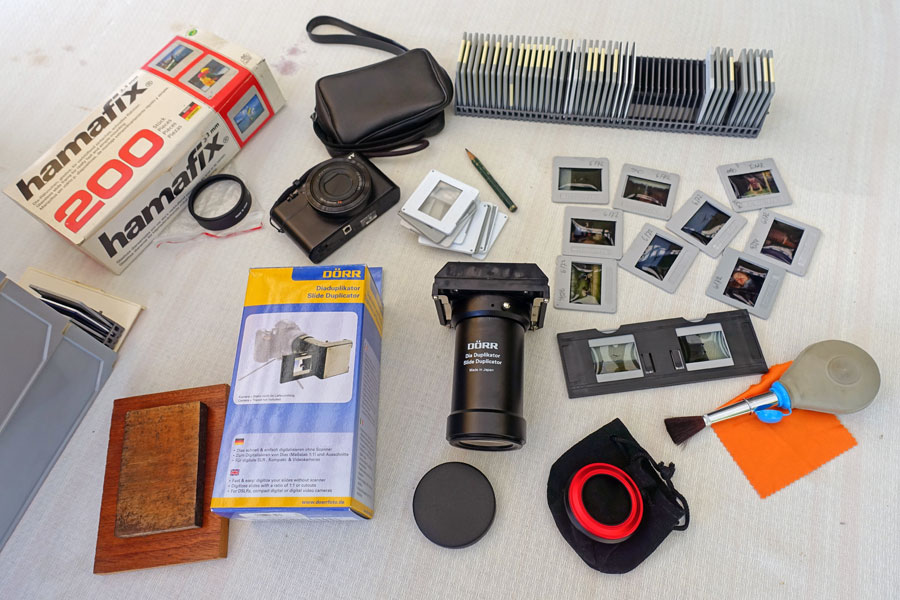
Photo: All the parts that I needed for coping slides with the Sony RX100 M1 and the Dörr Slide Duplicator (and maybe, some more...)
The Dörr Slide Duplicator has a 52 mm filter thread, and luckily, the MagFilter filter adapter has the same filter thread, so no further step-up or step-down rings are needed.
 |
 |
|
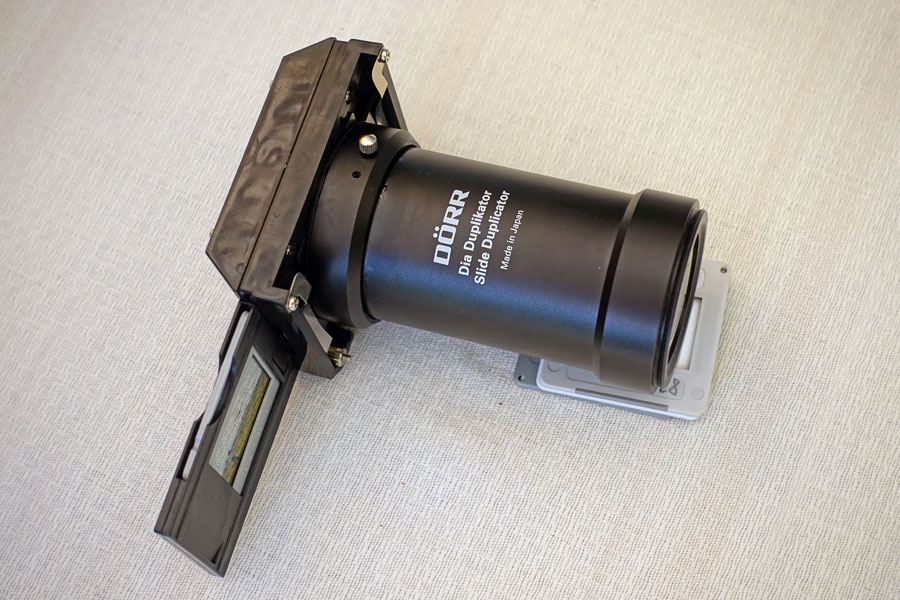
The Dörr Slide Duplicator with slides and some support for its tube (made of slide frames...) |
Ditto, other view |
All in all, the slide duplicator can be regarded as a hugh filter that is mounted to the Sony RX100 M1. The next step would now be to attach the MagFilter filter adapter to the lens using its magnet. But here the nice part of the story ends: The magnet is far too weak to keep the slide duplicator straight or to keep it attached. Both the duplicator and the lens need to be supported in order to have a working straight connection between the two. As a quick-and-dirty solution, I just used slide frames to create supports of the needed height, as you can see on the following photos, which show the slide duplicator in action:
 |
 |
|
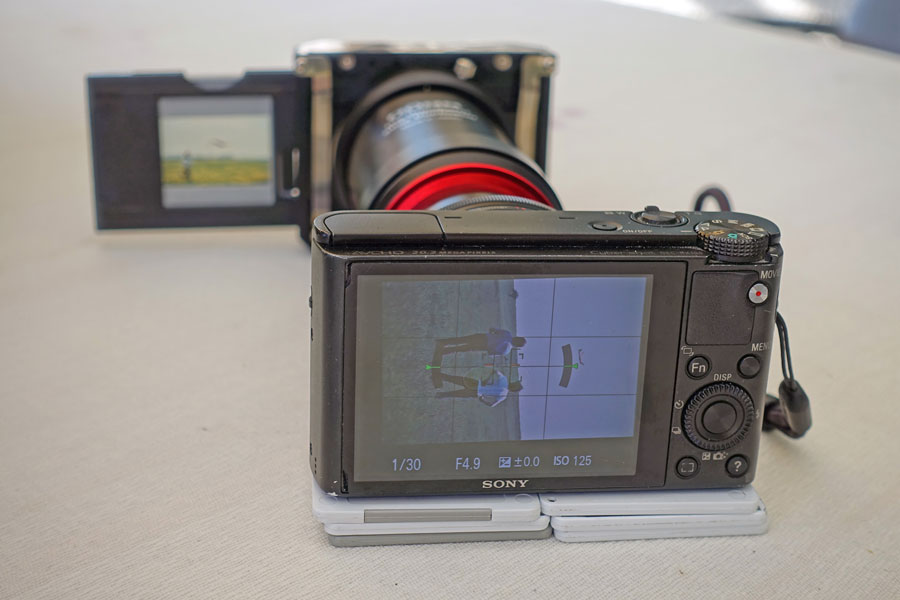
Camera attached, ready for copying a slide |
Ditto, view from above |
All in all, this kind of support and connection is cumbersome and often, the connection breaks, for example, if you switch the slides or want to remove the slide holder. I endures this for about a dozen of slides, but this is not a solution for doing "real work."
Sample Slides
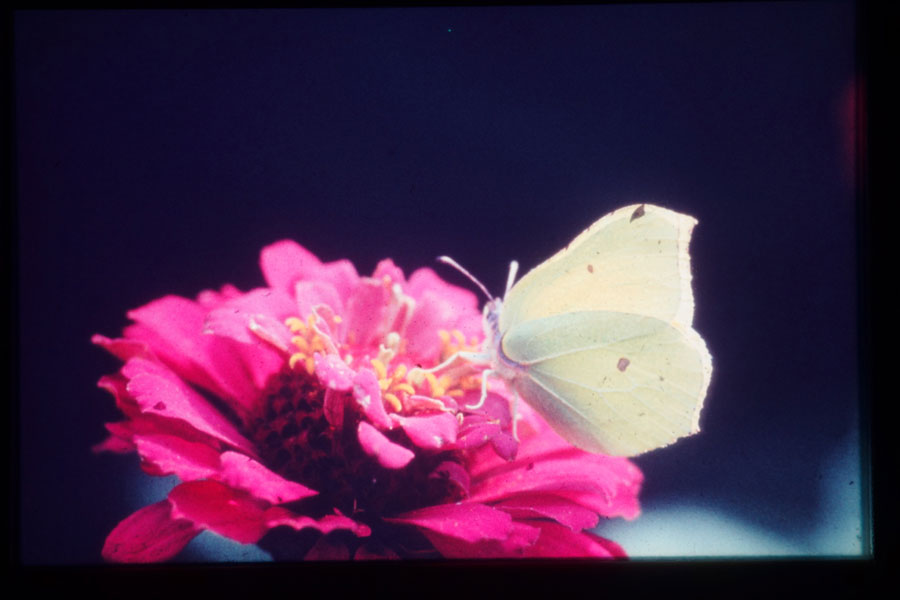
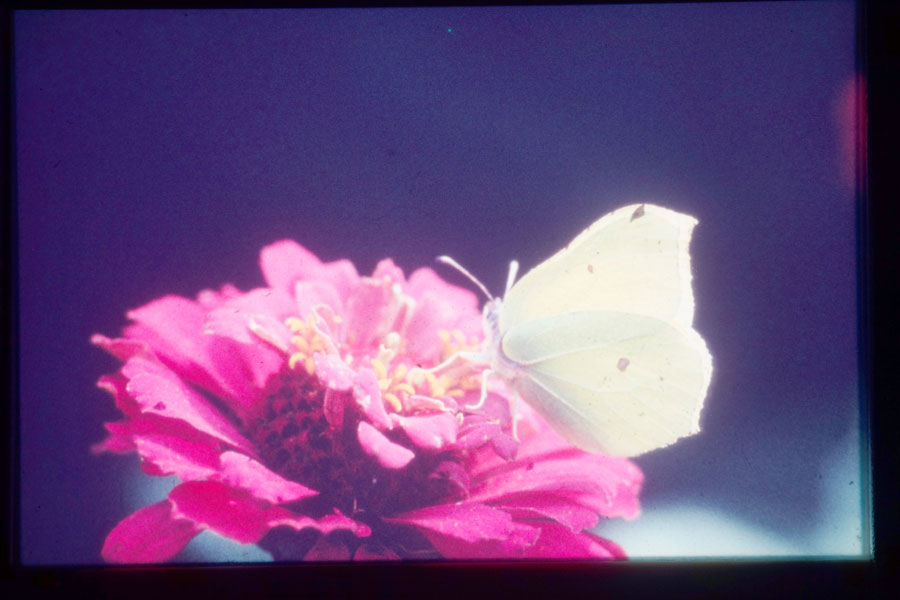
I used a slide taken in my youth showing a butterfly to demonstrate slide copying with the Sony RX100 M1 and the Dörr Slide Duplicator. Obviously, this was not the best slide for this purpose, but it demonstrates the procedure.
 |
 |
|
Original copy, but rotated 180 degrees (original) |
Ditto, brightened up to indicate the size of the copy (original) |
|
 |
 |
|
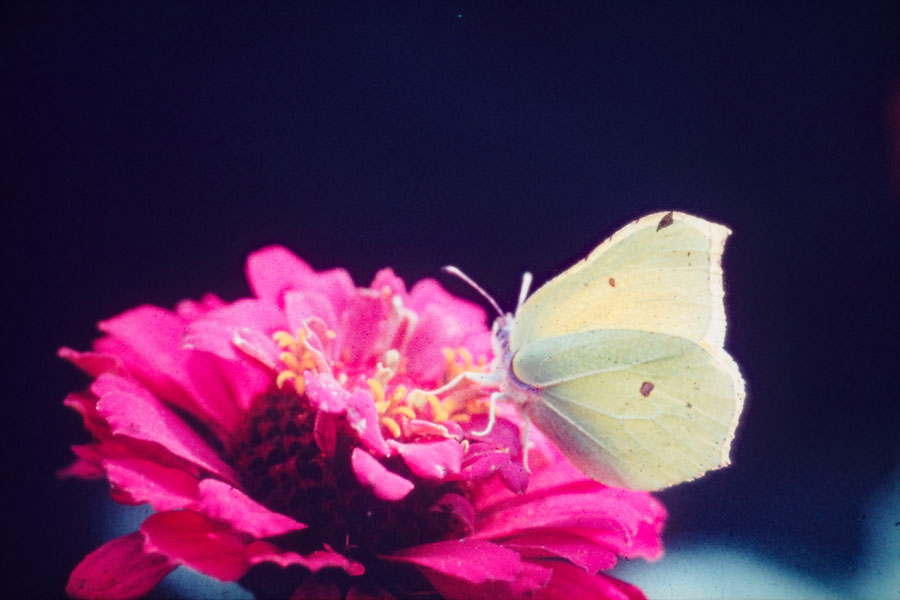
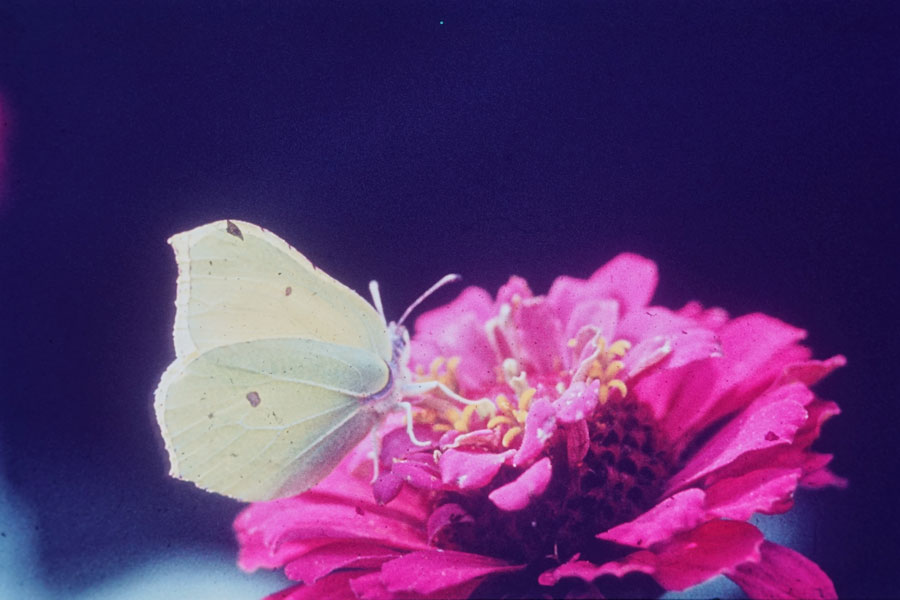
Slide copy leveled, cropped, and slightly processed; no dust removal (original, 4938 x 3292 pixels) |
Ditto, some dust removed in Adobe Photoshop Elements (original, 4938 x 3292 pixels) |
Note: The copy of this slide taken with the Sony RX100 M4 is smaller, but looks a little bit sharper to me; I therefore sharpened this slide copy a little bit.
Steps in Adobe Photoshop Elements
- First I rotated the slide for 180 degrees, because I had copied the slide upside down. Not a big issue!
- Then I leveled the slide using the Straighten tool (P; German: Gerade-ausrichten-Werkzeug)
- Next I selected the slide content using the Marquee tool (aspect ration fixed to 3:2) and then cropped the image (Crop Image menu item). Thus, I do not use the Crop tool.
- Then I processed the slide to my taste. Finally, I removed the dust to my taste using the Spot Healing tool (type: content aware or proximity match) (German: Bereichsreparatur-Pinsel).
I ended up with a slide copy of 4938 x 3292 pixels, which might be slightly made smaller to 4800 x 3200 pixels (see this version) for the sake of "simpler numbers." This pixel size leads to the following print resolutions:
- Postcard 6" x 4" (about 15 x 10 cm): > 800 pixels per inch
- DIN A 4 (30,5 x 21 cm): >400 pixels per inch
Thus, this size is "overkill" for postcards and quite good for paper sizes up to DIN A 4.
Some Experiences and Tips
In the following, I present some of my experiences, ways to do it, and tips:
Taking the Slide Copy
- The slide holder holds just two slides, so you can copy only two slides at once. Probably, it would not be much worse if you could copy just one slide at a time with an easier to use slide holder.
- I put the slides to be copied in glassless frames and try to remove the dust with a brush, sometimes also with a cloth. Of course, some dust still remains on the slide, and this procedure does not involve any automatic dust removal. I remove the remaining dust afterwards in an image editing application (see below).
- I have to be very careful that the slide content is not cropped when taking the photo. This is hard to see on the camera's LCD screen in daylight. I compensated exposure to the extreme bright side in order to put the slide in place.
- Slight movements of the slide using the slide holder may also endanger the mechanical connection between the slide duplicator and the camera. But with the Lensmate filter adapter this is not so much a problem as for the RX100 M1 with a MagFilter magnetic adapter.
- I did not use a cable release (although I own one), but of course, would recommend using one or the self-timer. Regrettably, however, there does not seem a cable release for the RX100 M1. The one that fits my other Sony cameras does not fit here...
Camera Settings
- I used just automatic white balance and daylight for a start. A standardized light source with be better, of course.
- I used P mode and automatic exposure, +0.3 exposure correction (thanks to the histogram), and ISO 125 (the lowest ISO value). I should use A mode, however, to be able to set the aperture value, see below.
- I strongly recommend using the histogram display to avoid under- or overexposure (I did not use it in my first attempts, but did so for the photo above).
- I use autofocus (AF) and set aperture to f4 to f5.6 to get some depth of field but still no diffraction.
- Copying from "positive" to "positive" increases contrast considerably. Slide copying films therefore have lower contrast to compensate for this effect. I set contrast in Creative Style "Standard" to -3, the lowest possible value.
Processing the Slide Copy
I do all the processing of the slide copy in Adobe Photoshop Elements, because that is the photo editing application which I am most familiar with. The processing steps may involve straightening and cropping the slide, adapting color, brightness, and contrast (which I subsume under "processing", and finally removing dust spots.
For leveling (or straightening) the slide, Adobe Photoshop Elements offers the Straighten tool (German: Gerade-ausrichten-Werkzeug). Sometimes, I need several attempts before I like the result. Luckily, there is an "Undo" command available...
I use the Marquee tool and then the "Crop Image" command for cropping, others might prefer to use the Crop tool...
Depending on the slide and the dust on it, removing dust in an image editing application will take some time and may even be impossible, if there is too much dust. In Adobe Photoshop Elements, I use the Spot Healing brush (type: content aware or proximity match) (German: Bereichsreparatur-Pinsel) for this purpose. Larger areas might also be repaired with the Healing brush (German: Reparatur-Pinsel), which copies areas to a new location (similar to the Clone Stamp tool, but more discrete; German: Kopierstempel). Automatic dust removal, as better slide scanners offer, is much better and simpler!
Dealing with Contrast
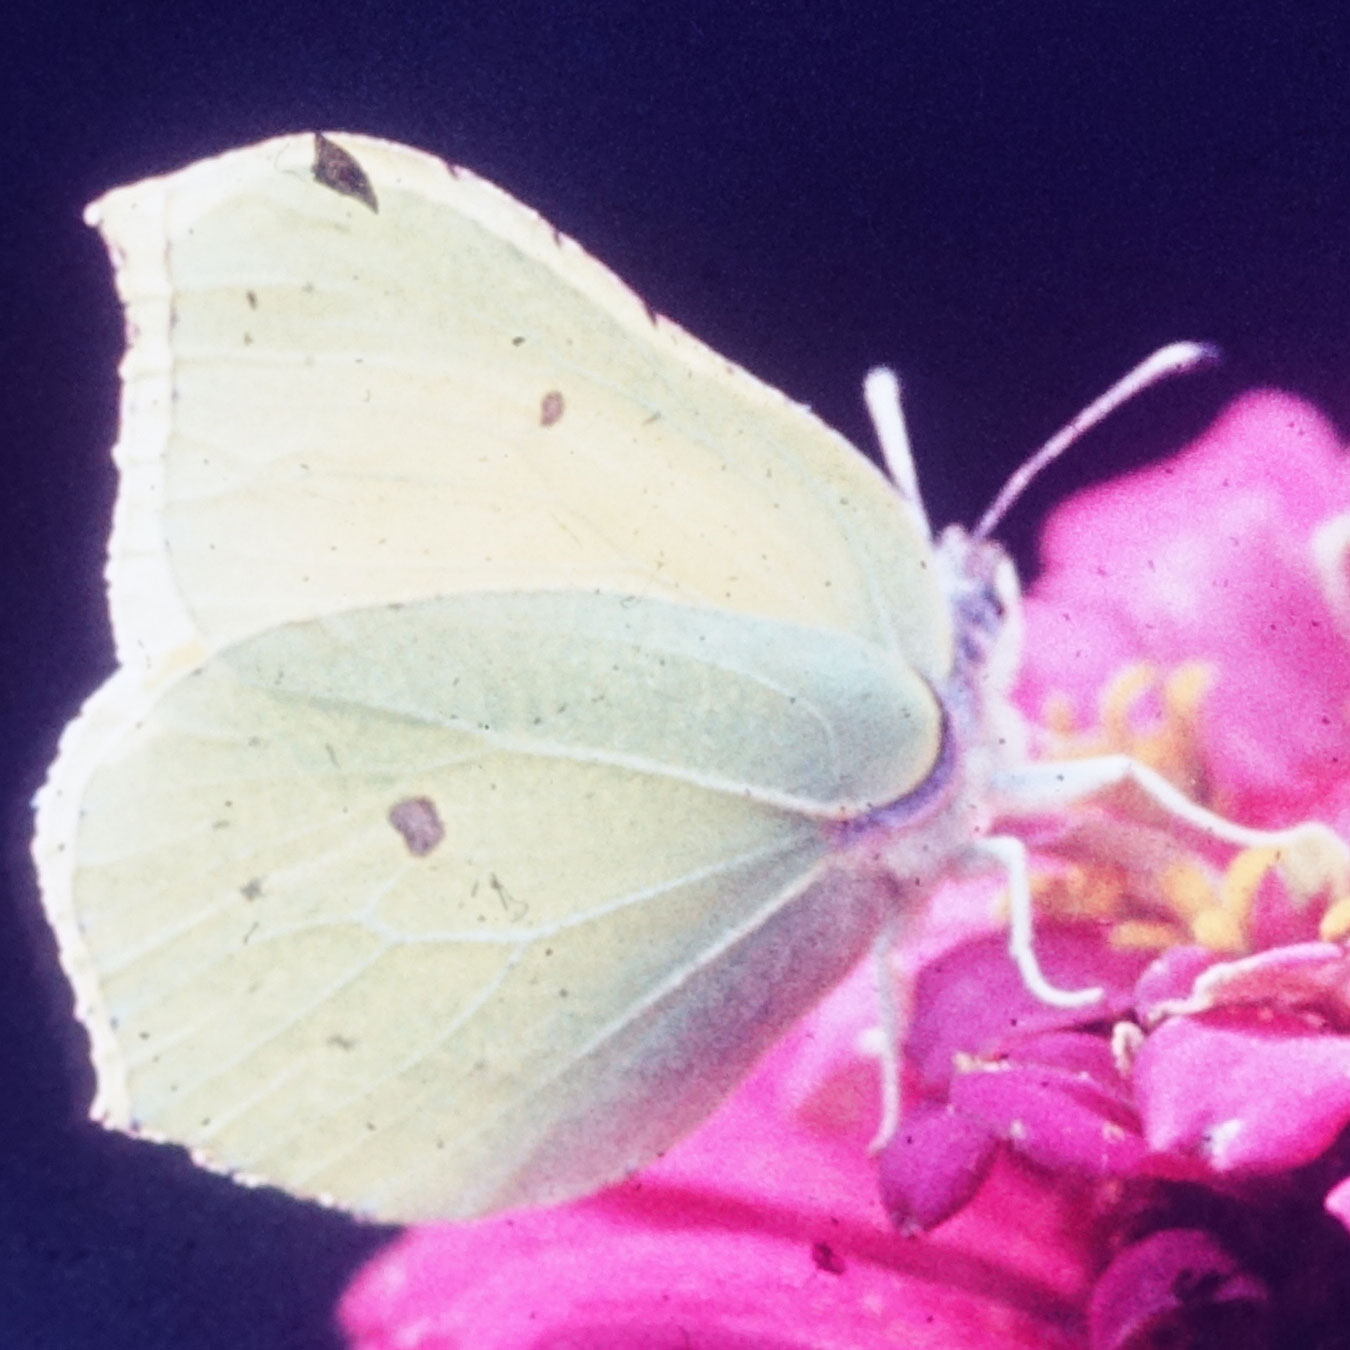
In the following, I explore the effect of lowering the contrast (to -3, that is, to the minimum value), as well as of using HDR (set to Auto), which should also lower the contrast and make more details visible. I used two different slides for this test and only cropped the photos, but did not do any post-processing (EV was set to 0). I also did not remove any dust in post-processing.
Note: Since duplicating slides with the MagFilter adapter that I attached to my wide's Sony RX100 M1, I present there photos that I took with my Sony RX100 M4. The results should be very similar with the RX100 M1 (but you get more pixels...).
Note: I flipped the butterfly horizontally when taking the photo, because this seems to be the correct orientation.
Slide 1
 |
 |
|
Contrast 0 (original, 3480 x 2320 pixels) |
Contrast 0, HDR Auto (original, 3480 x 2320 pixels) |
|
 |
 |
|
Contrast -3 (original, 3480 x 2320 pixels) |
Contrast -3, HDR Auto (original, 3480 x 2320 pixels) |
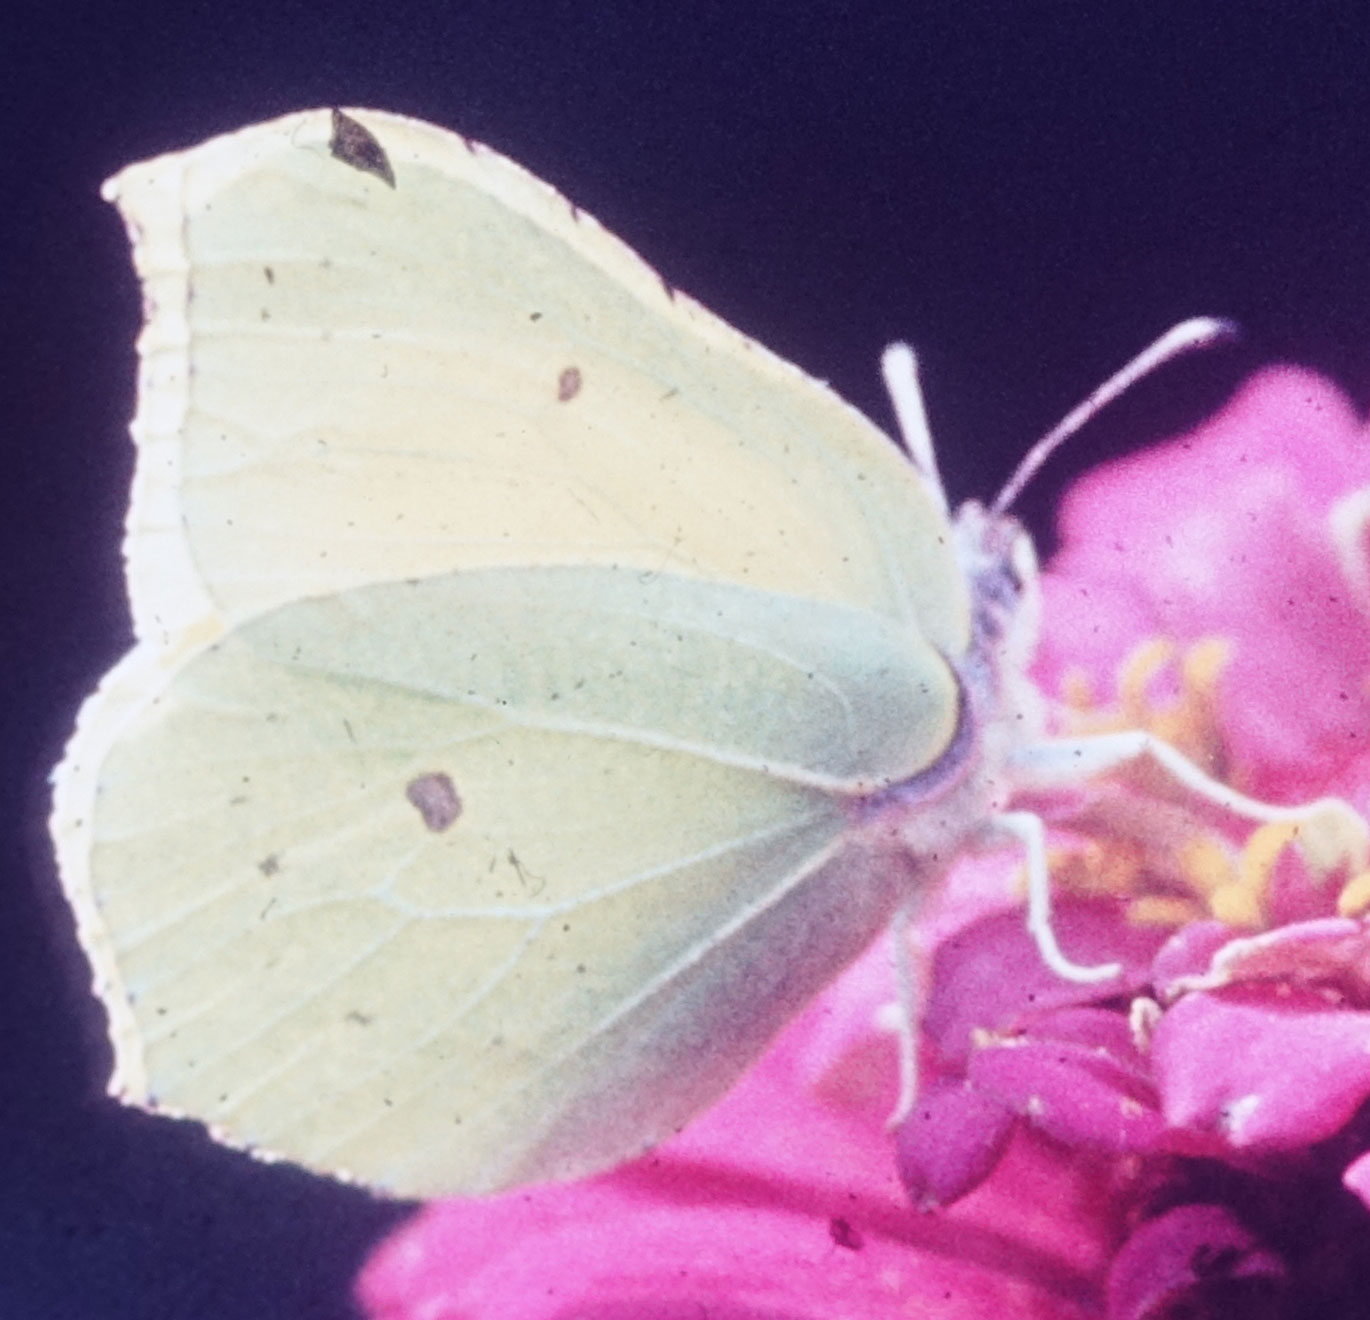
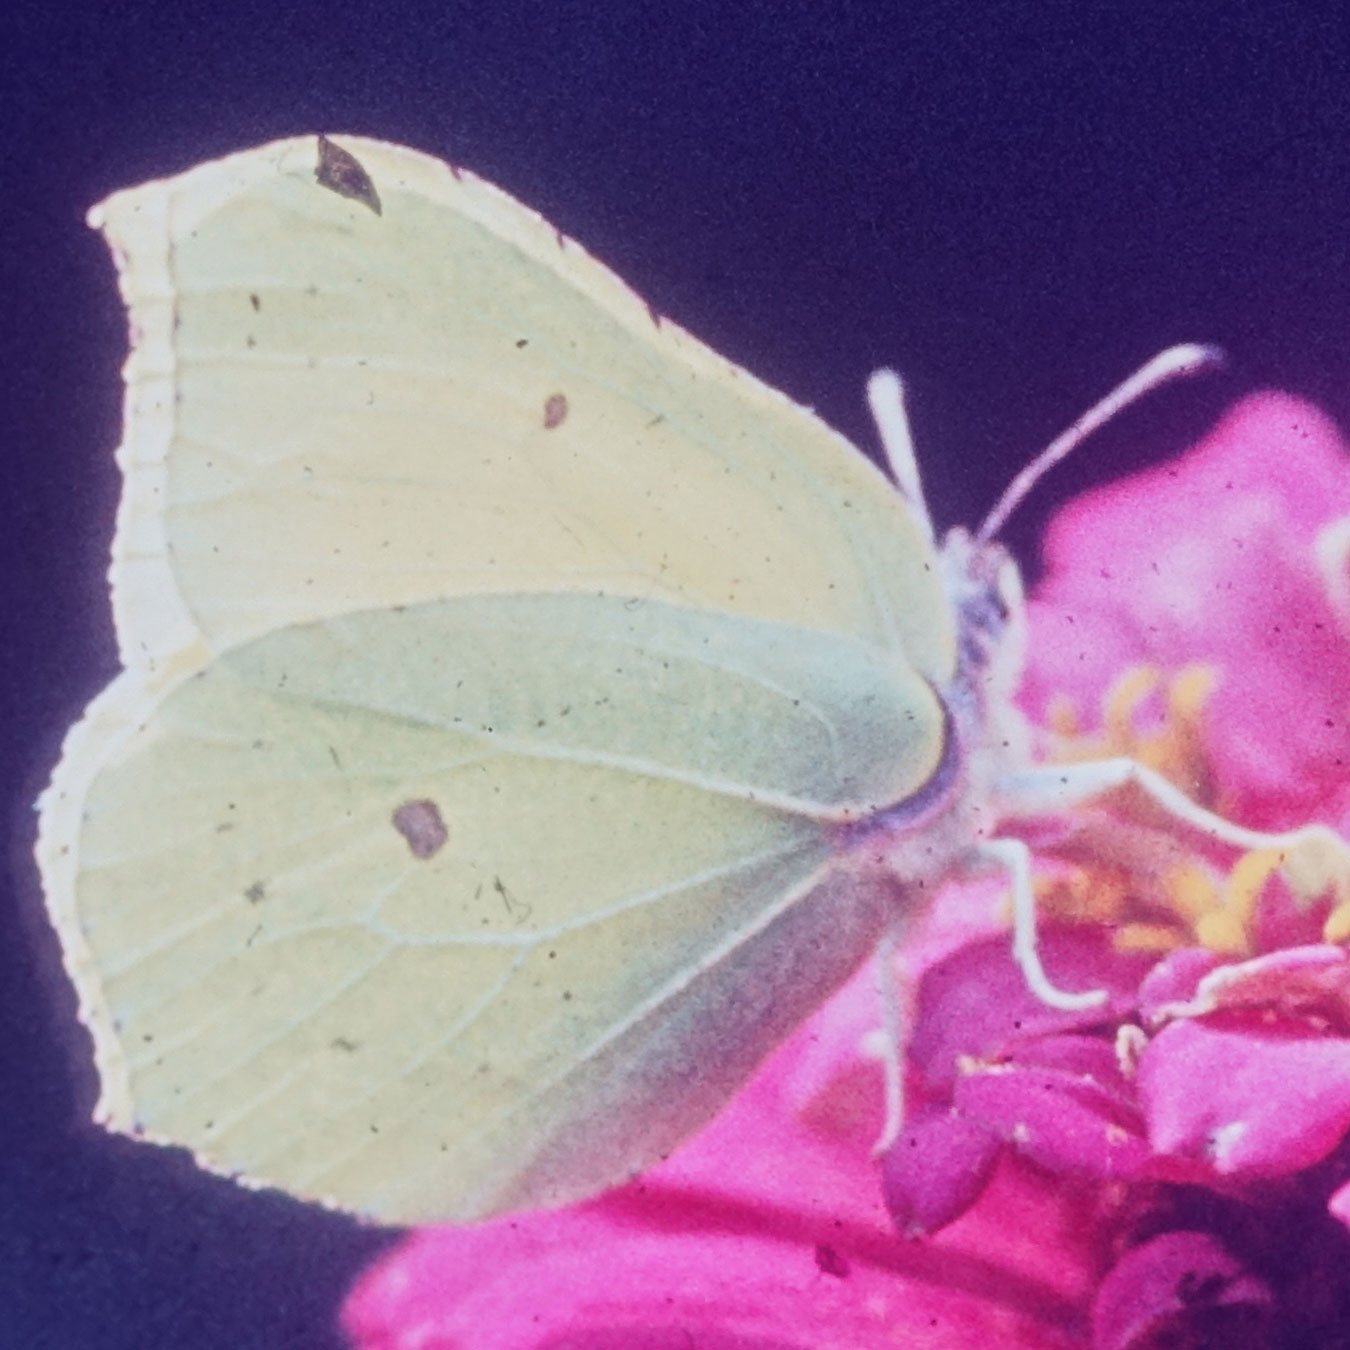
Section (Butterfly)
 |
 |
|
Contrast 0 (original, 3480 x 2320 pixels) |
Contrast 0, HDR Auto (original, 3480 x 2320 pixels) |
|
 |
 |
|
Contrast -3 (original, 3480 x 2320 pixels) |
Contrast -3, HDR Auto (original, 3480 x 2320 pixels) |
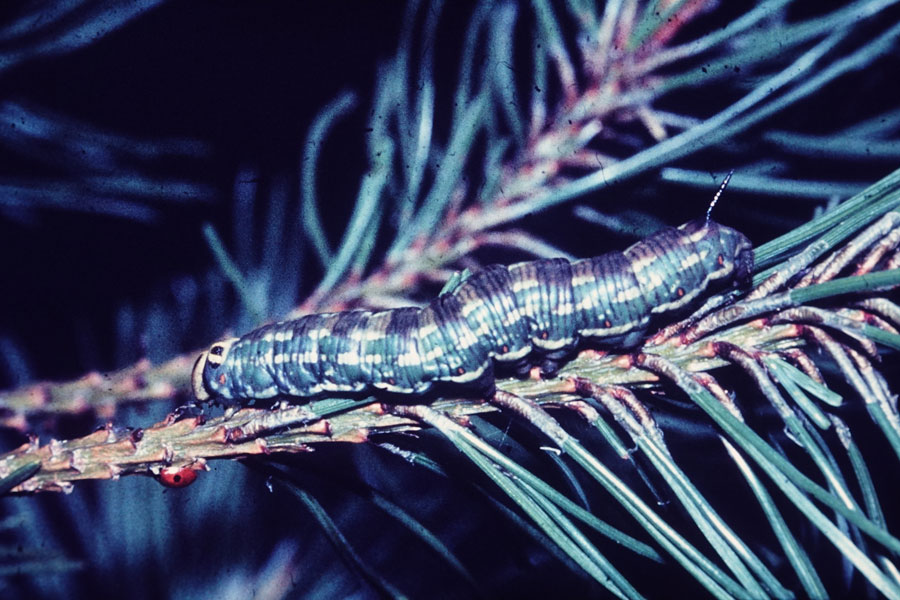
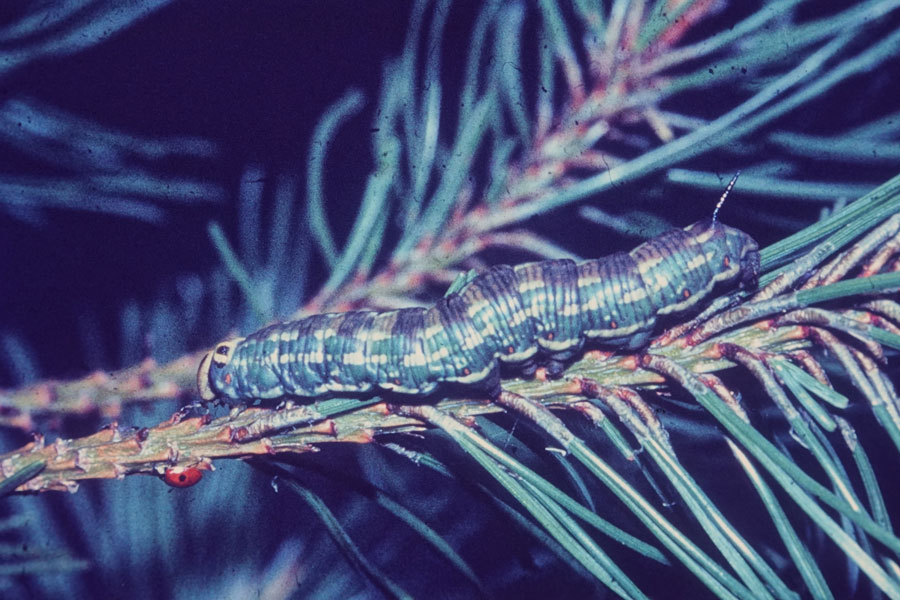
Slide 2
 |
 |
|
Contrast 0 (original, 3480 x 2320 pixels) |
Contrast 0, HDR Auto (original, 3480 x 2320 pixels) |
|
 |
 |
|
Contrast -3 (original, 3480 x 2320 pixels) |
Contrast -3, HDR Auto (original, 3480 x 2320 pixels) |
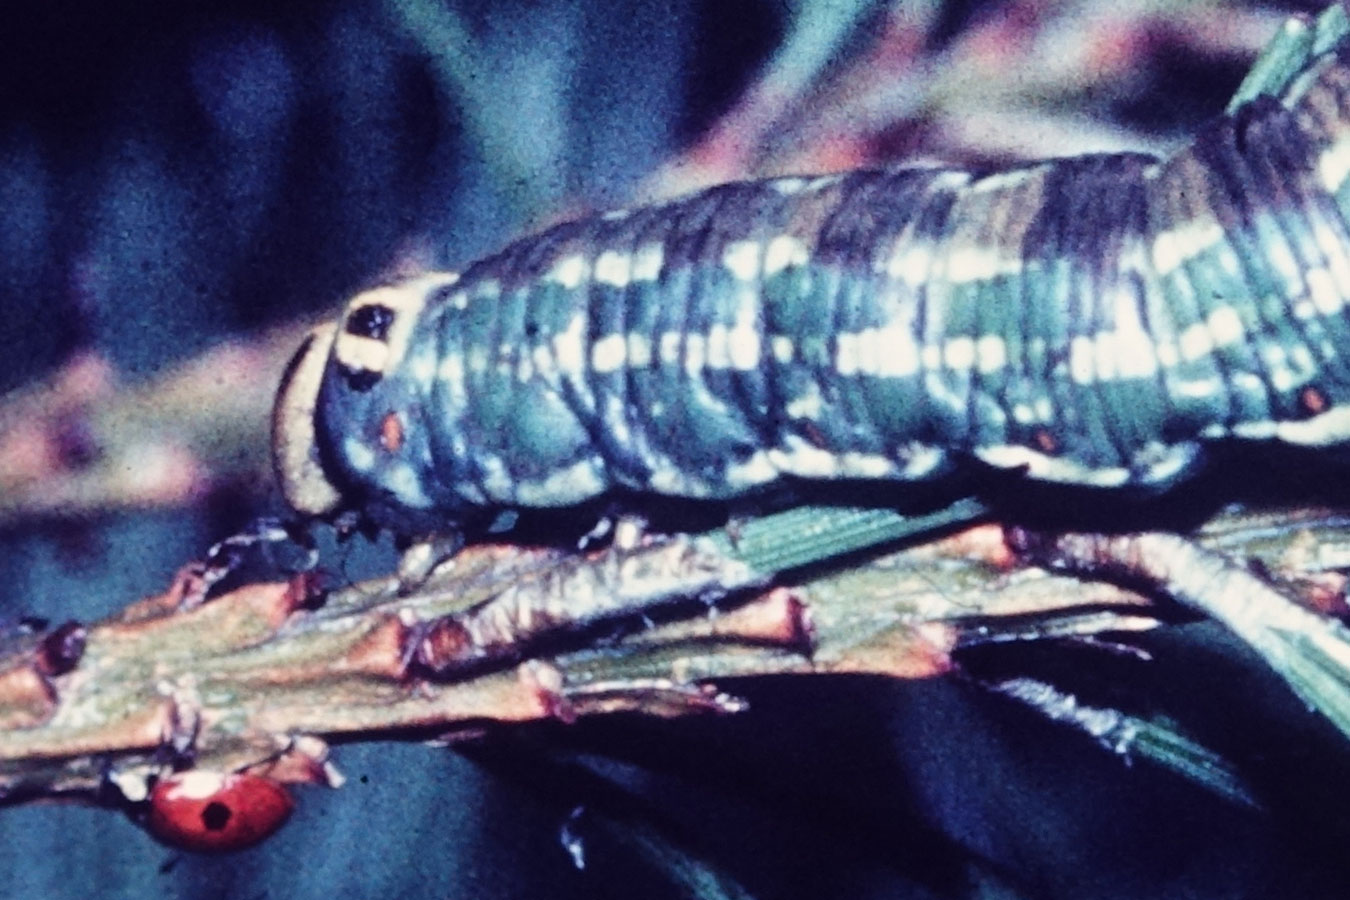
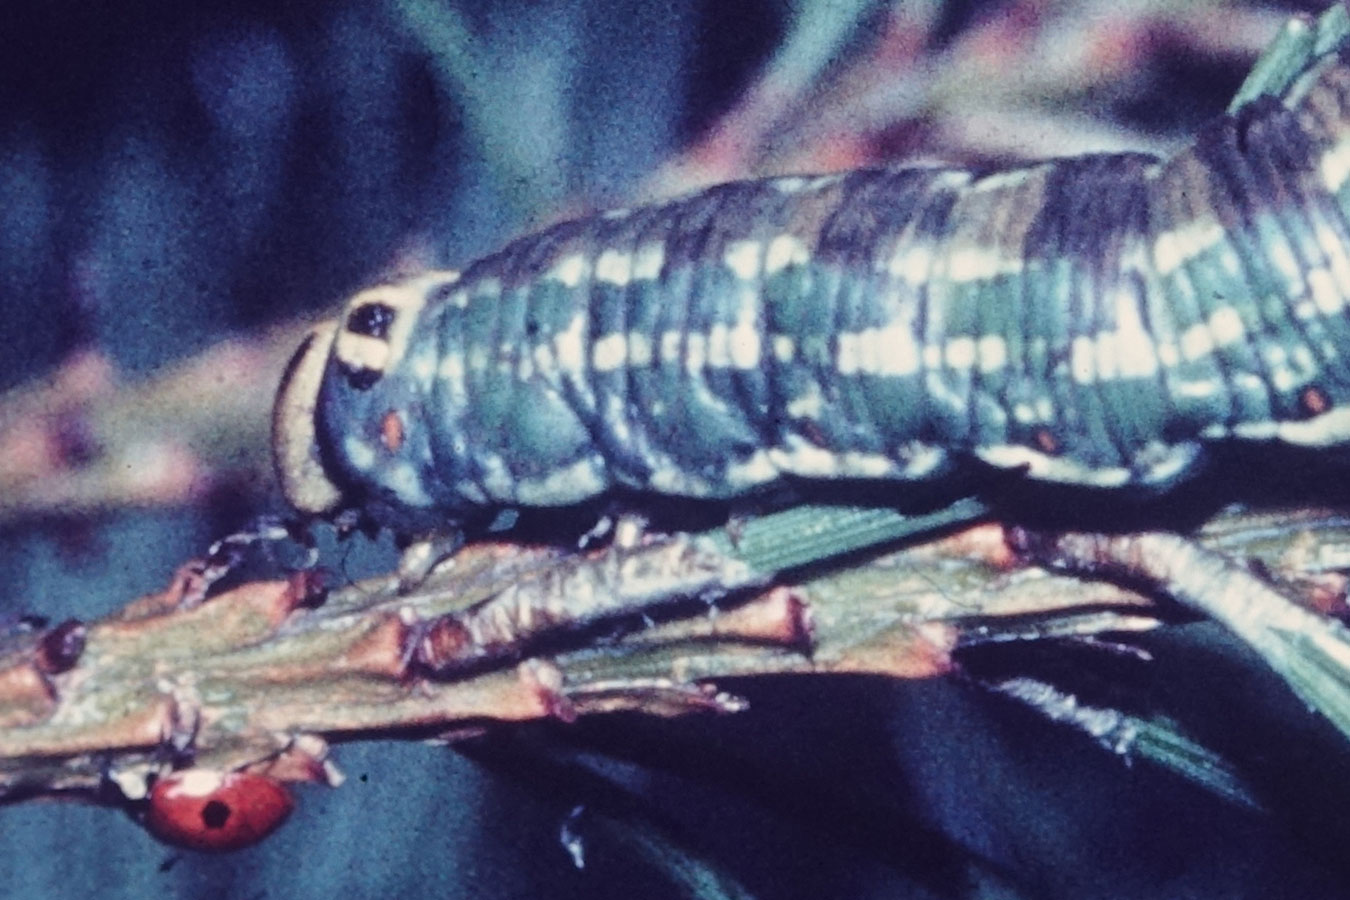
Section (Front of Caterpillar)
 |
 |
|
Contrast 0 (original, 3480 x 2320 pixels) |
Contrast 0, HDR Auto (original, 3480 x 2320 pixels) |
|
 |
 |
|
Contrast -3 (original, 3480 x 2320 pixels) |
Contrast -3, HDR Auto (original, 3480 x 2320 pixels) |
Conclusions
All in all, both lowering the contrast or using HDR set to Auto bring out more details, but HDR also changes the overall impression of a photo, which may be welcome or not, depending on the respective photo.
Using both lower contrast and HDR in conjunction seems to have a too strong effect for me, but may be this is usable for certain photos, particularly ones with very high contrasts.
For the butterfly, my personal favorite is HDR set to Auto with normal contrast, for the caterpillar, my personal favorite is contrast set to -3.
Note that you can improve the results with post-processing considerably, these are just starting points.
Conclusions
All in all, it can be done, but the results may disappoint you (depending on the original slides...), and it may also take quite some time until you have arrived at satisfying results. Having slides copied by a respective company is much simpler, but comes at a cost. For copying just a few slides, using the described setup may fulfill its purpose.
With the Sony RX100 M1 and its maximum focal length of 100 mm (equiv.) you get a higher resolution than with the RX100 M4 and a maximum focal length of 70 mm (equiv.) (4800 versus 3400-3600 pixels horizontally). Remember that the Dörr Slide Duplicator requires a focal length of 100-110 mm for optimum results.
As my investigation shows, the results can be improved when either contrast is set to the lowest possible value for Creative Style or HDR to Auto, but not both. This makes it a little difficult or cumbersome to test all the possible settings for best results... At least, when you use HDR you also get a "normal" version of the slide, that is, two samples to choose from...
However, the MagFilter magnetic filter adapter is a hassle when used in conjunction with the Dörr Slide Duplicator. Regrettably, there does not seem to bee a cable release for the Sony RX100 M1; the self timer might help...
References
- Alexander S. White (2012). Photographer’s Guide to the Sony DSC-RX100. White Knight Press, Henrico, Virginia (ISBN: 978-1-937986-08-7, paperback)
|
made by |
| 18.04.2023 |